4: INSTALLATION
Secure the Machine to the Stand
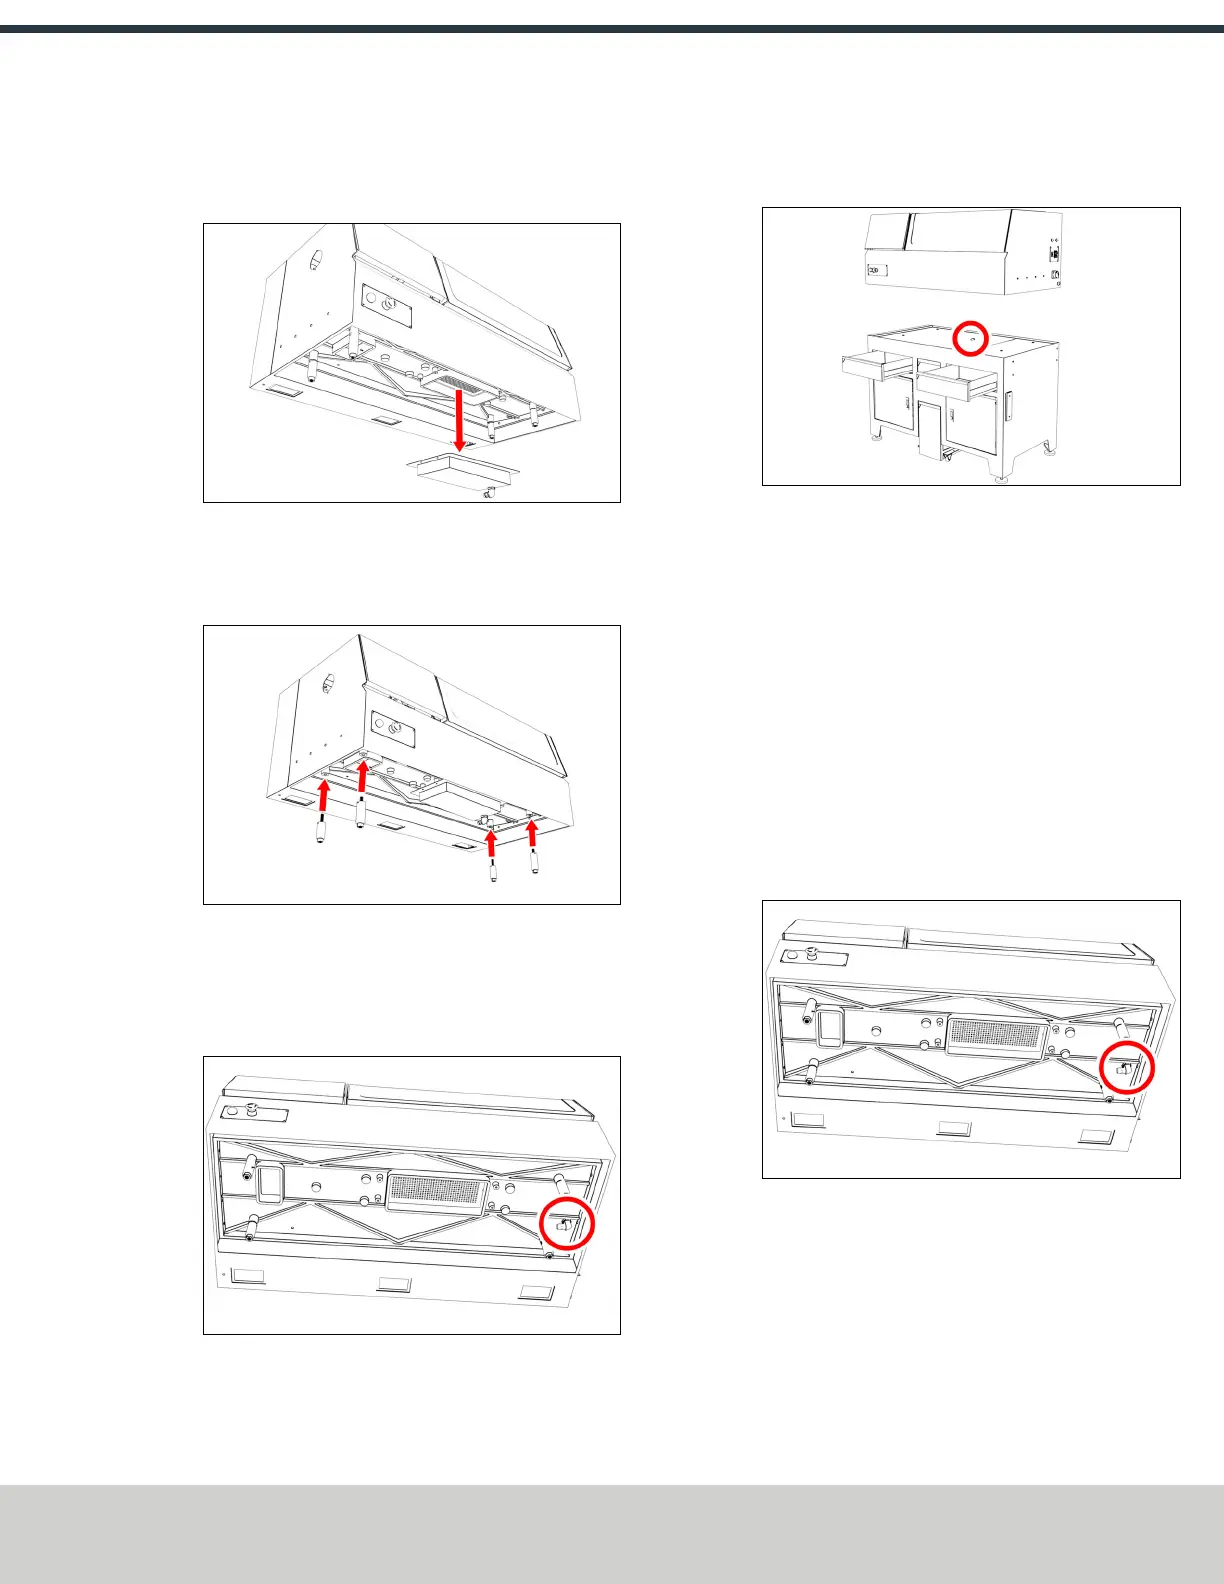
1. Remove the drip tray from the bottom of the machine.
Figure 4-4: Removing the drip tray from the bottom
of the machine.
2. Install the standoffs onto the base of the machine. Verify
that the height of the studs is 3.25 in. (82.5 mm).
Figure 4-5: Installing the standoffs onto the base of
the machine.
3. If you're adding flood coolant to your system, attach the
coolant tube onto the fitting on the bottom of the
machine.
Figure 4-6: Coolant tube fitting on the bottom of the
machine.
4. Carefully lower the machine onto the machine stand
while routing the coolant tube through the hole in the
middle of the stand.
Figure 4-7: Route the coolant tube though the hole in
the stand.
5. Remove the four M14 lifting eyelets from the sides of
the machine.
6. Open the front drawers of the stand, and install the nuts
onto the bolts that secure the machine to the stand.
Secure the Machine to a Workbench
1. Remove the risers from the base of the machine.
2. Install the machine feet in place of the risers that you
removed in Step 1.
3. If you're adding flood coolant to your system, attach the
coolant tube onto the fitting on the bottom of the
machine.
Figure 4-8: Coolant tube fitting on the bottom of the
machine.
4. Carefully lower the machine onto the 500-lb capacity
workbench.
5. Remove the four M14 lifting eyelets from the sides of
the machine.
©Tormach® 2021
Specifications subject to change without notice.
Page 27 UM10753: 8L Operator's Manual (Version 0321B)
For the most recent version, see tormach.com/support