4: INSTALLATION
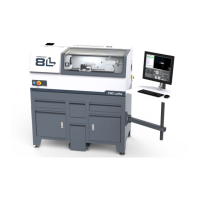
8. Tighten the three pivot bolts on the monitor bracket with
an 8 mm hex wrench and a 16 mm wrench.
Figure 4-12: Tightening the monitor bracket in place.
Tip! This makes it easier to install the monitor,
which you'll do later in this installation
procedure.
9. Tap the end plug into the square tube arm with a dead-
blow hammer (or similar).
10. Secure the keyboard table to the monitor bracket with
four M5 socket head cap screws, four M5 flat washers,
four M5 split lock washers, and a 4 mm hex wrench.
11. Attach four wire tie mounts to the monitor post with
four 4 mm flat head machine screws and a Phillips
screwdriver.
Install the PathPilot Operator Console
Tools and Items Required
l 16 mm wrench
l Metric hex wrench set
l Phillips screwdriver
1. Put the operator console against the monitor mounting
plate and align the holes. Attach the operator console
and monitor mounting plate together with four M4 × 12
mm socket head cap screws (provided with the operator
console).
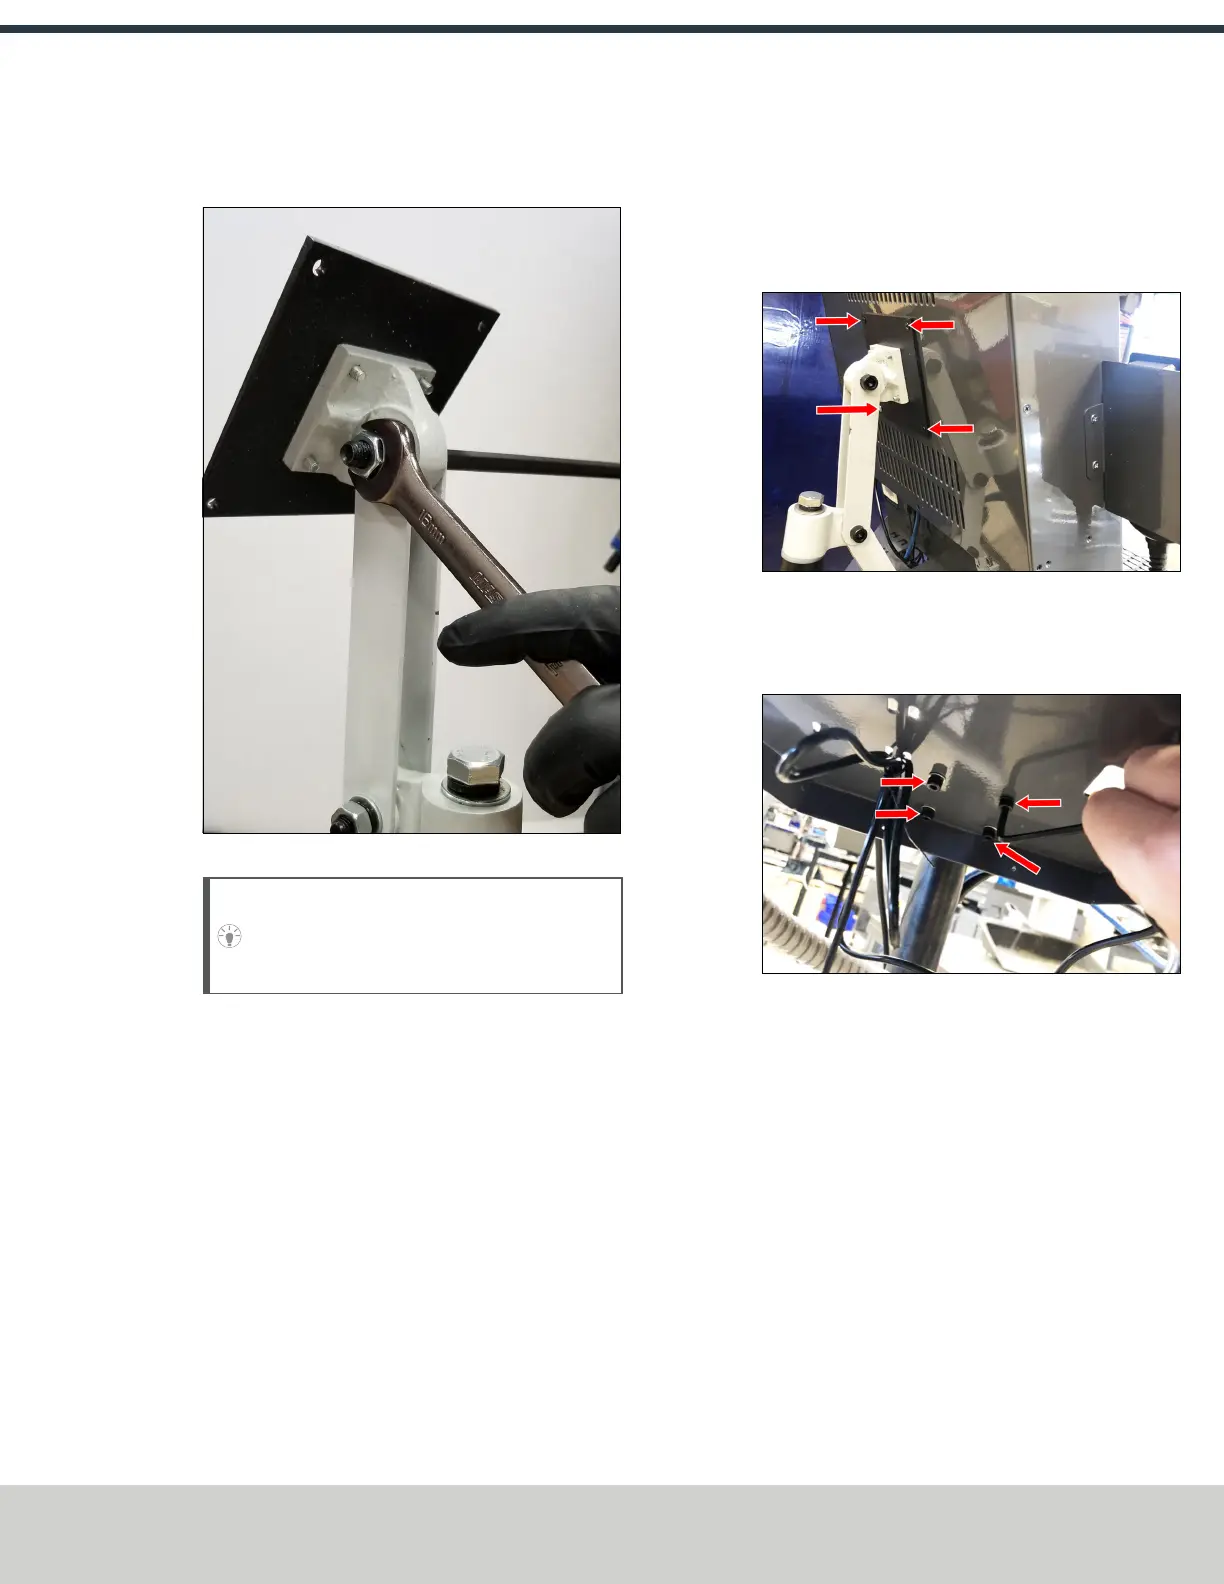
Figure 4-13: Operator console attached to the monitor
mounting plate.
2. Attach the keyboard tray to the lower controller arm
mount with an 8 mm hex wrench.
Figure 4-14: Attaching the keyboard tray to the lower
controller arm mount (from below).
3. Adjust the operator console and the keyboard tray so
that the two holes on the underside of the operator
console line up with the holes on the keyboard tray.
©Tormach® 2021
Specifications subject to change without notice.
Page 29 UM10753: 8L Operator's Manual (Version 0321B)
For the most recent version, see tormach.com/support