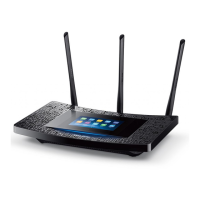
Chapter 2 Configure Touch P5 as a Router
27
1 ) Select DHCP Server.
2 ) The Enable DHCP Server checkbox is enabled by default.
3 ) Specify the IP Address Pool, and the start and end addresses must be on the
same subnet with the LAN IP. Your Touch P5 will assign addresses within this
specified range to its clients. It is from 192.168.0.100 to 192.168.0.199 by default.
4 ) Enter a value for the Address Lease Time.
The Address Lease Time is the amount of time in which a DHCP client can lease
its current dynamic IP address assigned by your Touch P5. After the dynamic
IP address expires, the client will be automatically assigned a new dynamic IP
address.
5 ) The Default Gateway is automatically filled, the same as the LAN IP address of
your Touch P5. Enter Primary DNS and Secondary DNS if the ISP offers.
6 ) Tap Save.
¾ To view the client information:
1 ) Select DHCP Client List.
2 ) You can view the information of connected clients.