Chapter 2 Configure Touch P5 as a Router
25
2. 11. DDNS
Most ISPs (Internet service providers) assign a dynamic IP address to your Touch P5 and
you can use this IP address to access your Touch P5 remotely. However, the IP address
can vary any time and you don’t know when it changes. In this case, you might need
the DDNS (Dynamic Domain Name Server) feature on your Touch P5 to allow you and
your friends to access your Touch P5 and local servers (FTP, HTTP, etc.) using a domain
name, in no need of checking and remembering the IP address.
Note: DDNS does not work if the ISP assigns a private WAN IP address (such as 192.168.0.x) to your Touch P5.
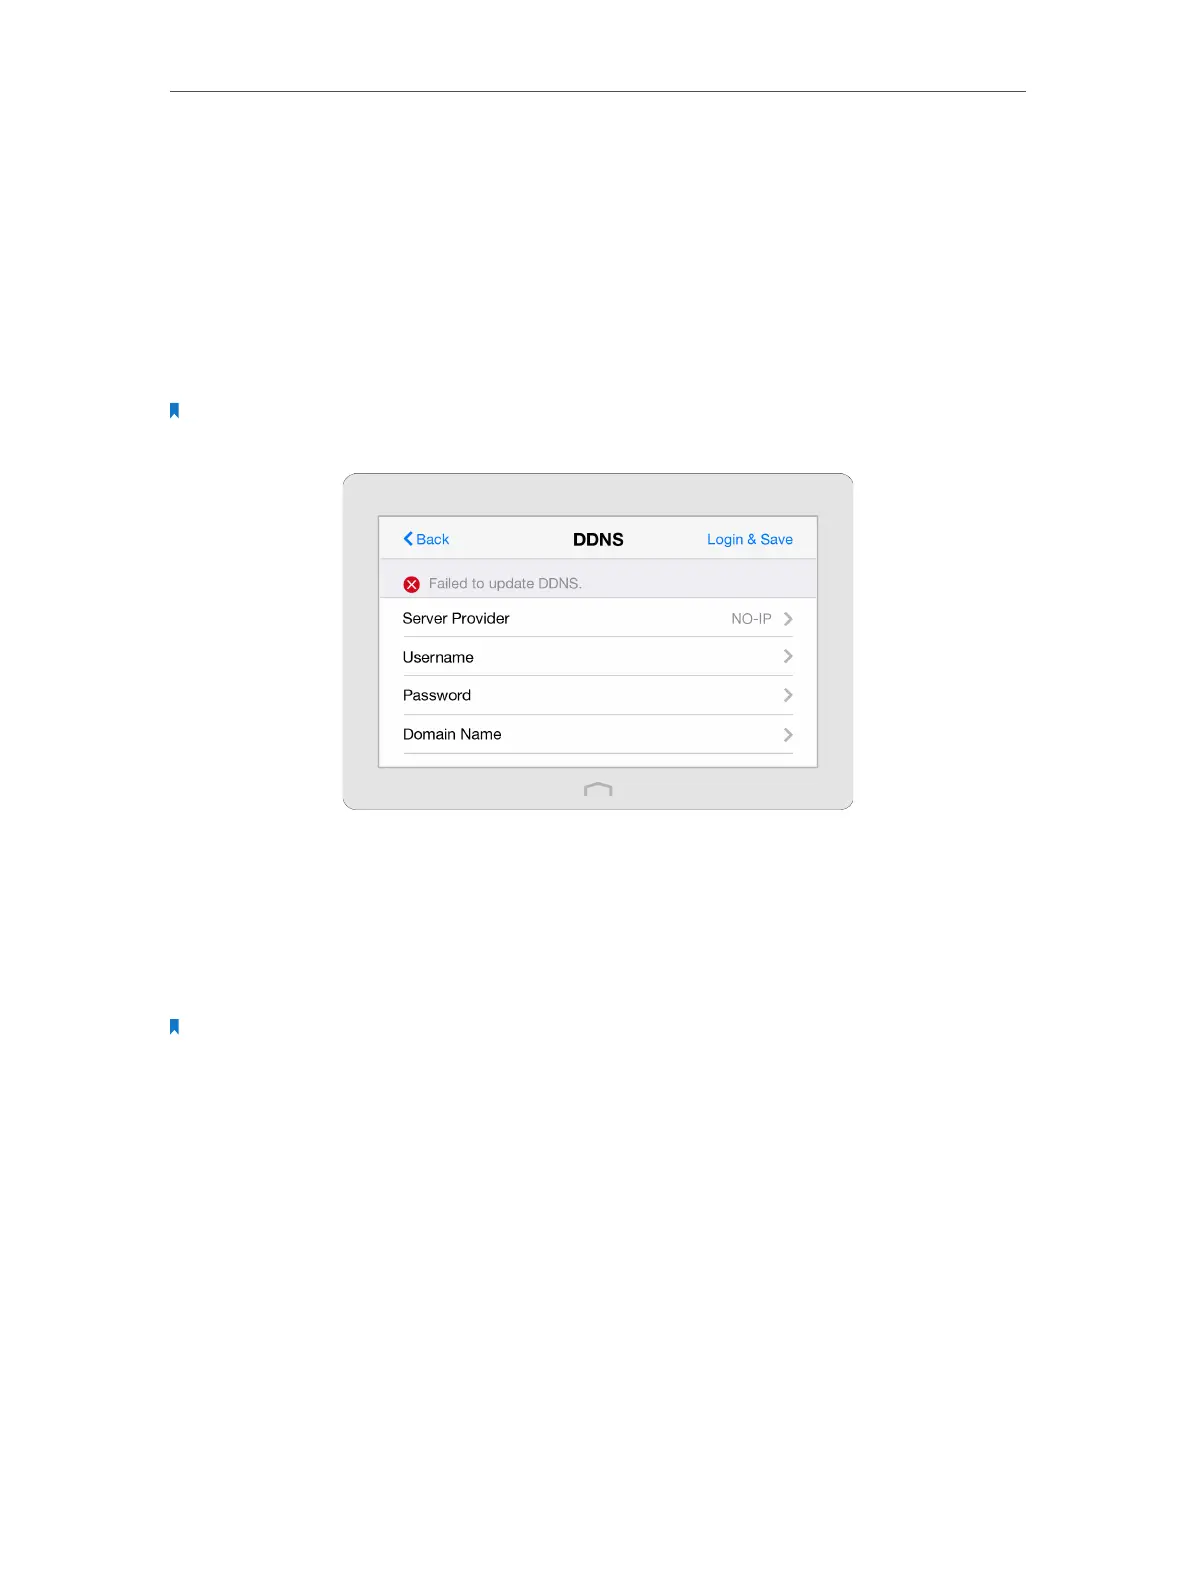
1. On the menu screen, tap the DDNS icon to start it.
2. Select a DDNS Service Provider (NO-IP or Dyndns). If you don’t have a DDNS account,
please register an account with a service provider such as www.dyndns.com.
3. Enter the Username, Password, Domain Name (such as lisadns.ddns.net), and select
Update Interval of the account.
4. Tap Login & Save.
Note: If you want to use a new DDNS account, please Logout first, then login with the new account.
2. 12. LAN
The LAN app helps to change the default LAN settings of your Touch P5. Touch
P5 is preset with a default LAN IP 192.168.0.1, with which you can log in to its web
management page. The LAN IP address together with the Subnet Mask also defines
the subnet that the connected devices are on. If the IP address conflicts with another
device on your local network or your network requires a specific IP subnet, you can
change it.
1. On the menu screen, tap the LAN icon to start it.