Chapter 4 Configure Touch P5 as an Access Point
77
4. 1. Connect Your Touch P5
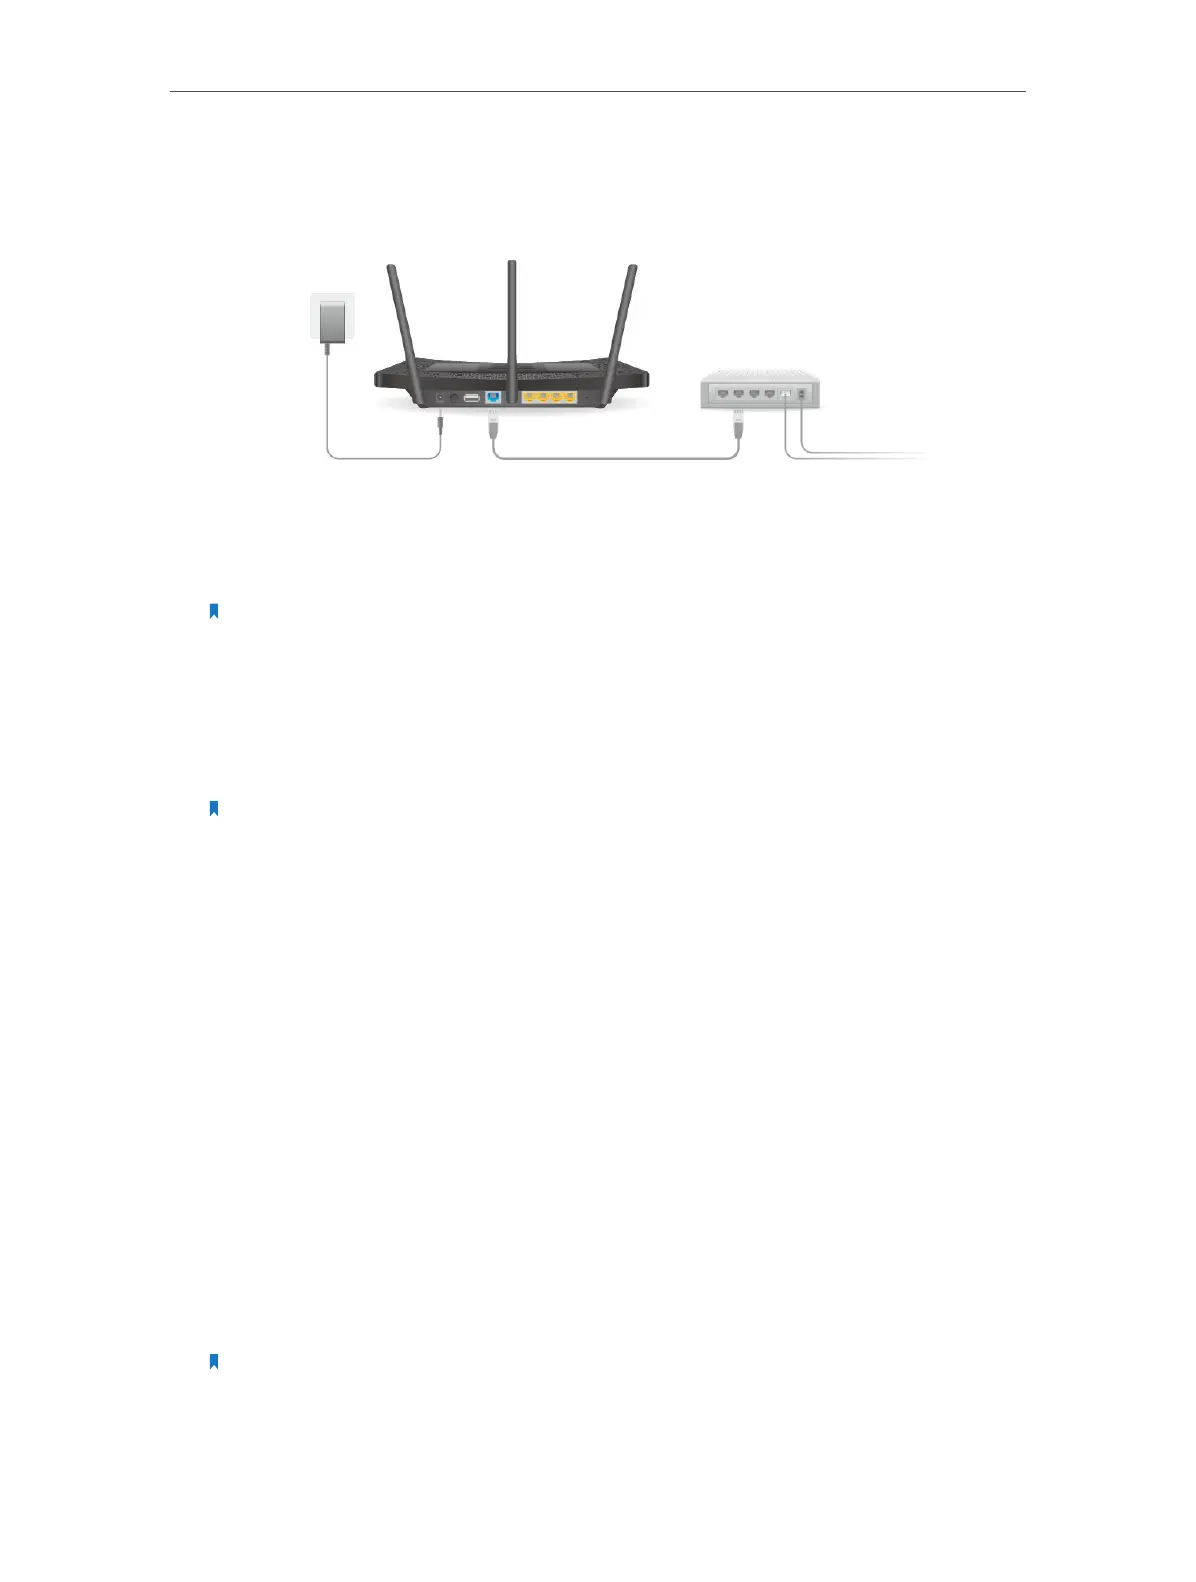
Follow the steps below to connect your Touch P5.
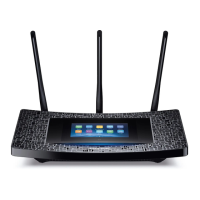
1. Install the antennas and position them vertically.
2. Connect the wired router’s LAN port to the Internet port on your Touch P5 via an
Ethernet cable.
Note: If your Internet connection is through an Ethernet cable from the wall, instead of a wired router,
connect the Ethernet cable directly to your Touch P5’s Internet port.
3. Turn on your Touch P5 and wait until the system boot on the screen completes.
4. Connect your computer to your Touch P5. Use the default SSID (Wireless Network
Name) and Wireless Password printed on the label at the bottom of your Touch P5
to connect wirelessly.
Note: You can also connect your computer to the Ethernet port on your Touch P5 via an Ethernet cable.
4. 2. Log into Your Touch P5
Your Touch P5 supports two configuration methods: Web-based utility and Touchscreen
utility. Web-based utility includes the configuration for all functions, and it requires a
connection (wired or wireless) between your Touch P5 and the device you are using
to log into the web management page. Touchscreen utility supports configuration for
most commonly used functions, and the configuration can be easily done within a few
taps on the touchscreen.
In this chapter, we will introduce most of the configuration through the touchscreen
utility.
4. 2. 1. Option 1: Through Touchscreen Utility (Recommended)
1. On the menu screen, tap the Mode Selection icon to start it.
2. Select Access Point mode and tap Save.
Note: Your Touch P5 will reboot to make your changes take effect, and please do NOT operate during the
process.