Vent Piping
CVHH-SVX001A-EN 31
sum of the linear pipe length plus the equivalent
length of the fittings (e.g., elbows).
Vent Line Installation
Important: Before constructing the rupture disk vent
line, consult local codes for applicable
guidelines and constraints.
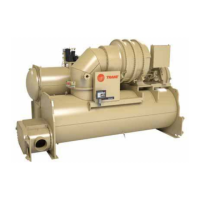
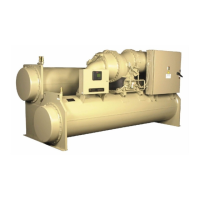
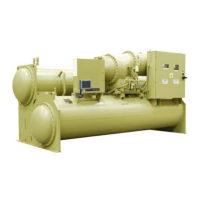
All CenTraVac centrifugal chillers are equipped with
rupture disks. If refrigerant pressure within the evaporator
exceeds 344.7 kPag (50 psig) the rupture disk breaks and
shell pressure is relieved as refrigerant escapes from the
chiller.
A cross-section of the rupture disk assembly appears in
Figure 19, p. 33 along with an illustration indicating the
location of the rupture disk on the suction elbow.
Several general recommendations for rupture disk vent
line installation are outlined below.
Note: If the rupture disk was removed for service or vent
line piping installation, the rupture disk must be
reinstalled (as shown in Figure 19, p. 33). Refer to
the following procedure and contact CenTraVac
Technical Service when reinstalling the rupture
disk.
• Verify that the rupture disk is positioned as shown in
the cross-section view that appears in
Figure 19, p. 33.
– Install the two bottom bolts though the pipe
flanges.
– Install the rupture disk with a gasket on each side
between the pipe flanges. Orient the disk with the
reference arrow facing the chiller side as shown in
Figure 19, p. 33.
– Install the two top bolts.
– Center the disk and gaskets to the flange bore.
– Hand tighten all bolts assuring equal pressure.
– Use a torque wrench set to 196.6 N·m (145 ft·lb) w ith
a 24-mm socket.
– Tighten bolts in a star pattern, one half turn each, to
maintain even pressure on the disk.
– Final torque on all bolts should be 196.6 N·m
(145 ft·lb).
• When attaching the vent line to the chiller, do not apply
threading torque to the outside pipe of the rupture disk
assembly.
• Provide support as needed for the vent line. Do not use
the rupture disk assembly to support the vent line
piping.
• Use a flexible connection between the vent-line and
the rupture disk assembly to avoid placing stress on
the rupture disk. (Stress can alter rupture pressure and
cause the disk to break prematurely.) The flexible
connector used to isolate the rupture disk from
excessive vent line vibration must be compatible with
the refrigerant in use. Use a flexible, steel connector
such as the stainless-steel type MFP, style HNE, flexible
pump connector (from Vibration Mounting and
Control, Inc.) or equivalent. Refer to
Figure 20, p. 34 for
a recommended relief piping arrangement.
NOTICE:
Rupture Disk Damage!
Failure to follow instruction could result in damage to
the rupture disk assembly. Do not apply threading
torque to the outside pipe.
WARNING
Pressure-Relief Device Discharge Hazard!
An improper vent-line termination could result in death
or serious injury or equipment damage. When a
pressure-relief device operates, it could discharge a
large amount of fluid and/or vapor. Units MUST be
equipped with a vent-line termination that discharges
outdoors in an area that will not spray refrigerant on
anyone.