Model 3440 Appendix A–19
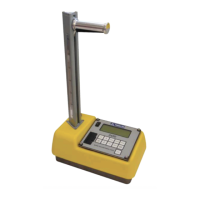
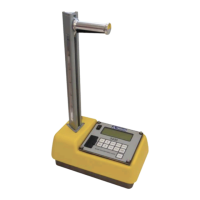
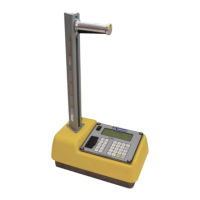
To replace the two post gaskets and the topshell gasket, remove
the screws that hold the topshell to the gauge base. Remove the
screws from the metal triangle around the base of the triangle
extrusion and raise this piece. Then lift the topshell from the
base. Gently peel the gaskets away from the topshell and gauge
base and replace. Tighten topshell screws to 6 in-lb.
If replacing the post gaskets, slide up and over the source rod
handle. A light coating of talcum powder on the inside of the
new post gasket will aid in reassembly.
Replacing Gasket and O-Ring
The gauge uses a gasket and O-rings to protect its electronics
from moisture, dirt, and debris. However, if the gauge has been
exposed to extremely wet weather or high humidity, or if the
gauge was used in the cold and stored in a warm building,
condensation may form inside the gauge.
If this happens, remove the control unit to allow the gauge to
dry. Use a hair dryer (on low heat) if necessary to remove any
built-up moisture. If moisture continues to be a problem or
debris is present inside the gauge base, the control panel gasket
or top shell O-ring may need replacing.
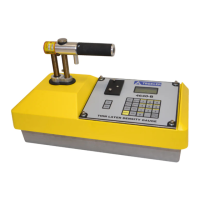
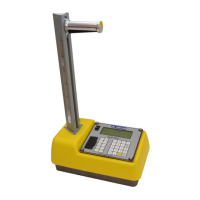
To replace the control panel gasket (P/N 110841), loosen the
four captive screws that attach the control unit (keypad) to the
top shell. Carefully lift the control unit from the top shell and
detach the ribbon cable. Gently peel the old gasket from the
panel and replace it with a new gasket. Reconnect the ribbon
cable and reinstall the control unit.
To replace the top shell O-ring (P/N 110899), remove the six
screws that hold the top shell to the gauge base. Lift the top shell
from the gauge base to expose the O-ring. Peel the old O-ring
from the groove in the gauge base. Place the replacement O-ring
in the groove, and run your finger around its circumference to
ensure it is properly seated in the groove. If the O-ring is too
long, cut it to length, ensuring that the two ends butt against
each other. Reassemble the top shell to the base.
 Loading...
