Section 4
Installation, Piping, and Wiring
4-4
ULVAC CRYOGENICS INCORPORATED
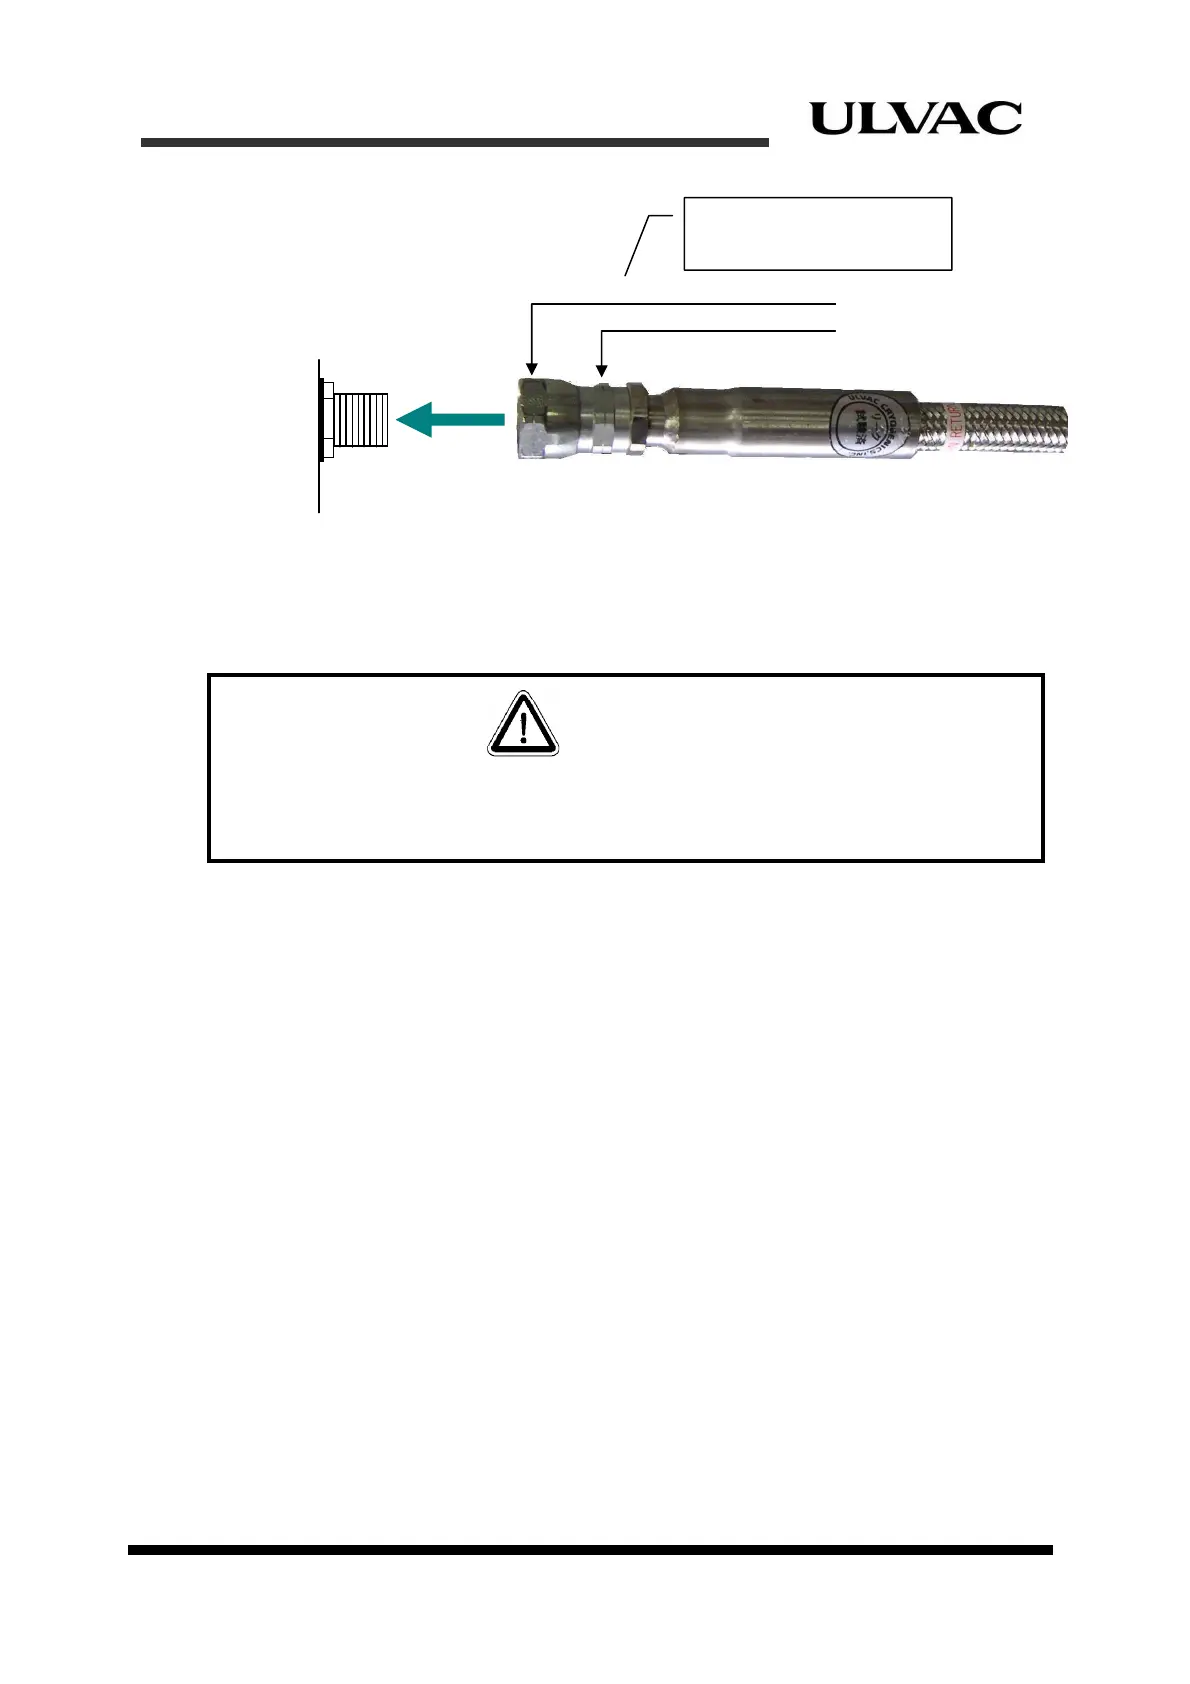
Figure 4-4 Connecting and disconnecting helium flexible hoses to compressor
and cryocooler
Disconnecting procedures
To disconnect flexible hoses from the connectors, use only two lipped bowl spanners (bolt
width 26mm, 30mm). Do not use other spanners.
Loosen the couplings with two spanners and then take them off by both hands.
Complete the procedure as quick as possible to minimize helium gas leakage.
4.4 Cryocooler connections
Figure 4-5 shows the connection of the compressor and the cryocooler. Connecting
procedures are below.
1. Connect flexible hoses to the compressor unit and to the cryocooler as described in
“Section 4.3 Connecting and disconnecting helium flexible hoses”
2. Connect the cryocooler cable to the compressor rear panel and the cryocooler. The
procedures are shown below.
Connect the smaller cryocooler cable plug to the cryocooler receptacle. Insert the
plug into the receptacle and then turn the rotating part of the plug to the right.
Turn it until it won’t turn any more to connect the plug properly.
Connect the bigger cryocooler cable plug to the compressor receptacle. Connect
the plug to “COLD HEAD POWER NO.1” receptacle on the rear panel of the
compressor and then turn the rotating part of the plug to the right. Turn it until it
won’t turn any more to connect the plug properly.
Tighten with 30mm spanner
Hold with 26mm inch spanner
Compressor
Helium Connector
SUPPLY GAS/
RETURN GAS
Cryocooler
(Self-sealing Coupling)
Clockwise: To tighten
Counter Clockwise: To loosen
If the flexible hoses are disconnected while the cryopump is still cold, the pressure inside
the refrigerator will rise as its goes up and cause helium leakage via the pressure relief
valve.
CAUTION