C30HVRT Compressor Unit Instruction Manual
ULVAC CRYOGENICS INCORPORATED
7-3
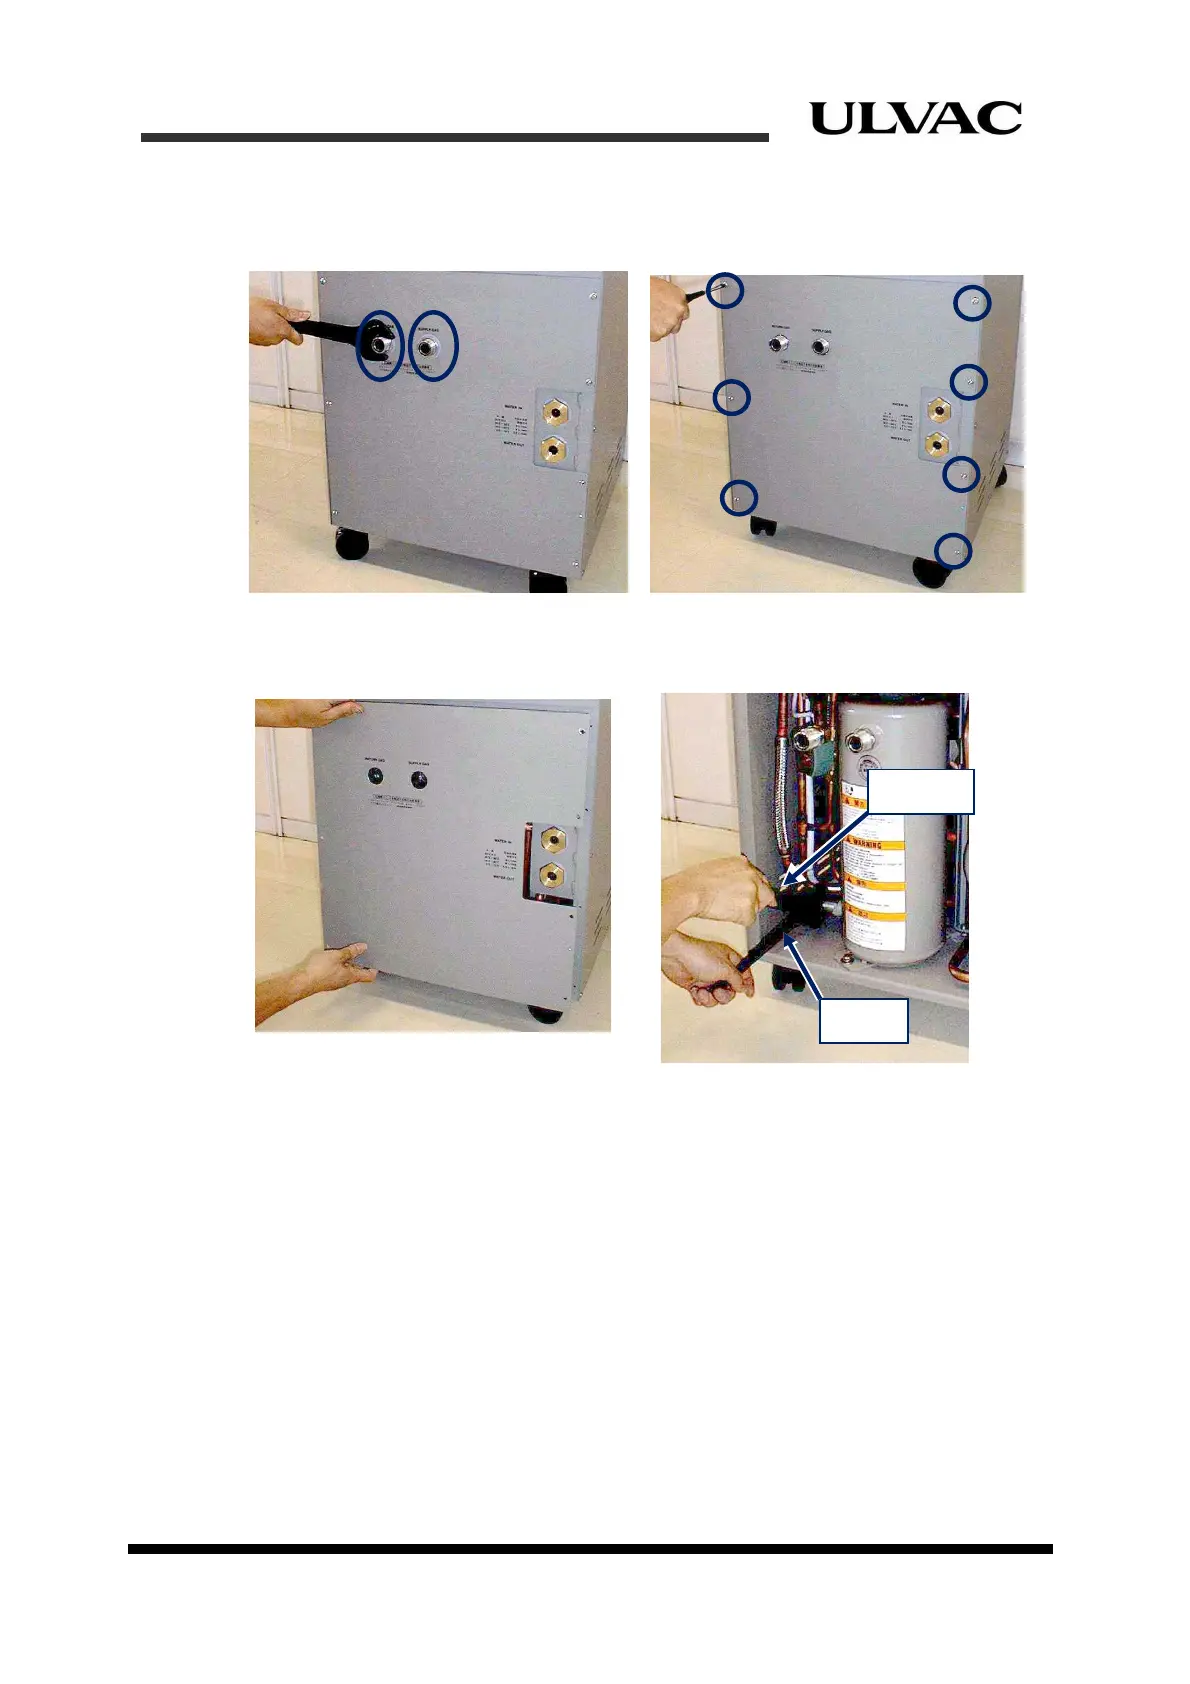
8. Slide the adsorber outward and remove it from the mounting tab on the base of the
compressor. And then remove the adsorber from the compressor (Figure 7-7).
Figure 7-4 Remove the Rear Panel
Figure 7-1 Remove Two Nuts from
the Helium Gas Connectors
Figure 7-2 Remove All Seven
Screws from the Rear Panel
Figure 7-3 Remove Self-Sealing Coupling
Hold
Remove