49
4C. Tutorial: How to Setup a Print and Cut using IColor CustomCUT – Vector File Cut
If you have a designer that can use an advanced program like Adobe Illustrator or Corel Draw, you can
save your print file and cut the file together as a multi-layer vector file in AI, EPS, or SVG format. You can
then import them into IColor CustomCUT and designate which layer will be the cut and which will be the
print. This will allow you to create complex cuts in exactly the right shape and exactly the right position.
This method is the best way to get the highest quality print and cut. While tracing the image using the
steps in the previous section will allow you to create the same shapes, you can save time and create a
smoother cut file using this method.
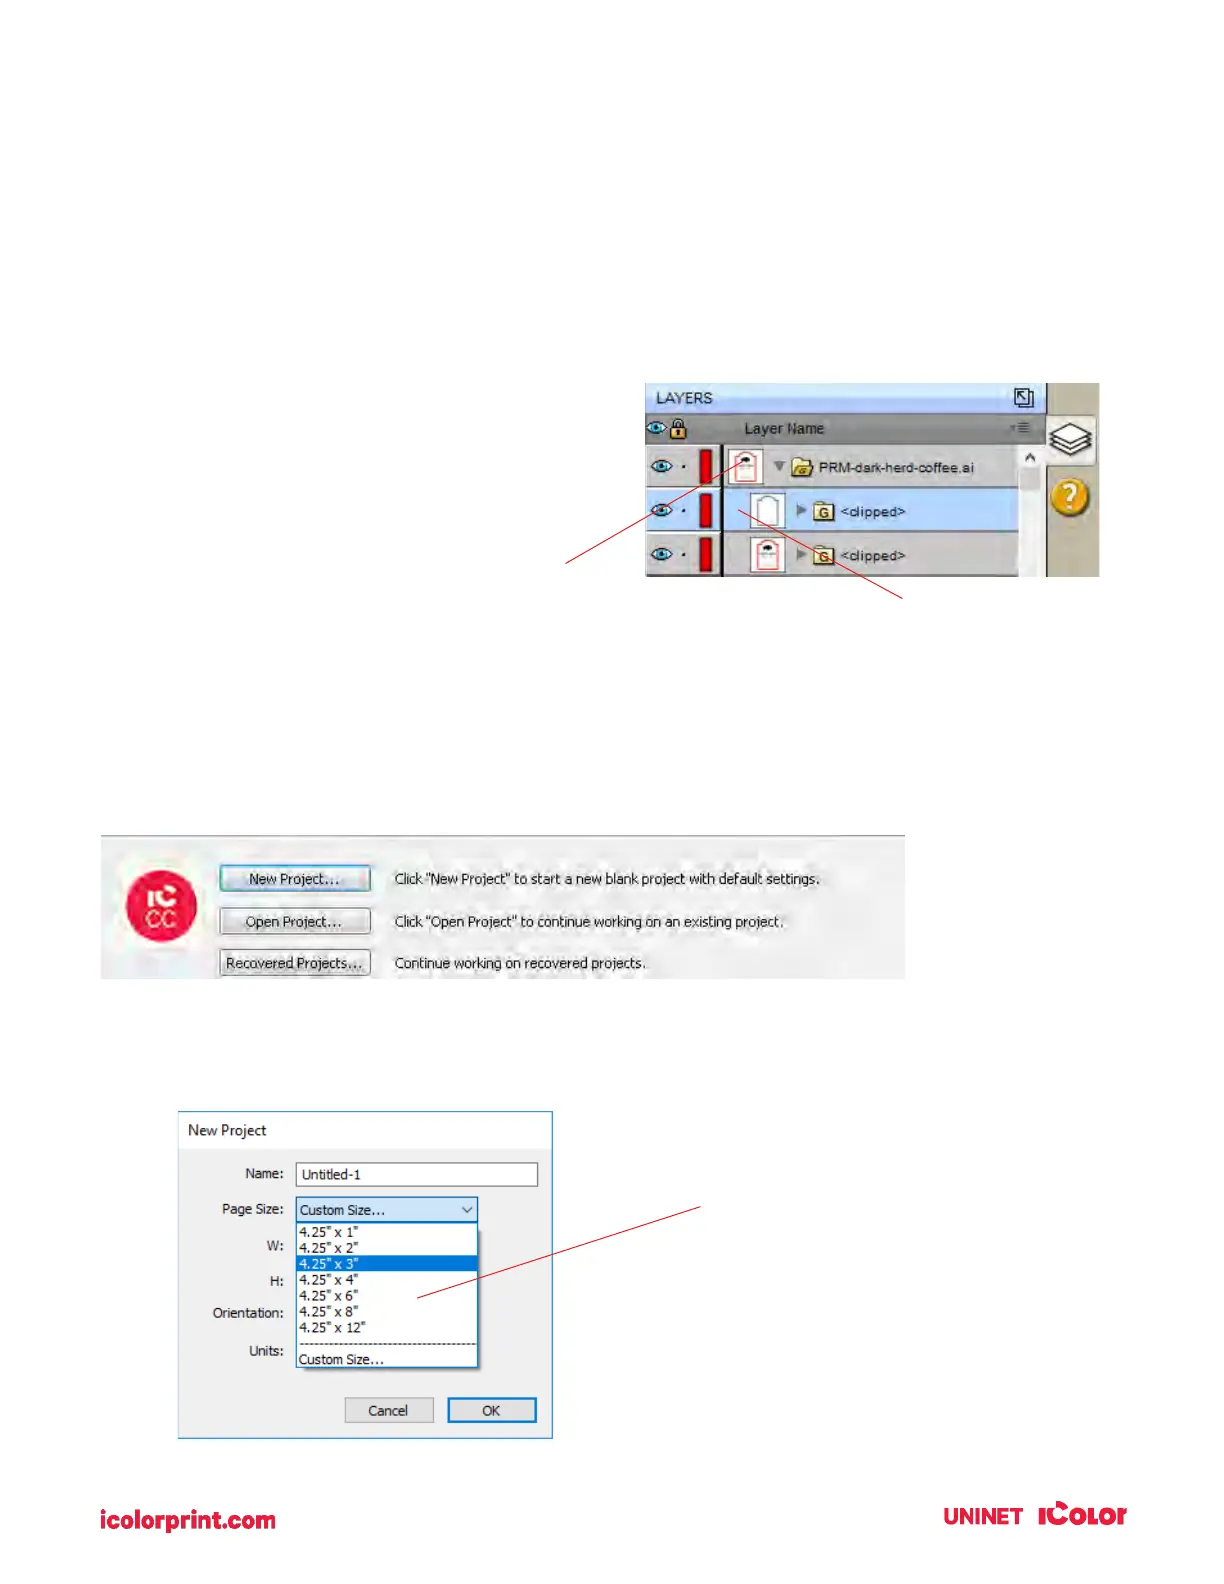
IMPORTANT NOTE: Before you start with
IColor CustomCUT, your designer should create the
print and cut lines together, and save them as two
separate layers in the same file. You’ll be able to see
these layers when you import the file into
IColor CustomCUT.
4C1. Choosing a Label Size (Page Layout)
After you activate your software you will be prompted to open or create a new project.
1. Choose New Project…
2. Set your page size. Since all die-cutting media is 4.25” wide the standard maximum width is
automatically set to 4.25. In this example we have set the size to 4.25 x 6 to accommodate
approximately a 4” x 6” label.
Tip! Set your page larger than the
label size to be cut. This will allow you
to create a bleed around the label so
that you always cut inside your print
and get perfect cut every time.