User's Guide _______________________________________________________________________
130
_____________________________________________________ M210296en-A
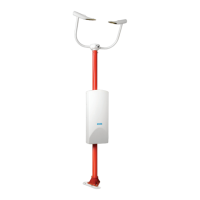
The following numbers refer to Figure 35 on page 129:
1 = Wind shield
2 = Two RainCap™ elements
3 = Assembly clamp
4 = White
5=Red
6=Blue
7 = Yellow
8 = Green
9 = Black
10 = Pressure compensation element
To replace the DRD12, do the following:
1. Pull the DRD12 cable through the feedthrough of the DRD12
unit and attach the six wires to the screw terminal as shown in
Figure 35 on page 129.
2. Tighten the hexagon nut of the feedthrough.
3. Place the cover on the DRD12 unit and fasten the four screws.
4. Fix the windshield with the bolt. Place the assembly clamp and
fasten the DRD12 to the crossarm by tightening the two nuts.
Calibrating FD12P Weather Sensor after Unit
Replacement
The hardware of FD12P electronics unit has been checked and tuned
at the factory. All adjustments specific to a complete sensor are made
in the software. The sensor stores the calibration factors and several
internal monitoring values in the EEPROM memory on the processor
board. The parameters in question are listed in Table 24, Table 25, and
Table 26 on page 131.