16
50. Press the DONE button.
51. On the Scan Results screen, press the PRINT button.
PRINT NOTESSCAN
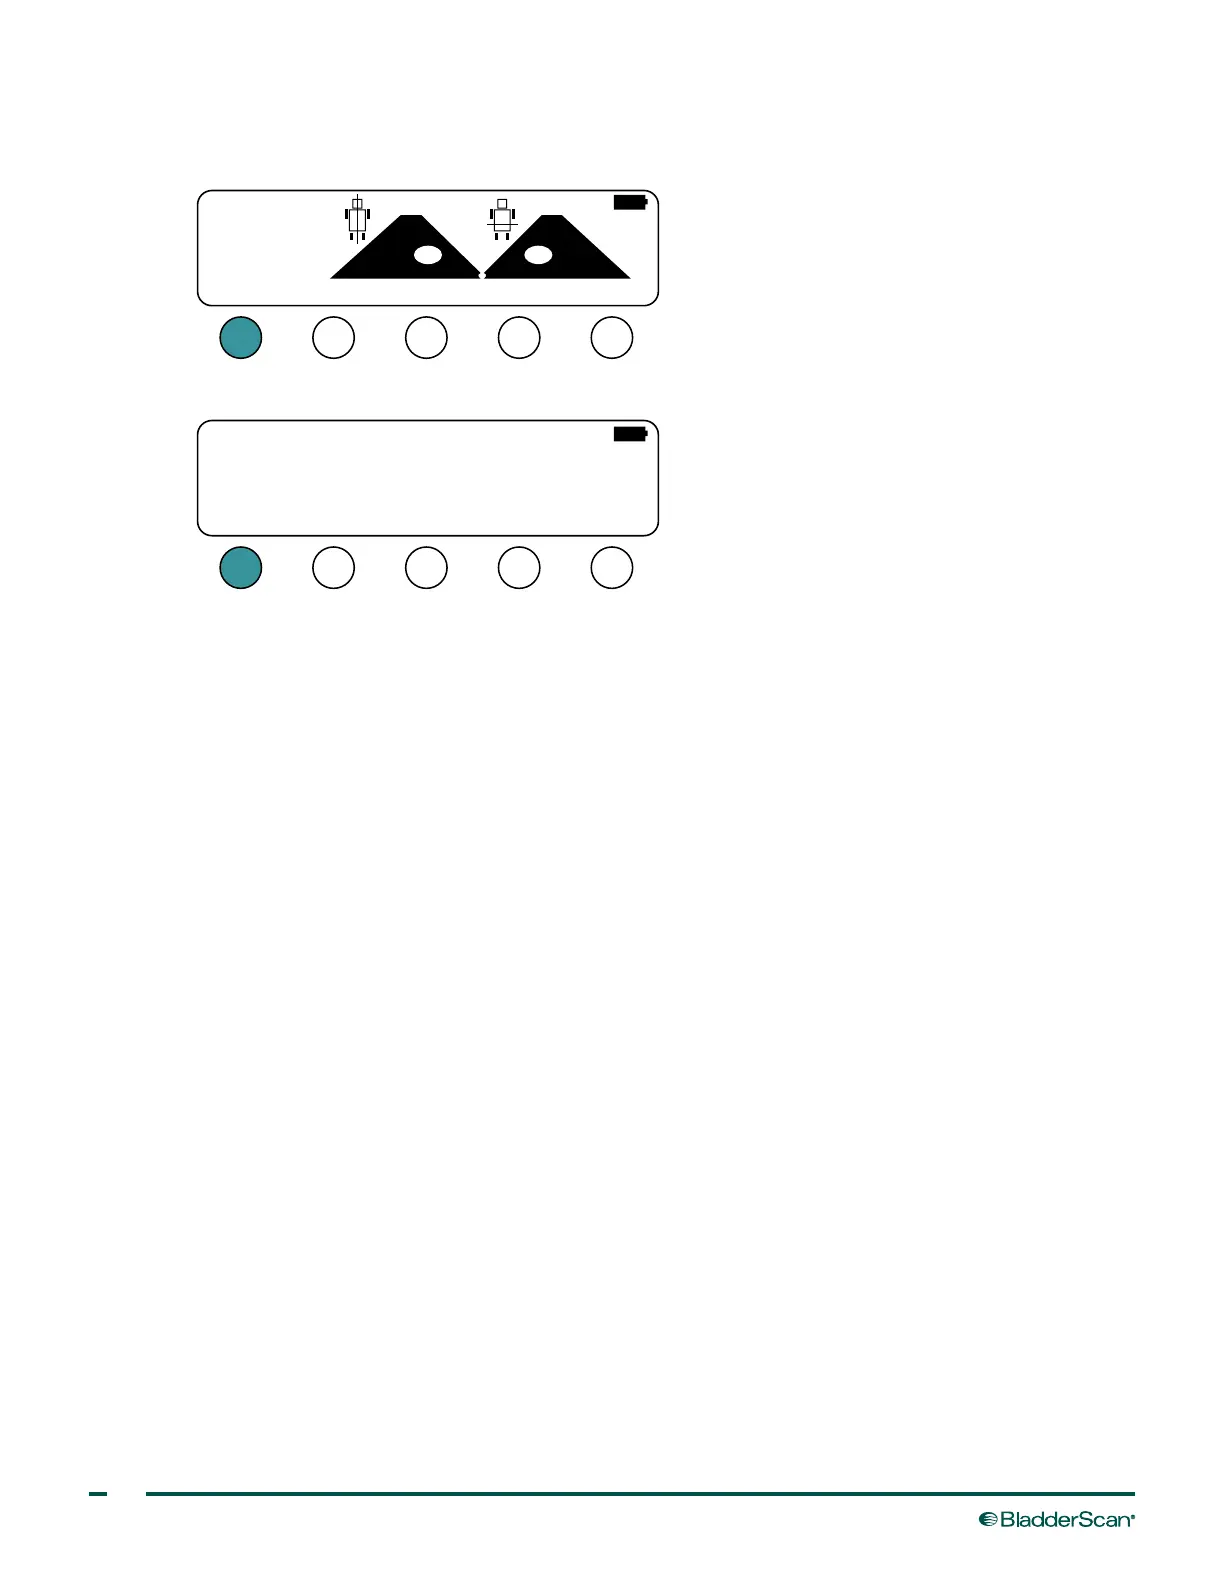
21 cm
2
21 cm
2
MAIN #
132
ml
52. On the Print screen, press the PRINT button. The console prints the scan results.
PRINT SEL DONE
TEST PRINT
COST SAVING
LAST IMAGEX
53. On the printout, verify that the printed volume measurement is correct and that the printed serial
number matches the console serial number.
TEST THE BATTERY CHARGER & BATTERIES
54. Plug the battery charger into an outlet or power supply.
55. Insert a known‑good battery into the battery charger.
56. Verify that the LED light turns solid or flashing green, confirming that the battery is charging.
If the LED does not light or the solid amber light appears, check the following:
• Ensure that the battery is not overly cold or hot. The charger indicates a solid amber LED when the
battery is outside of normal charging temperatures.
• Verify the cord is conductive.
• Verify that the outlet is supplying sufficient power.
57. Inspect the battery charger and batteries for damage.
58. If the batteries are damaged beyond use or do not function properly, replace them.
59. If the system is being serviced due to power‑related issues and the batteries are not being replaced due
to damage or reduced effectiveness, make sure the batteries are functional.
60. If the system passed this procedure, continue to the next procedure.
 Loading...