65
Verathon Service Partner Manual: Repair & Replacement
PROCEdURE 20. PROGRAM THE CONSOLE
Complete this procedure if you replaced the EPROM or the PCB assembly.
1. Place a charged battery into the console, and then press the Power button. The instrument should start
in configuration mode. If it does not, complete the procedure Enter Configuration Mode on page6.
2. If you replaced the EPROM, complete Step3 through Step7.
If you replaced the PCB assembly, skip to Step8.
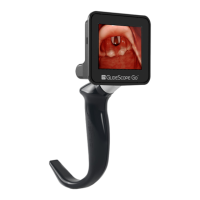
3. On the Main Configuration screen, press the MFG TEST button.
CABLE
TEST
PROG
PROBE
MFG
TEST
SETUP
NOW RUN
THIS UNIT IS NOT SETUP
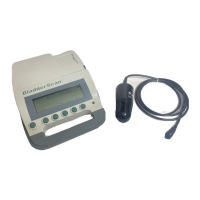
4. On the Manufacturing Test Menu screen, press the DIG TEST button.
AMODE
SCAN
BOX
ID
BENCH
TEST
DIG
TEST MAIN
MANUFACTURING TEST MENU
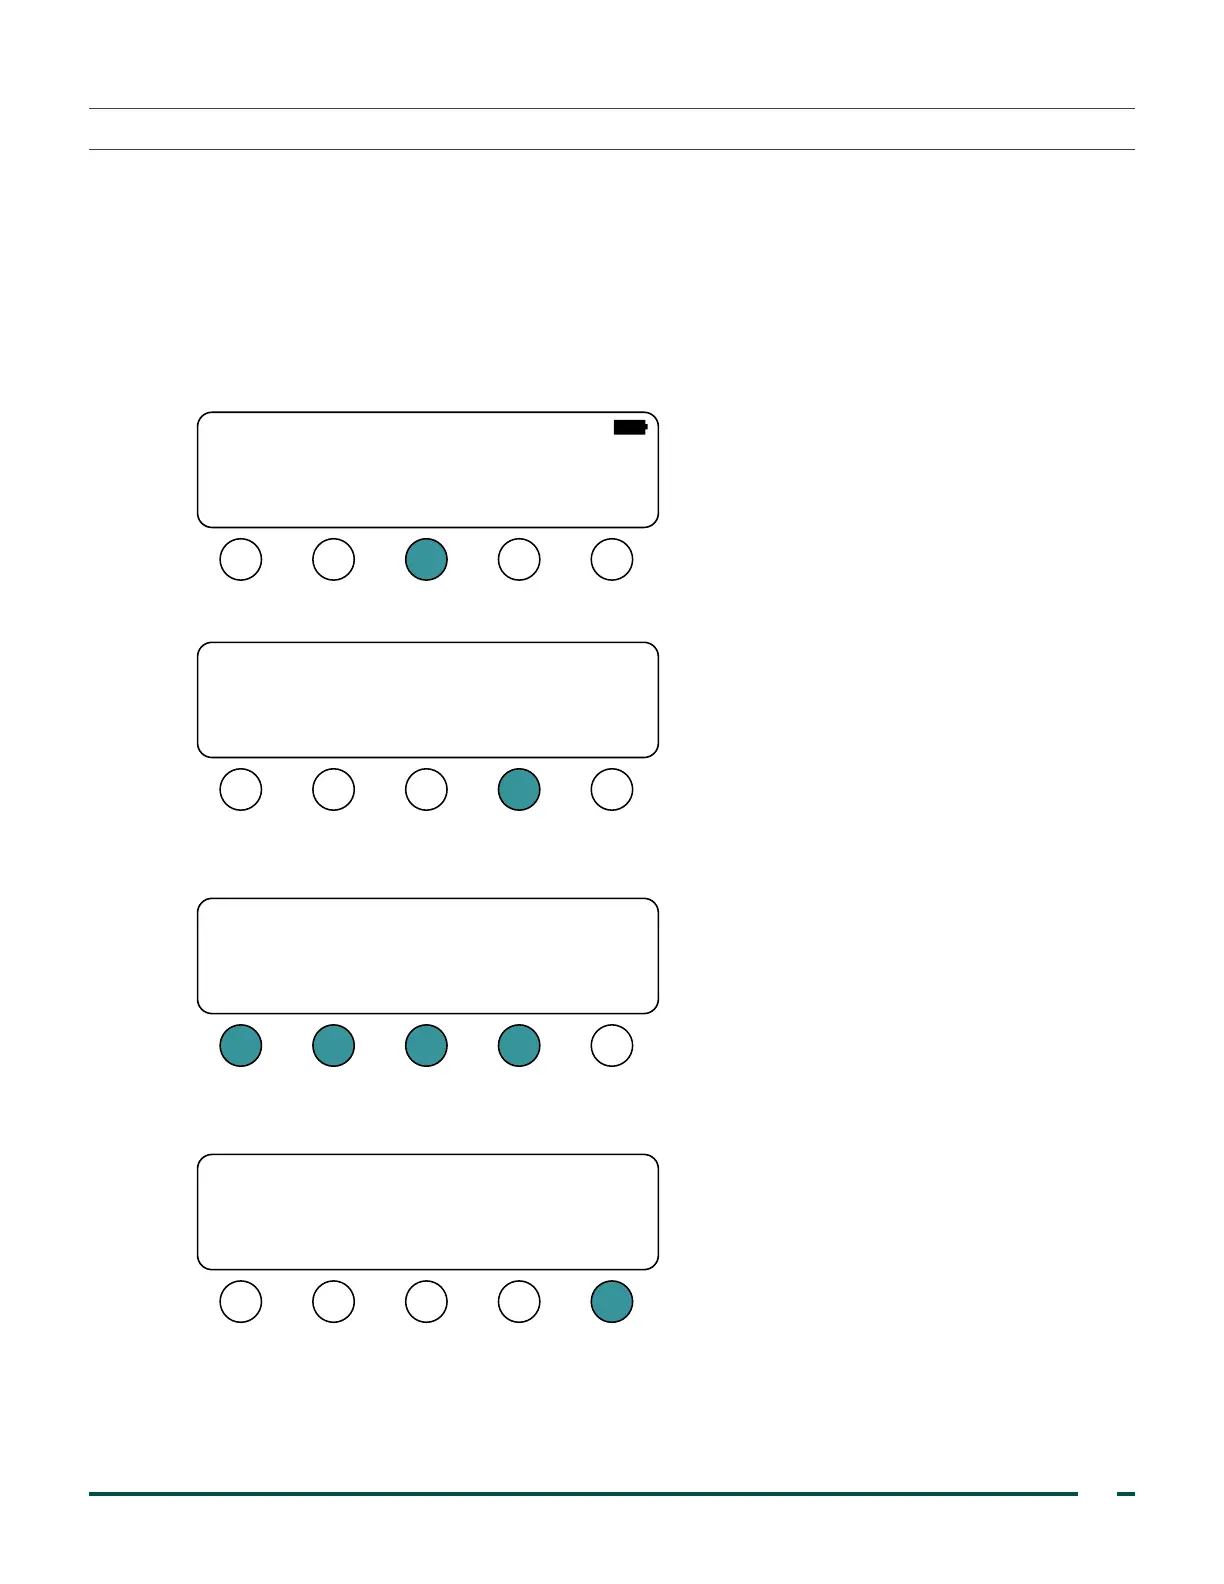
5. On the Digital Test screen, press the S1, S2, S3, and S4 buttons in sequence from left‑to‑right. Each
button beeps once, and then the S4 button beeps five times.
S1
DIGITAL TEST
S2 S3 S4
SELF
TEST
6. Press the SELF TEST button. The console completes a self test, and then you are returned to the
Manufacturing Test Menu screen.
S1
DIGITAL TEST
S2 S3 S4
SELF
TEST
 Loading...