38
PROCEdURE 11. REPLACE THE LCd
QUANTITY PART # DESCRIPTION
Parts
1 0230‑0008 LCD
AR 0200‑0147 1x2 socket strip
AR 0200 ‑0139 2x10 socket strip
AR 0264‑0003 LCD standoff
AR 0260‑0264 LCD standoff nuts
4 0261‑0008 LCD standoff screws (#4‑40, ¼‑in, machine)
Tools
1 — Phillips bit
1 — 3/16‑inch wrench or socket wrench
REMOVE THE ORIGINAL LCd
1. Complete the procedure Disassemble the Console on page32.
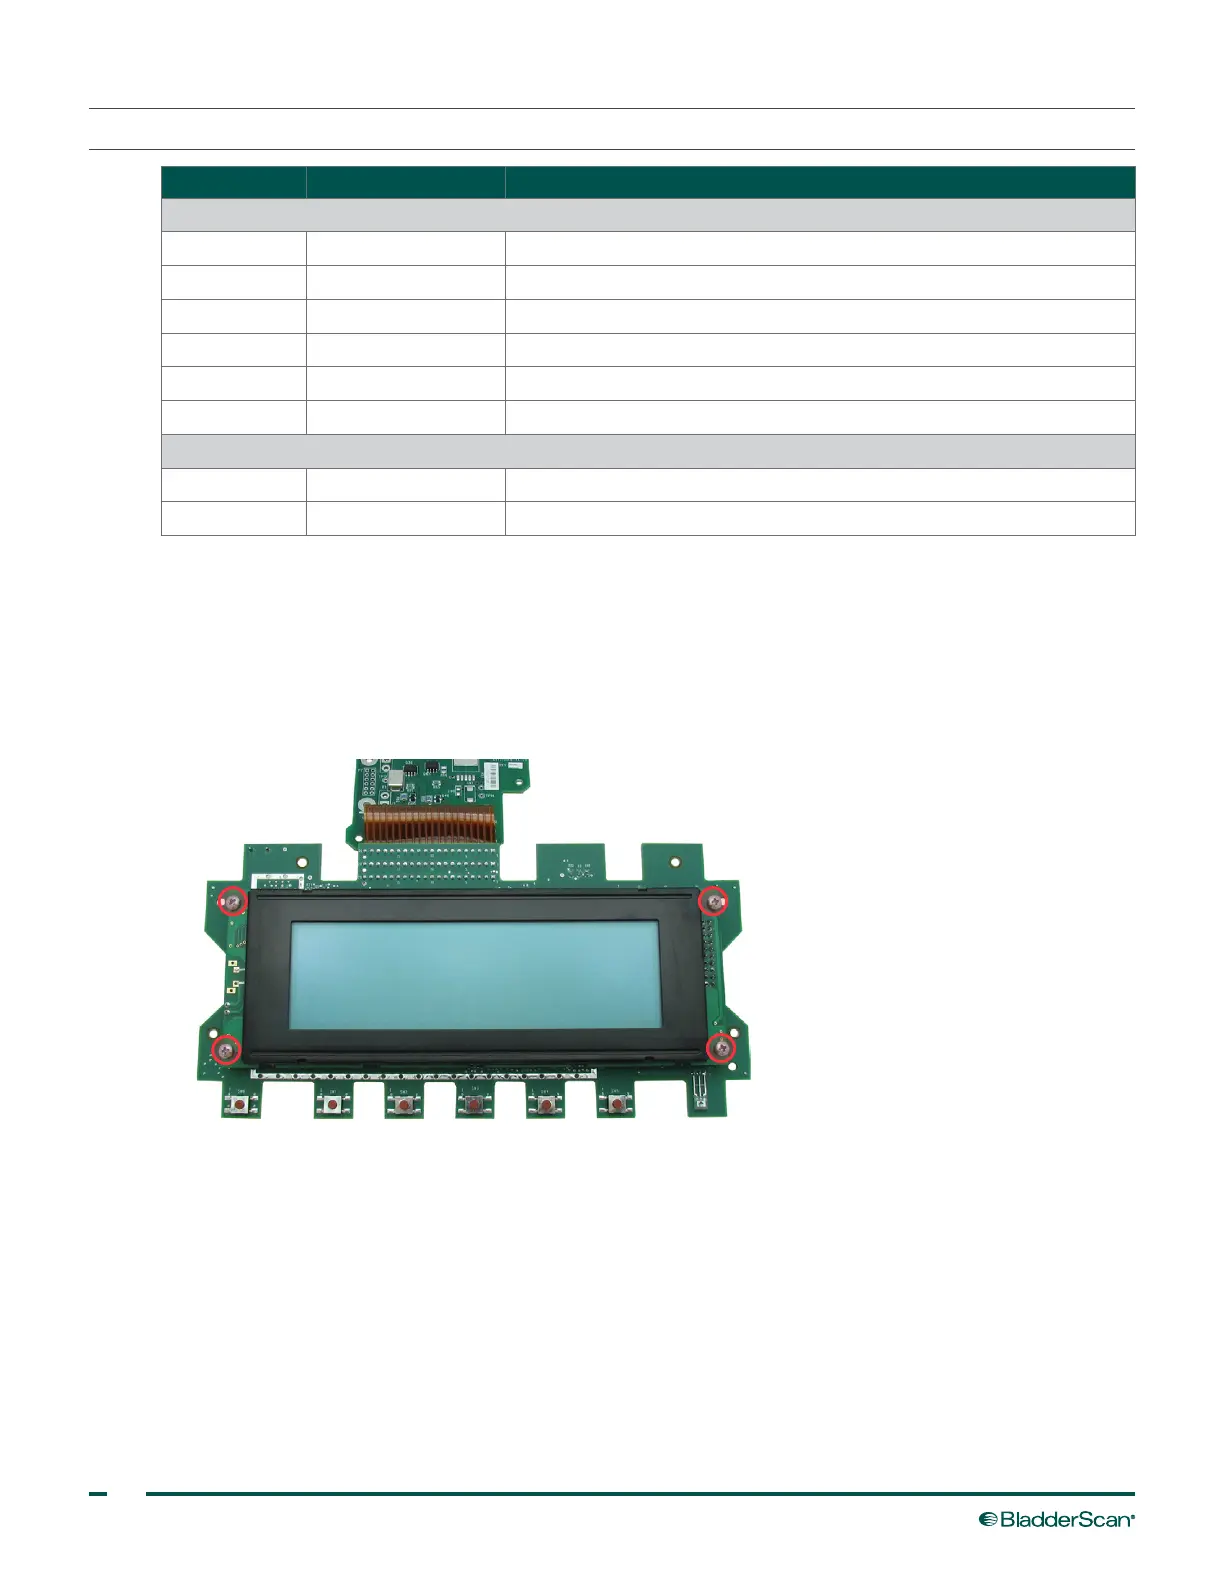
2. On the back of the digital PCB, use a Phillips bit to remove the (4) screws securing the LCD on the PCB.
Note: You may need to use a 3/16‑inch wrench or socket wrench in order to hold the LCD standoffs
(between the LCD and PCB) steady while unscrewing.
3. Gently lift the original LCD directly off of the PCB. Ensure that you do not bend or damage any pins on
the PCB.
 Loading...