20
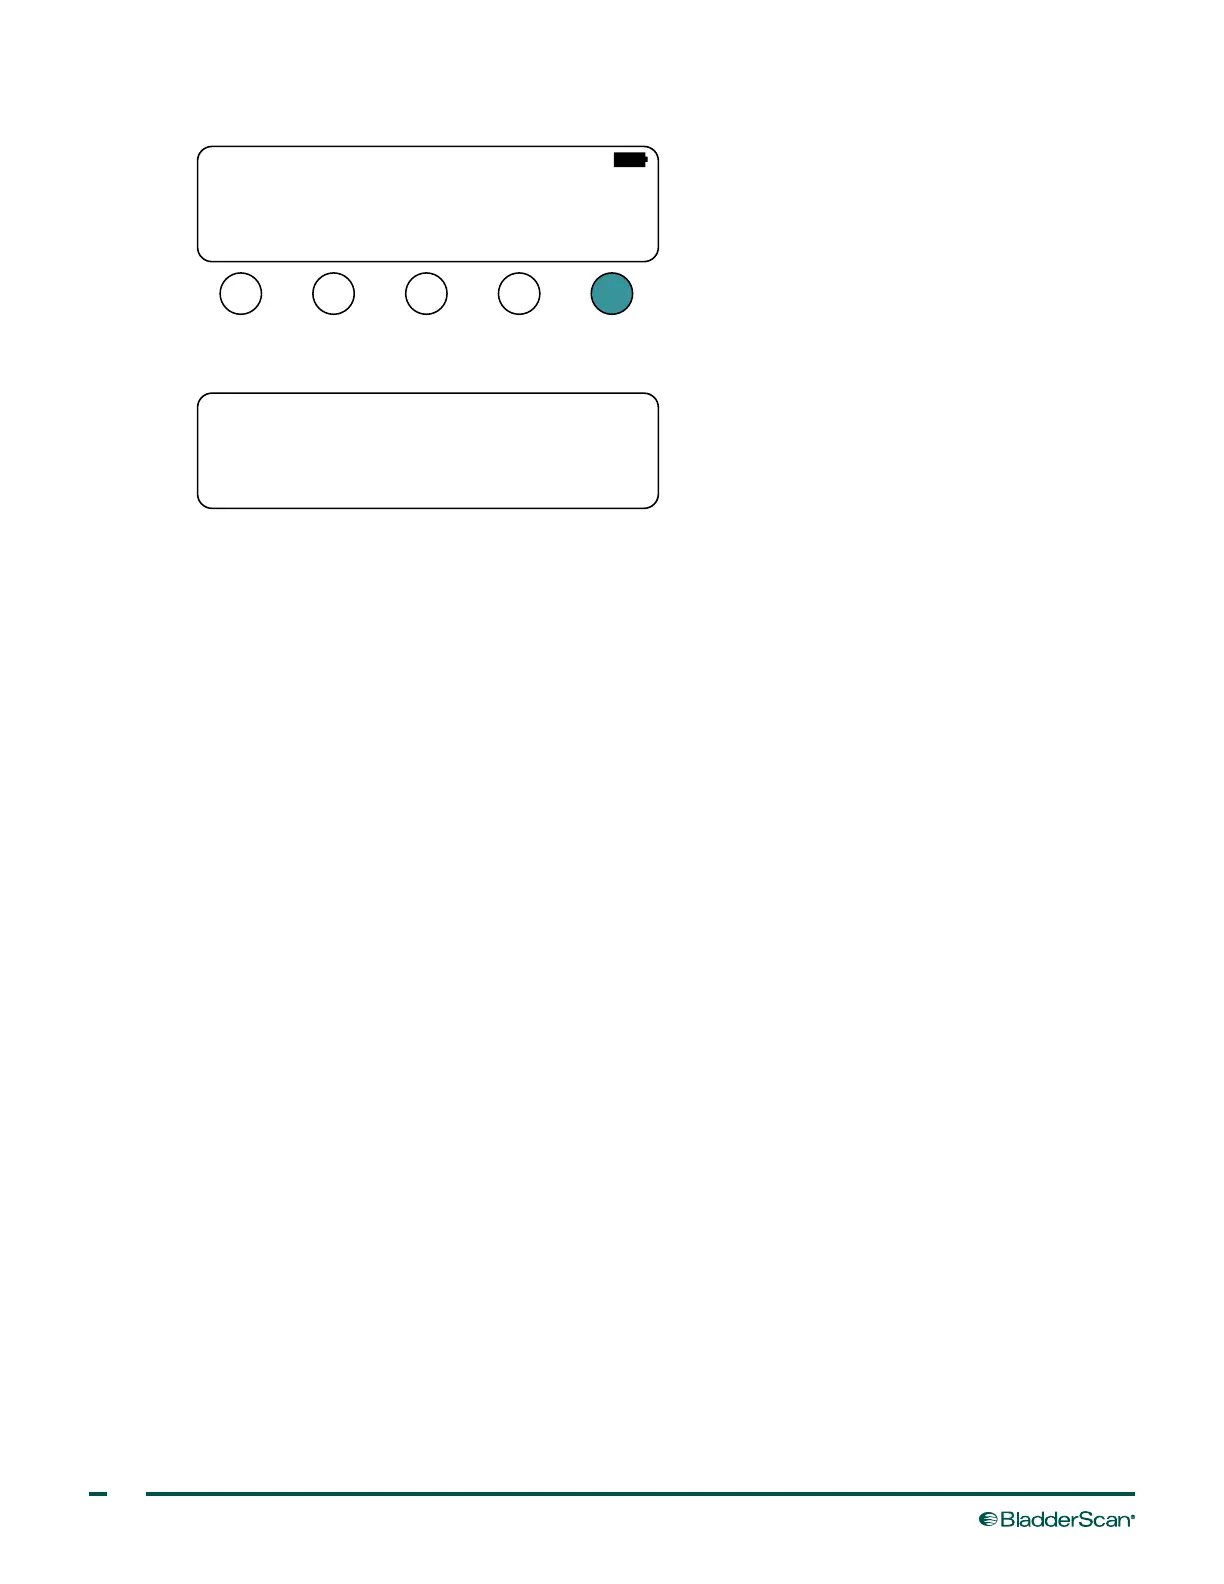
7. On the Alternate Menu screen, press the SELF TEST button. The instrument begins the self‑test.
NAME TIMEDATE
Copyright 2013 by
VERATHON Corporation
VER: 3.020 (D949)
Box ID: 00001965
PREF
SELF
TEST
As the test is completed, the Self Test screen displays the status of the systems tested. When the test is
complete, the instrument returns to the Main Menu screen.
ROM Te st PASSED
Bus Te st PASSED
NVRAM Te st PASSED
SRAM Te st PASSED
FLASH Te st PASSED
8. Confirm all of the self‑test systems passed. If the self‑test does not pass, see "Failure on self‑test" in Table 1
on page21.
9. Scan the adult bladder phantom. If needed, see the procedure Scan a Tissue‑Equivalent Phantom on
page82.
10. Confirm the scan result is within an accuracy range of ± (10% + 10 mL).
11. Complete the procedure Test the Printer on page20. Confirm that the console is printing correctly and
that the printout is legible.
12. If a service issue occurs during this procedure, service is required on the console. Skip to the following
chapter, Repair Guide on page21.
If the scan is successful, continue with this procedure.
13. Turn off the system and disconnect the test probe from the console.
TEST THE PROBE
14. Connect the probe you are servicing to the BVI3000 test console.
15. Press the Power button. The instrument turns on.
16. Scan the adult bladder phantom.
17. Confirm the scan result is within an accuracy range of ± (10% + 10 mL).
18. If you suspect that the probe is leaking oil, contact Verathon Customer Care.
19. If a service issue occurs during this procedure, then service is required on the probe. Continue to the
following chapter, Repair Guide.
 Loading...