71
Verathon Service Partner Manual: Repair & Replacement
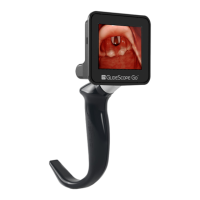
4. If the tailcone assembly does not have a lens, slide a switch actuator in front of the button.
5. Align the tailcone assembly on the probe, ensuring that the button indents are aligned and that the wires
are not pinched or pulled tight.
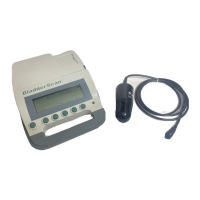
6. Using a T15 star bit and (2) tailcone screws (0261‑0028), secure the tailcone to the probe body. Do not
over‑tighten the screws, as this may break the plastic tailcone.
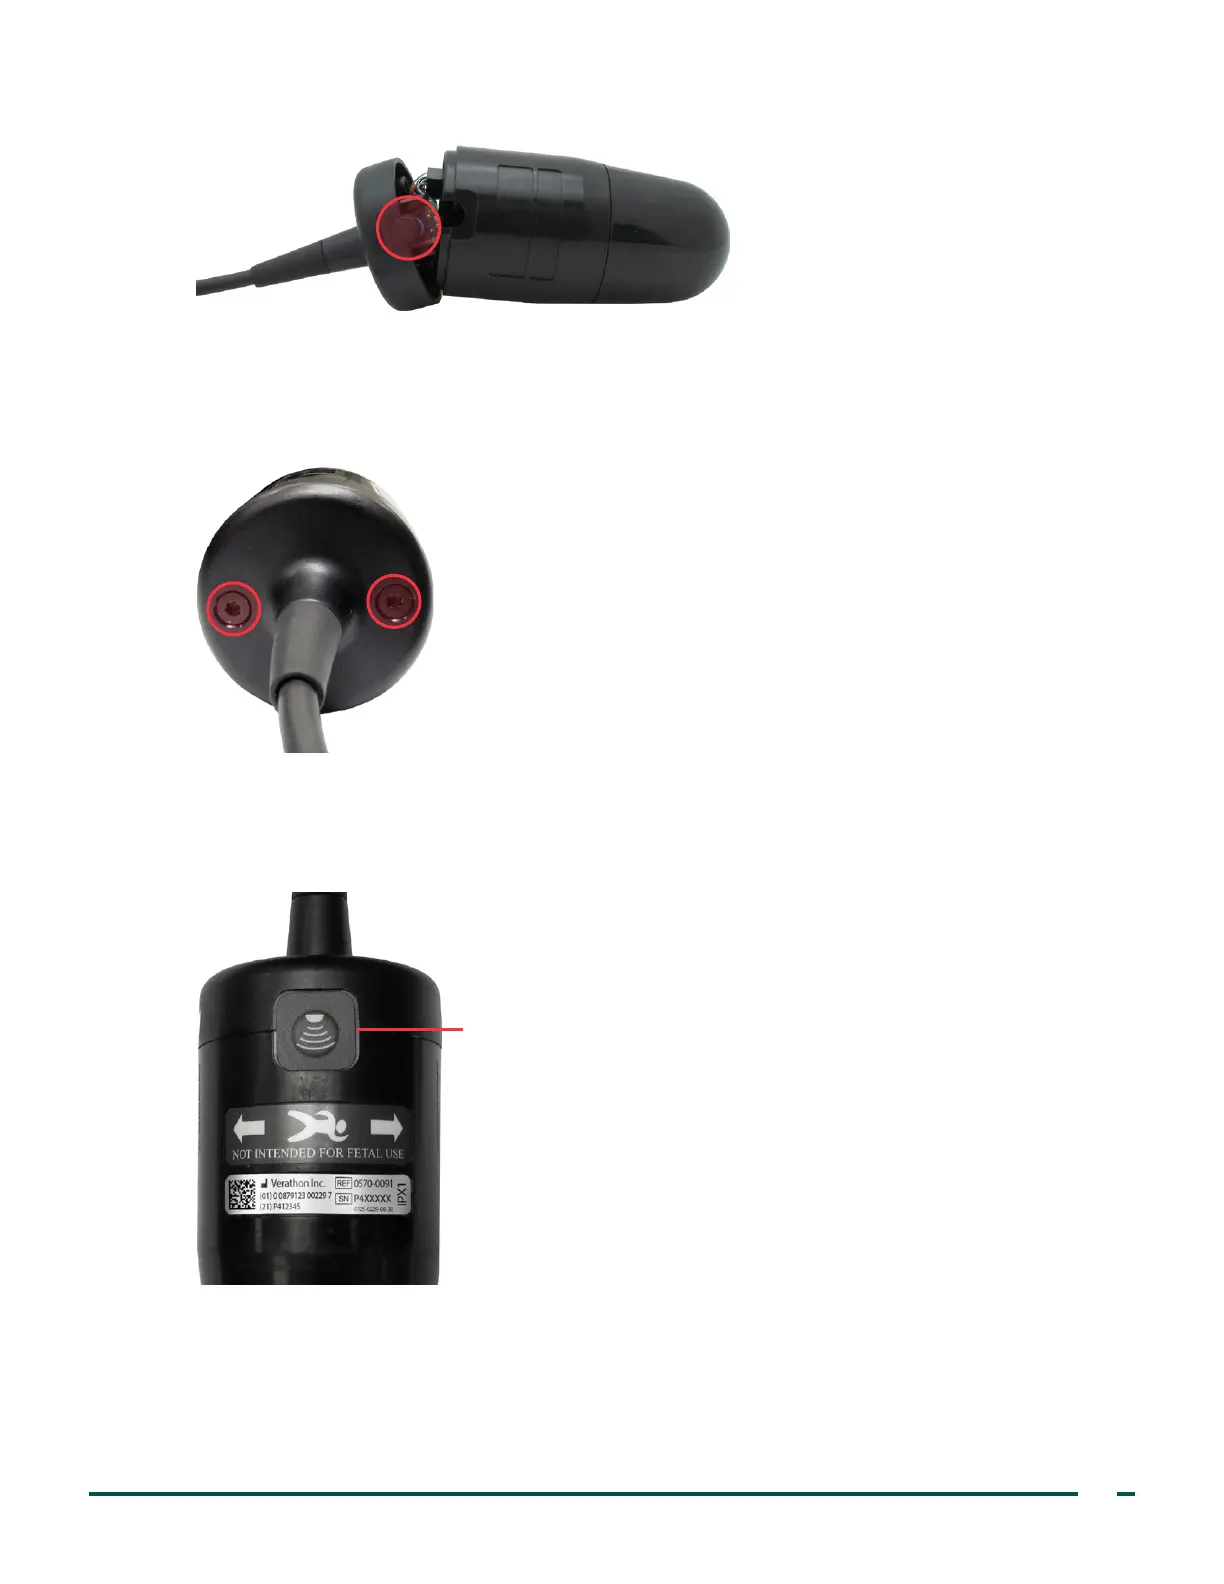
APPLY LABELS
7. Peel the backing off of a switch overlay, orient it so that the waves are pointing towards the dome, and
then apply the switch overlay onto the scan button.
Switch overlay
8. Continue to the procedure Program the Tailcone on page72.
 Loading...