030624.13 39
vetus® Electronic engine remote control
Vdc (the plug is
marked with in red)
GND - it is
marked with ‘N’
• pay attention that the positive wire must be screwed to the clamp with the red mark
• insert the plug into the connector of the actuator box and power-up
• open the actuator box removing the 4 plastic screws
If the plug has been wired properly, after power up, the display shows a sequence of 2 codes: ‘FI’ and ‘XX’:
• ‘FI’ means Firmware;
• ‘XX’ is the firmware version.
… and after 2 seconds the display shows “_ _”.
If the display on the actuator doesn’t show any light, it means that there is no power supply on the actuator box.
Causes:
• the electrical connection is missing, check where
• the actuator has been supplied with inverse polarity, therefore:
• swap plus and minus wires, in order to re-establish the right polarity on the supply cable
• replace the fuse of 6,3 A that you find on the front of the actuator box
• insert again the plug into the connector of the actuator box and power-up
If the display is lighted, the cabling is correct and you see on the actuator’s display the following sequence of digits re-
ported here above (FI XX _ _).
In case of installations with 2 actuators, repeat the same procedure on each actuator (check that both displays light on).
Only after you have assured that the actuators have been powered up correctly, you can connect the CANBus cable
between the actuators and all the other electrical cables.
Supply voltage 12 V 24 V 12/24 V
Internal fuse (on the actuator PCB) 5,0 A
Wall fuse 6,15 A - 6,15 A
Current absorbed in no loaded condition 0,5 A 0,25 A 0,5 A (max)
8 Electrical installation
System’s components involved: actuator, supply connector, all the electrical cables
8.1 Wiring from the battery to the actuator (input cables)
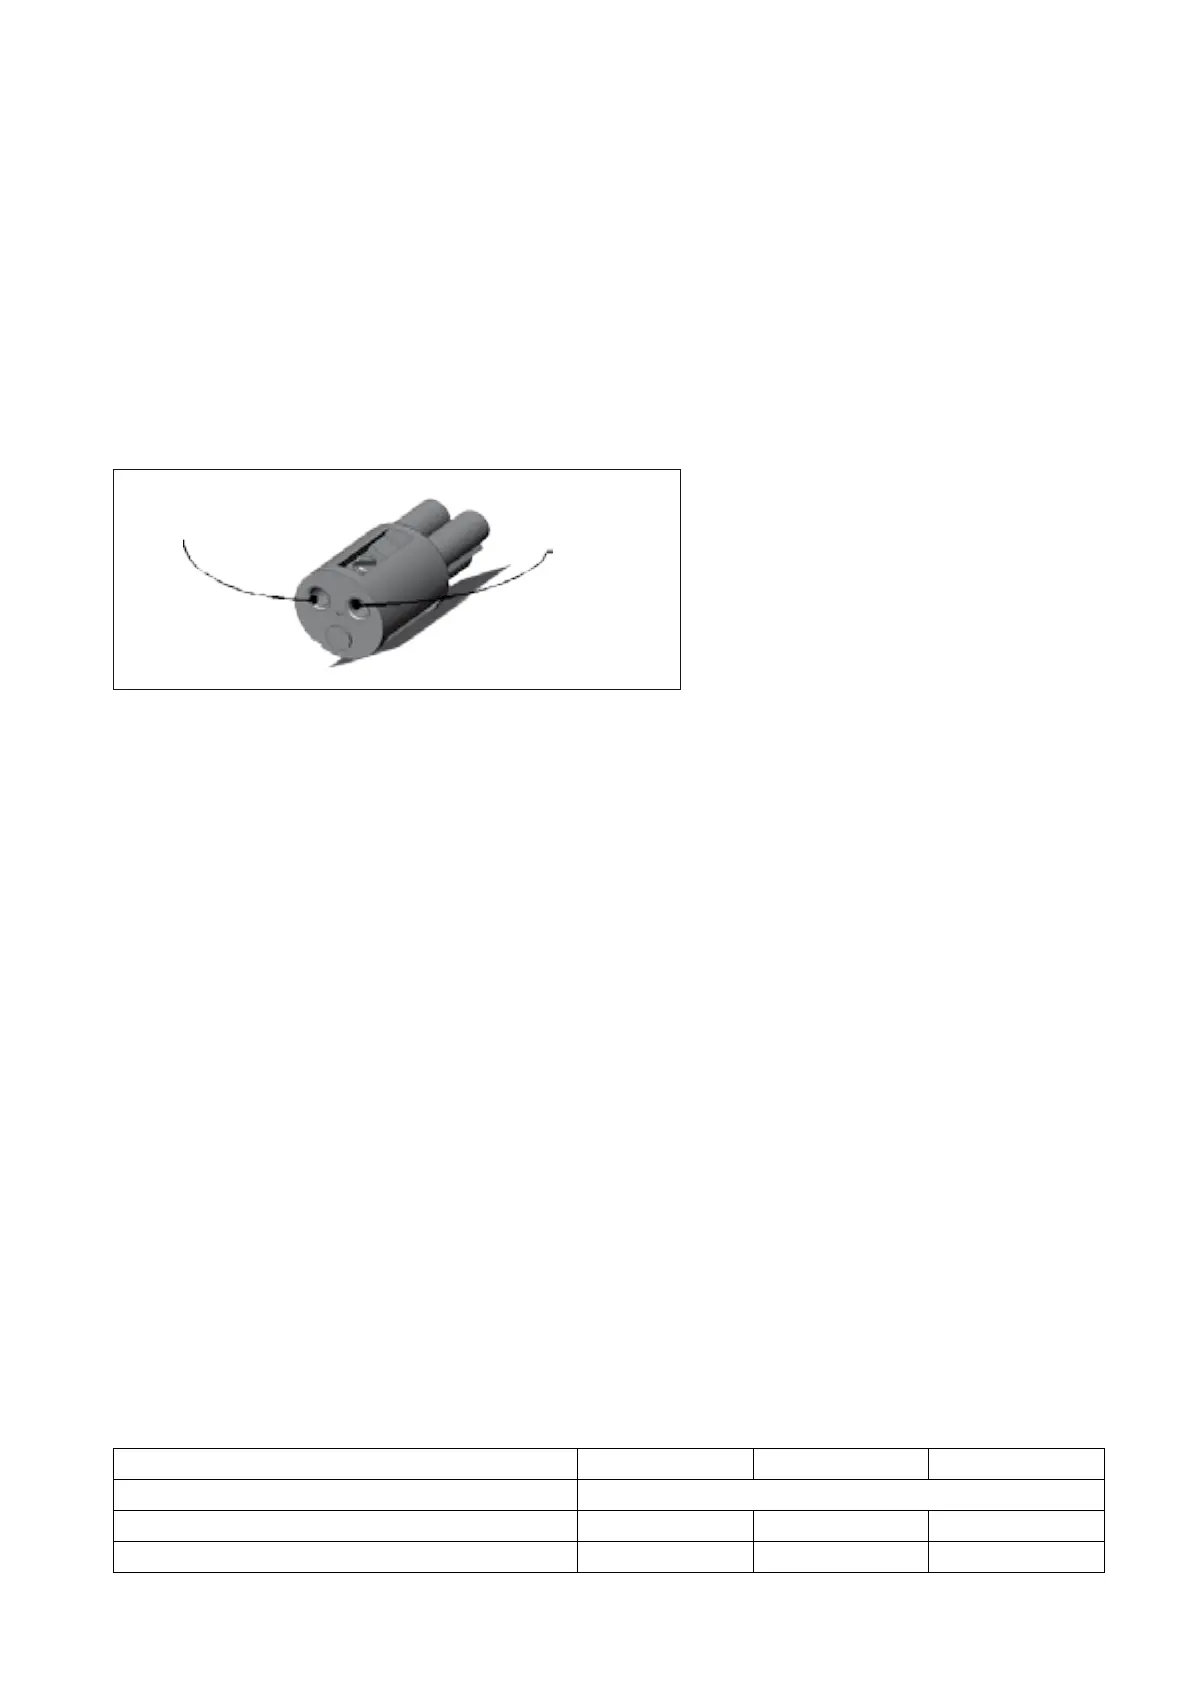
8.1.1 Supply connector
First of all you must wire the power supply cable, do not connect any other cable before having checked that this
operation has been performed correctly!
Choose a cable with a cross section of at least 2,5 mm
2
.
Each actuator is delivered with an external supply plug, identify the insert of the power plug.