VR Technology Limited
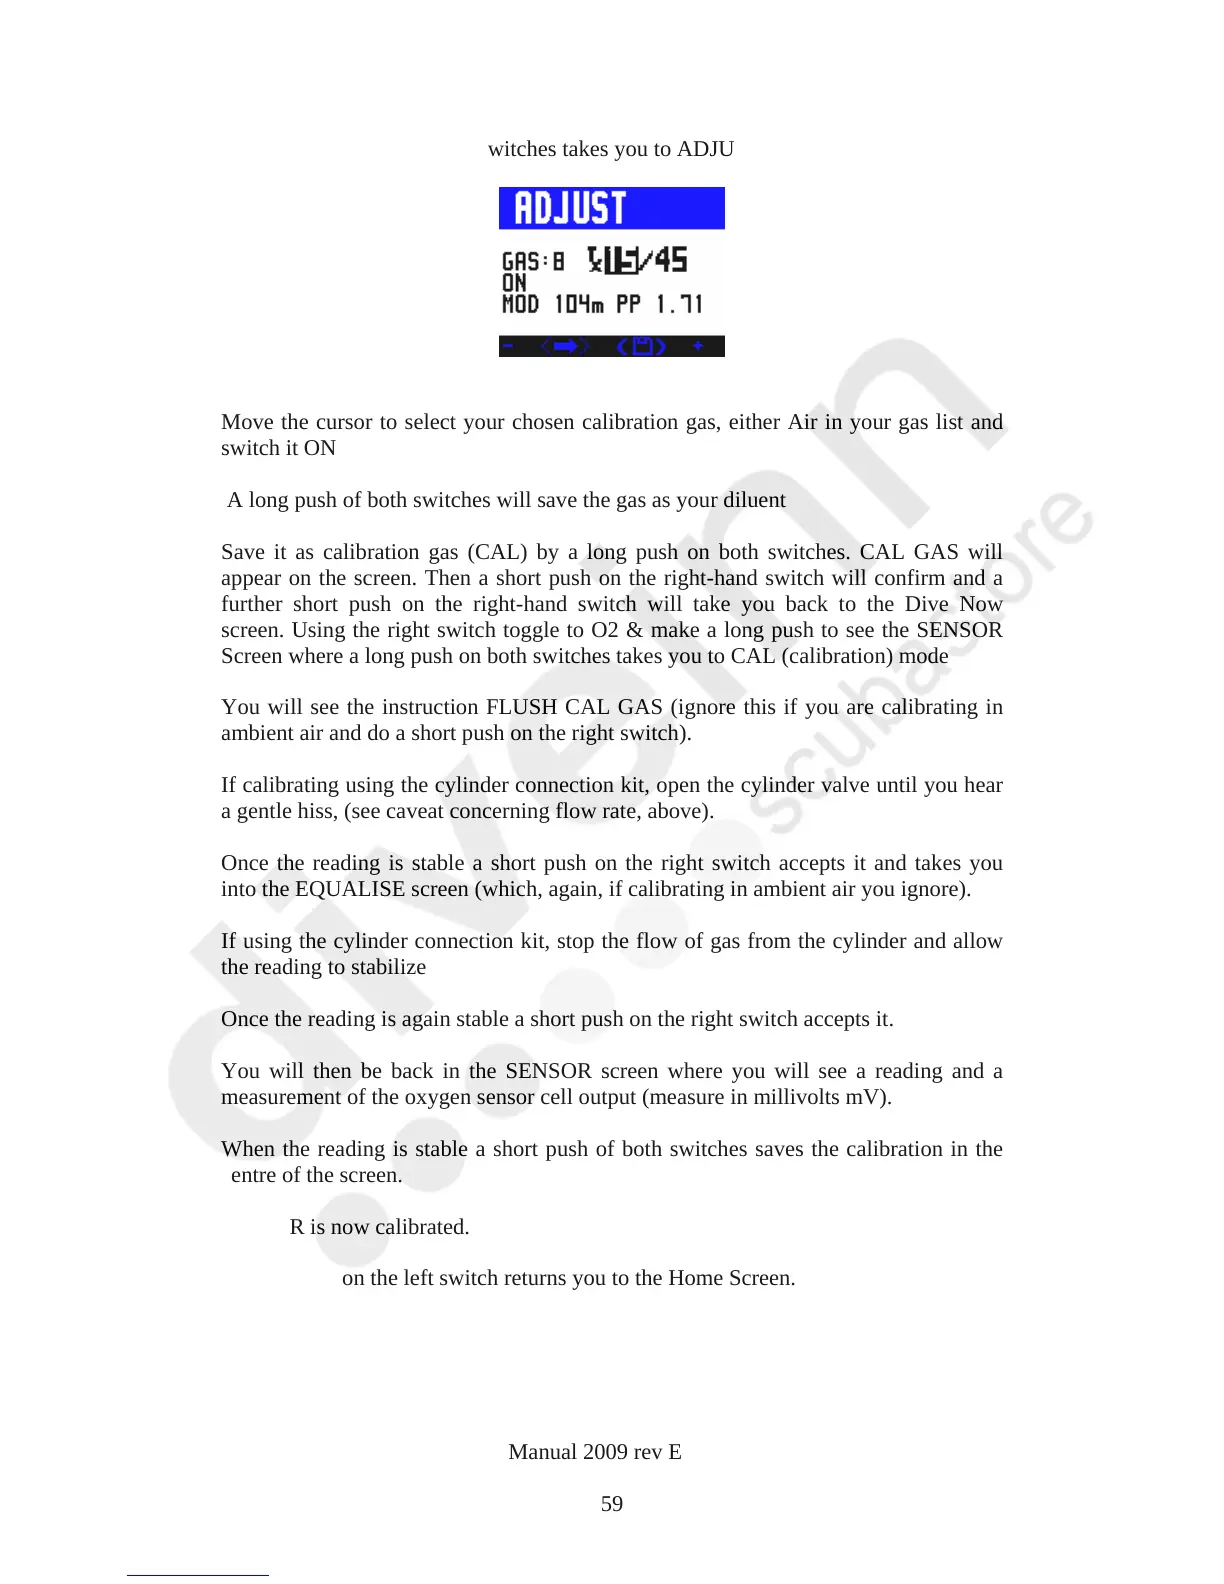
a further short push of both switches takes you to ADJUST
Move the cursor to select your chosen calibration gas, either Air in your gas list and
switch it ON
A long push of both switches will save the gas as your diluent
Save it as calibration gas (CAL) by a long push on both switches. CAL GAS will
appear on the screen. Then a short push on the right-hand switch will confirm and a
further short push on the right-hand switch will take you back to the Dive Now
screen. Using the right switch toggle to O2 & make a long push to see the SENSOR
Screen where a long push on both switches takes you to CAL (calibration) mode
You will see the instruction FLUSH CAL GAS (ignore this if you are calibrating in
ambient air and do a short push on the right switch).
If calibrating using the cylinder connection kit, open the cylinder valve until you hear
a gentle hiss, (see caveat concerning flow rate, above).
Once the reading is stable a short push on the right switch accepts it and takes you
into the EQUALISE screen (which, again, if calibrating in ambient air you ignore).
If using the cylinder connection kit, stop the flow of gas from the cylinder and allow
the reading to stabilize
Once the reading is again stable a short push on the right switch accepts it.
You will then be back in the SENSOR screen where you will see a reading and a
measurement of the oxygen sensor cell output (measure in millivolts mV).
When the reading is stable a short push of both switches saves the calibration in the
centre of the screen.
Your VR is now calibrated.
A short push on the left switch returns you to the Home Screen.
VR Dive Computer Operations Manual 2009 rev E 28/01/2009
59