June 11, 2015, 715004754 Rev. A
Page 85
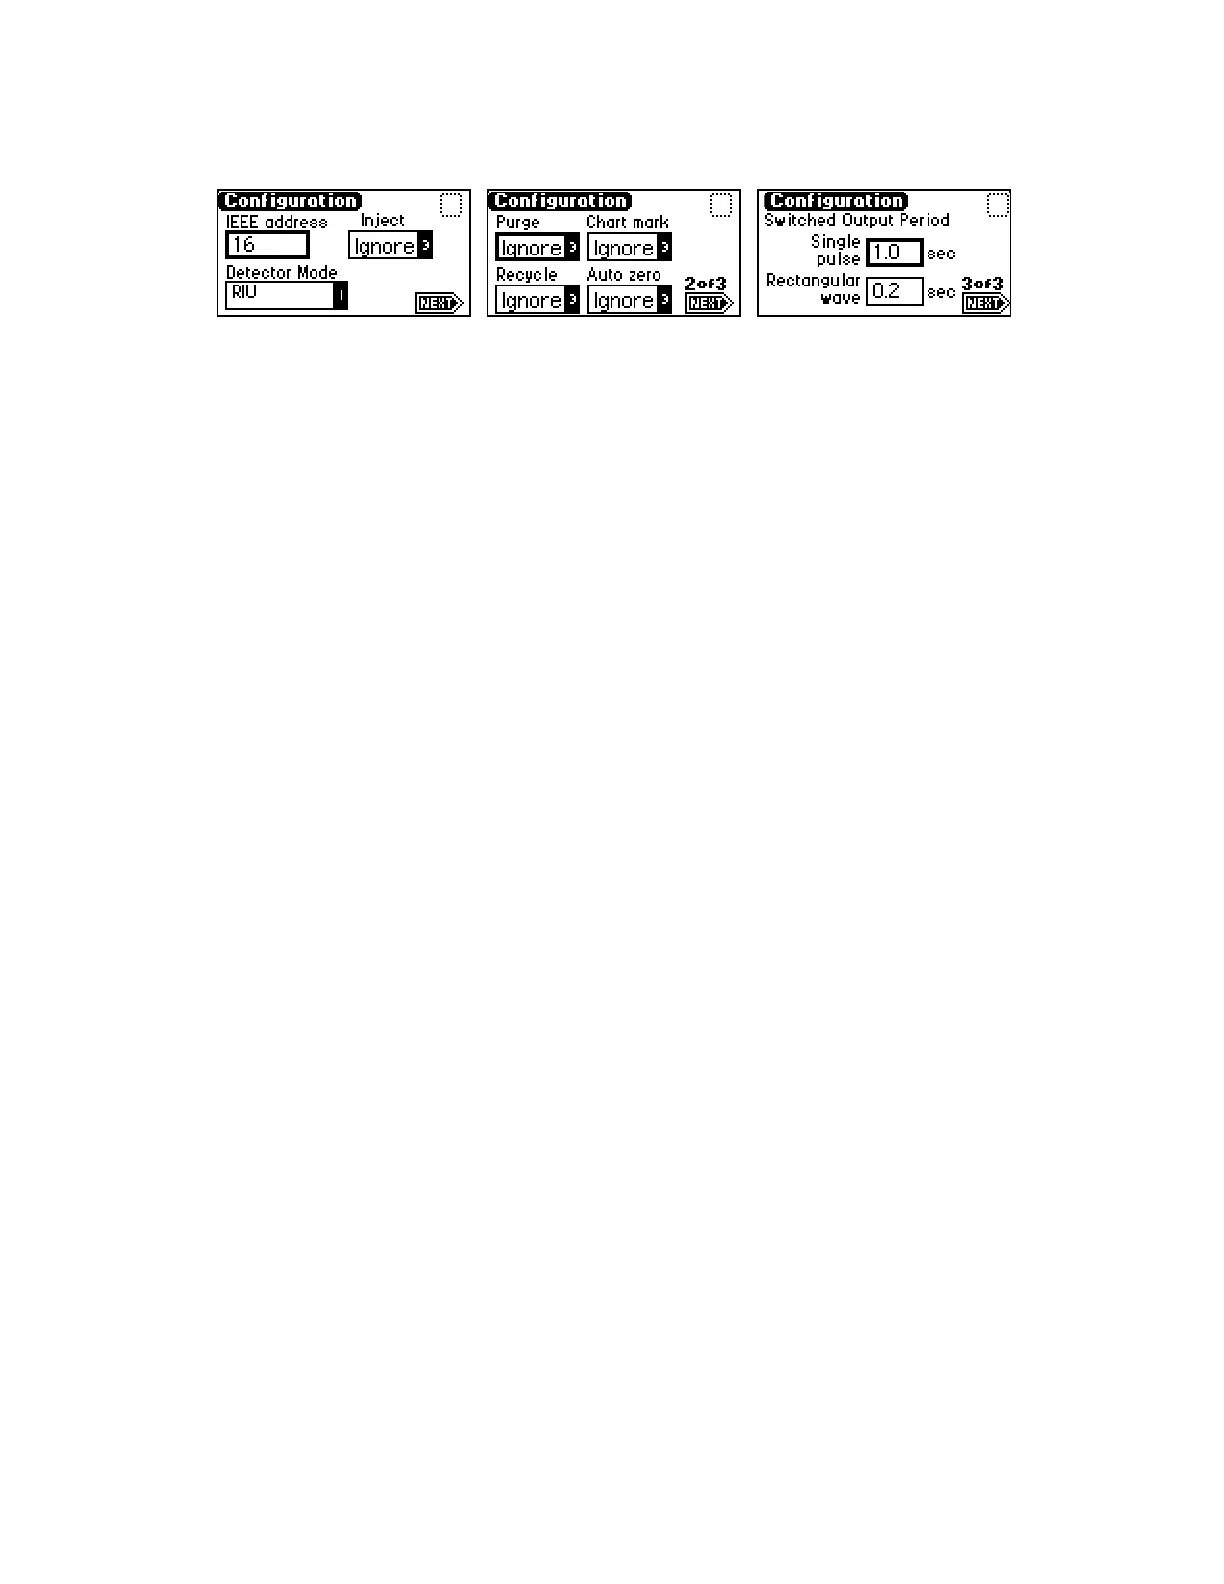
Figure 5–15: Configuration screens
5.5.2 Setting the IEEE address
IEEE address – Enter the detector’s IEEE-488 bus address, from 2 through 29. If you
press the CE key, the detector is removed from IEEE control. The default IEEE address
is 14.
5.5.3 Setting detector mode
Note: When connected to the data control software, the detector defaults to 410
mode.
In the Detector Mode field, you engage the RIU or 410 mode.
5.5.4 Configuring event inputs (contact closures)
Note: On startup, the detector switches are set to “ignore”.
Use these fields on the first and second Configuration screens:
• Inject – Specify the Inject input to signal the start of a run.
– High – Start run when contact closure changes from Off (open) to On
(closed).
– Low – Start run when contact closure changes from On (closed) to Off
(open).
– Ignore – Do not respond to Inject start input. This is the default setting.
Use the Enter key and the numeric keypad or the s and t keys to select the
appropriate entry. This event resets the run-time clock and applies the
initial method conditions immediately.
• Chart mark – Specify the Chart mark input to create a chart mark on the
Detector Out signal. You determine the response of the channel using the
enable chart mark function explained in the table on page 75 and shown in the
figure on page 72.
– High – Create chart mark(s) when contact closure changes from Off (open)
to On (closed).
– Low – Create chart mark(s) when contact closure changes from On (closed)
to Off (open).
– Ignore – Do not respond to Chart mark input. This is the default setting.
Use the Enter key and the numeric keypad or the s and t keys to select the
appropriate entry.
Configuration screen 1 Configuration screen 2 Configuration screen 3