Maintaining 600E Pump Components 65
5. Set the flow rate to 0.1 mL/min. Run the pump until the indicator rod fully retracts
into the pump head.
6. Turn off the 600 controller to power down the pump.
7. Remove the inlet and outlet pump lines from the check valve housings.
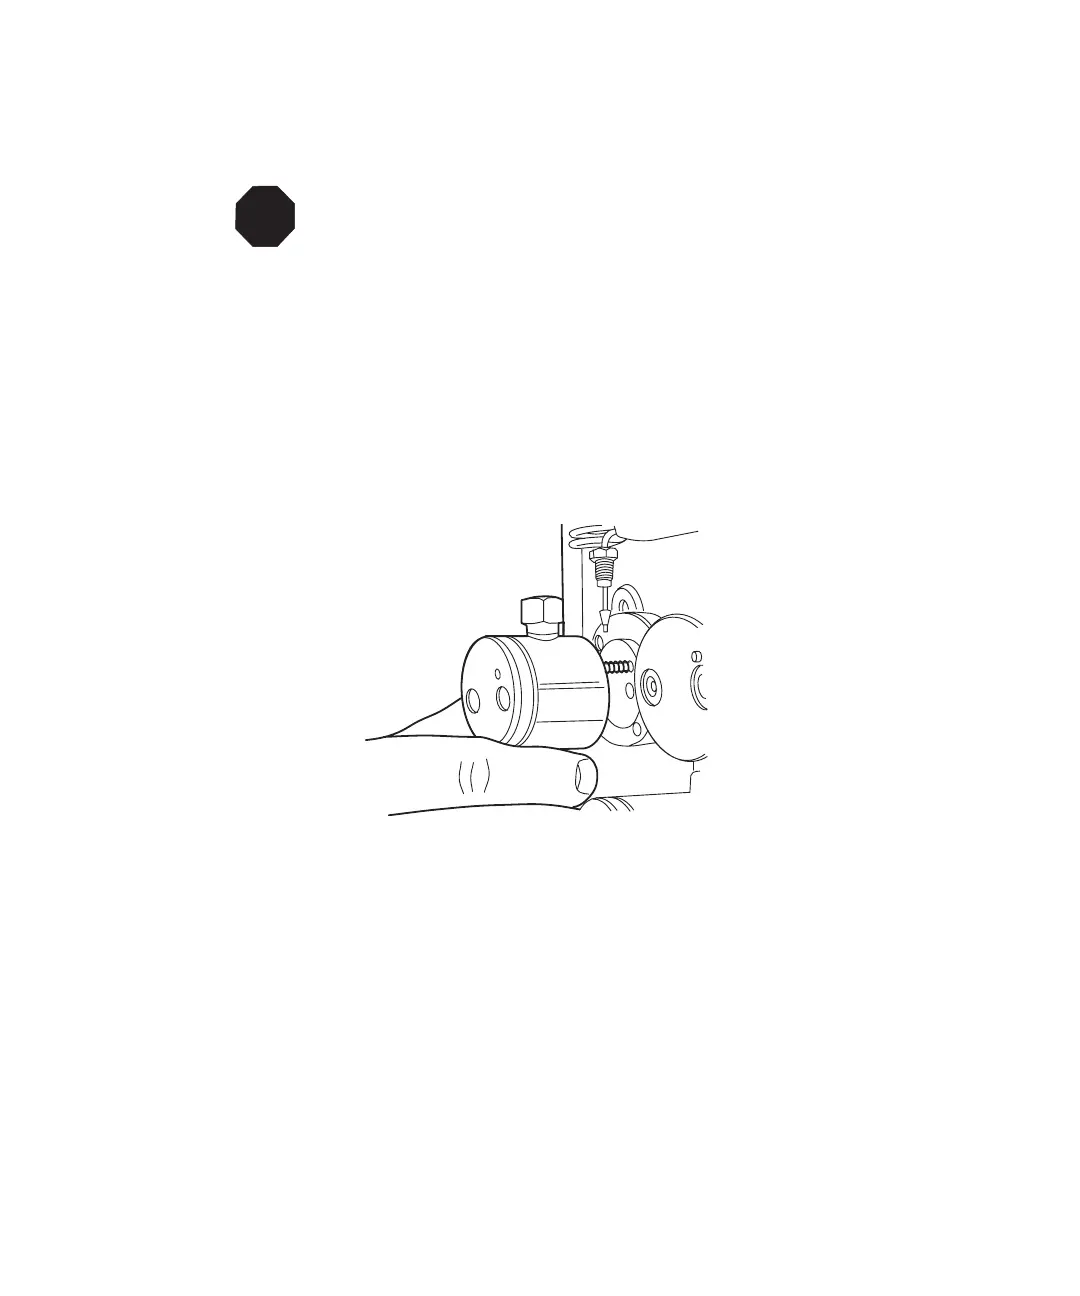
8. Remove the pump head assembly mounting bolts with a 5/32-inch Allen wrench.
Loosen the screws 1/2-turn at a time for the first two turns. Slide the pump head
assembly off the pump (Figure 4-6).
Note: If desired, you may remove the complete pump head-plunger support
assembly. Refer to Section 4.2.5, Cleaning and Replacing the Pump Plunger.
Figure 4-6 Pump Head Removal
4.2.4 Replacing the Plunger Seal
This section describes replacing the pump plunger seal. For information about isolating
plunger problems in the 600E pump, see Chapter 6, Troubleshooting.
Note: To ensure optimum pump performance, replace the seals in both pump heads
(instead of only replacing the seal on one pump head).
1. Power down the 600 controller.
2. Remove the pump head as outlined in Section 4.2.3, Removing the Pump Head.
STOP
Attention: The indicator rod must be fully retracted into the pump head. The
plunger may be damaged during maintenance if the indicator rod is not fully
retracted.