66 Maintenance Procedures
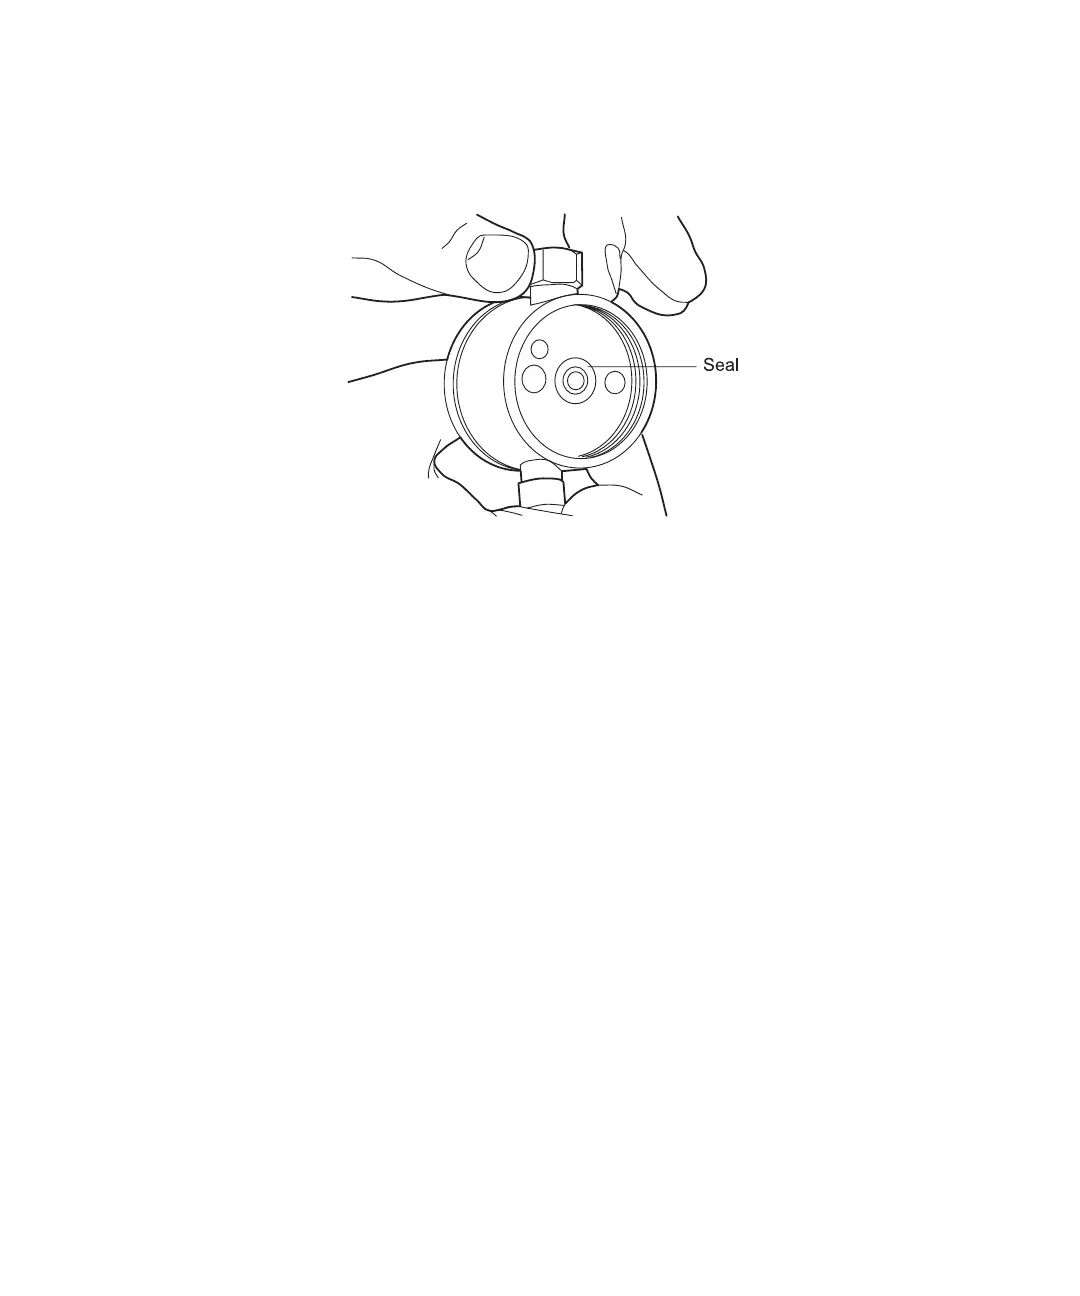
3. Using the seal insertion tool stand tip, pry the seal out of the pump head
(Figure 4-7). The stand tip holds the plunger seal for correct alignment in the pump
head.
Figure 4-7 Plunger Seal Orientation
4. Place the new plunger seal (wetted with methanol) on the seat (wetted with
methanol) for the analytical (100 µL) heads. Insert the plunger seal into the pump
head assembly. For 225 µL heads, insert the seal with the solid side facing out.
5. Use the stand tip to firmly seat the seal in the pump head.
6. Slide the pump head assembly into position over the plunger and replace the two
pump head mounting bolts. Tighten the bolts evenly by alternately tightening one
then the other by half turns.
7. Turn on the pump and set flow rate to 0.3 mL/min. The indicator rod (see
Figure 4-5) should move freely.
8. Set flow to 0 mL/min. Reconnect the eluent lines, reposition the eluent lines in the
reservoir, and prime the pump. Check for leaks. If there is a leak, verify pump head
and plunger seal installation.
Note: For priming information, see the Waters 600E Multisolvent Delivery System
User’s Guide, Chapter 3, Preparing Your System for Operation.
4.2.5 Cleaning and Replacing the Pump Plunger
This section describes accessing the pump plunger to:
• Clean the plunger
• Replace the plunger if there is excessive wear