3-9Maintenance
16-1408348
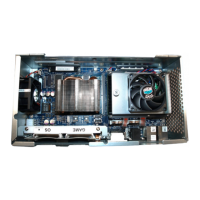
2 Insert the new Fan with the power cable connected, Figure 3-18 (A).
NOTE: Confirm that the Fan is positioned with the WMS label, Figure 3-18 (B), up and the Fan label
in towards the CPU so that the Fan will circulate air into the CPU as shown in Figure 3-18.
Figure 3-18 Inserting Fan.
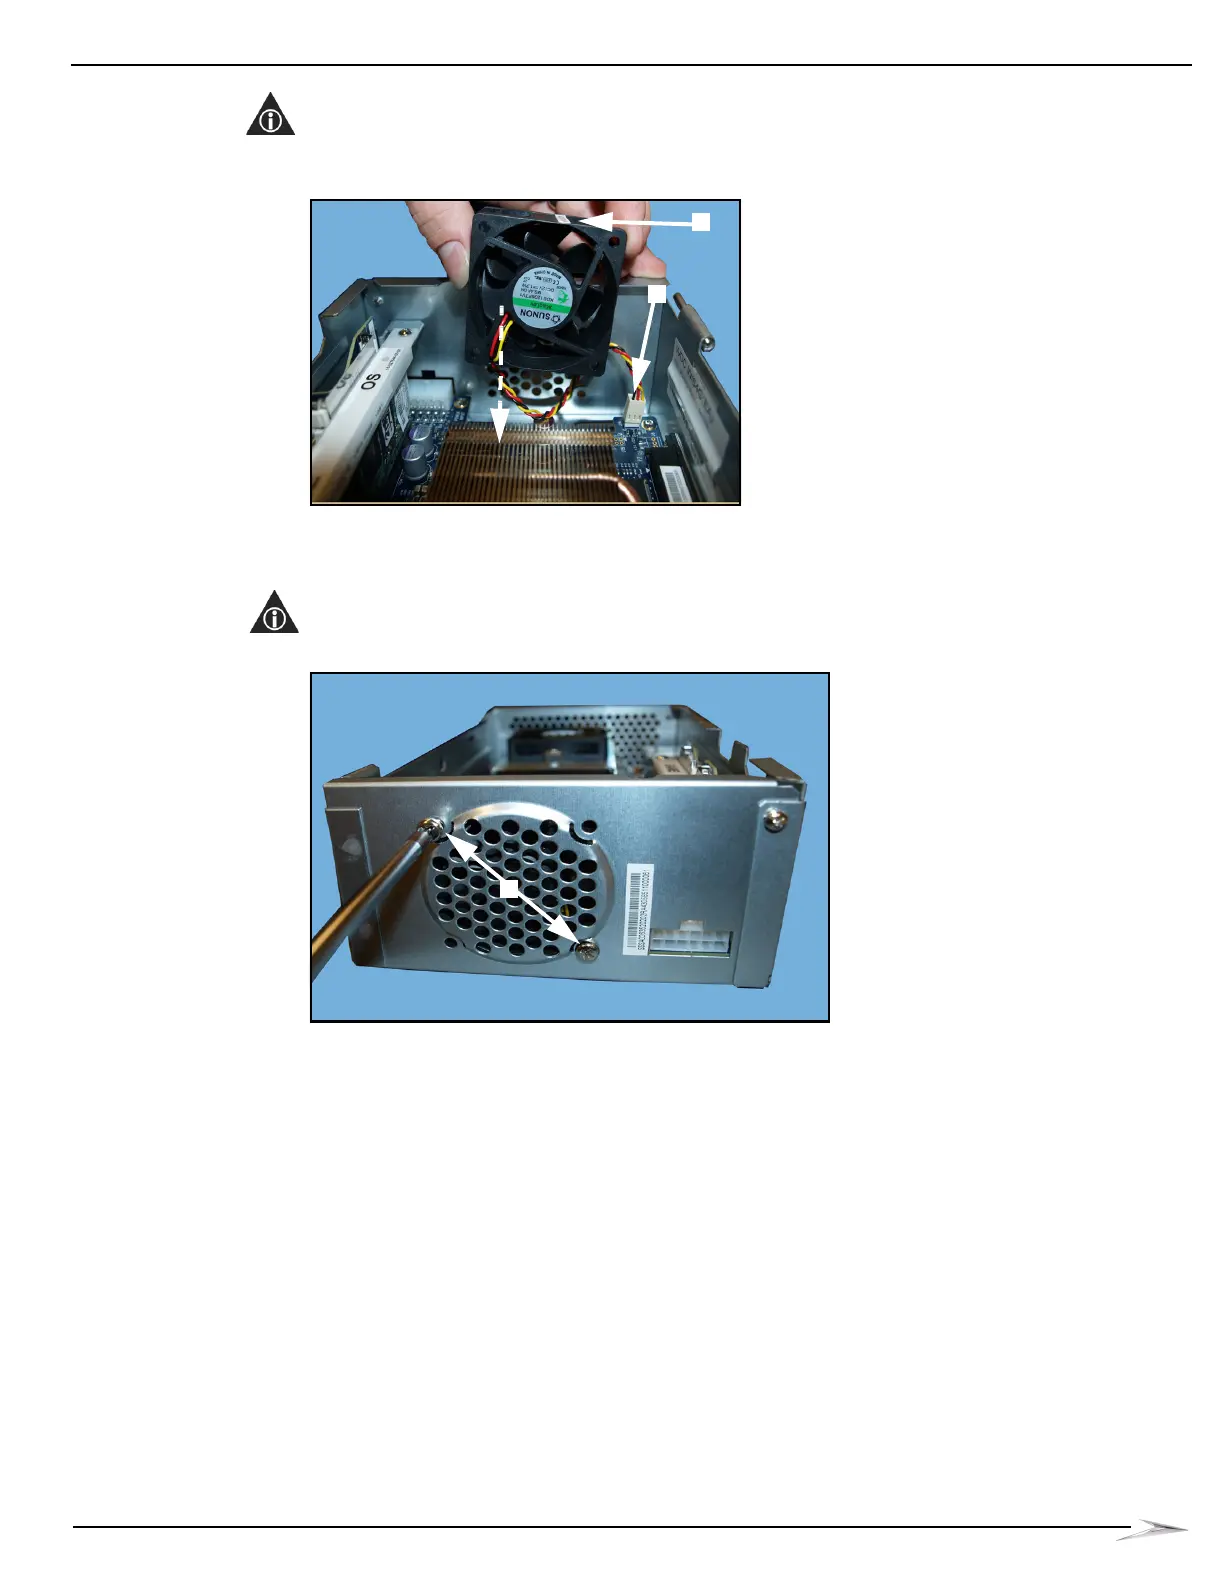
3 Align the holes in the CPU-NXT 3.2 Enclosure Fan with the holes in the CPU-NXT 3.2
Enclosure. Using a #2 Phillips screwdriver, tighten the two #6 Pan head screws securing the
existing Fan to the CPU-NXT 3.2 Enclosure, Figure 3-19 (A).
NOTE: The two Pan head screws must be diagonal to each other.
Figure 3-19 Tightening screws.
 Loading...