EasyManuals Logo

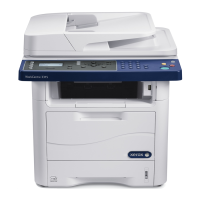
Xerox WorkCentre 3119 Service Manual

Xerox WorkCentre 3119
185 pages
To Next Page IconTo Next Page
To Previous Page IconTo Previous Page
Page #89 background imageLoading...
Page #89 background image
Repairs/Adjustments
WorkCentre 3119 06/06 4-25
3. Release the notch attached to the Bush,
then slide the Pickup Assembly from right
to left, Figure 2.
Figure 2
4. Remove 2 screws, then the Solenoid HB
(Bypass) and Pickup Solenid HB (Pickup),
Figure 3.
Figure 3
REP 19 Exit Roller
Parts list on PL 3
WARNING
Switch off the electricity to the machine. Dis-
connect the power cord from the customer
supply while performing tasks that do not
need electricity. Electricity can cause death or
injury. Moving parts can cause injury.
1. Remove the Middle Cover. (Refer to REP
8)
2. Use a screwdriver to remove the Exit
Gear and Bearing, then remove the shaft
and rollers, Figure 1.
Figure 1

Table of Contents

Other manuals for Xerox WorkCentre 3119

Questions and Answers:

Question and Answer IconNeed help?

Do you have a question about the Xerox WorkCentre 3119 and is the answer not in the manual?

Xerox WorkCentre 3119 Specifications

General IconGeneral
Print TechnologyLaser
Print Speed19 ppm
Print Resolution600 x 600 dpi
Copy Speed19 cpm
Copy Resolution600 x 600 dpi
Paper Capacity250 sheets
ConnectivityUSB 2.0
FunctionsPrint, Copy, Scan
Scanner TypeFlatbed
Memory (Standard)32 MB
Operating System CompatibilityWindows, Mac

Related product manuals