January 2016
4-174
WorkCentre WorkCentre 4150/4250/4260WorkCentre 4150/4250/42604150/
REP 12.6
Repairs and Adjustments
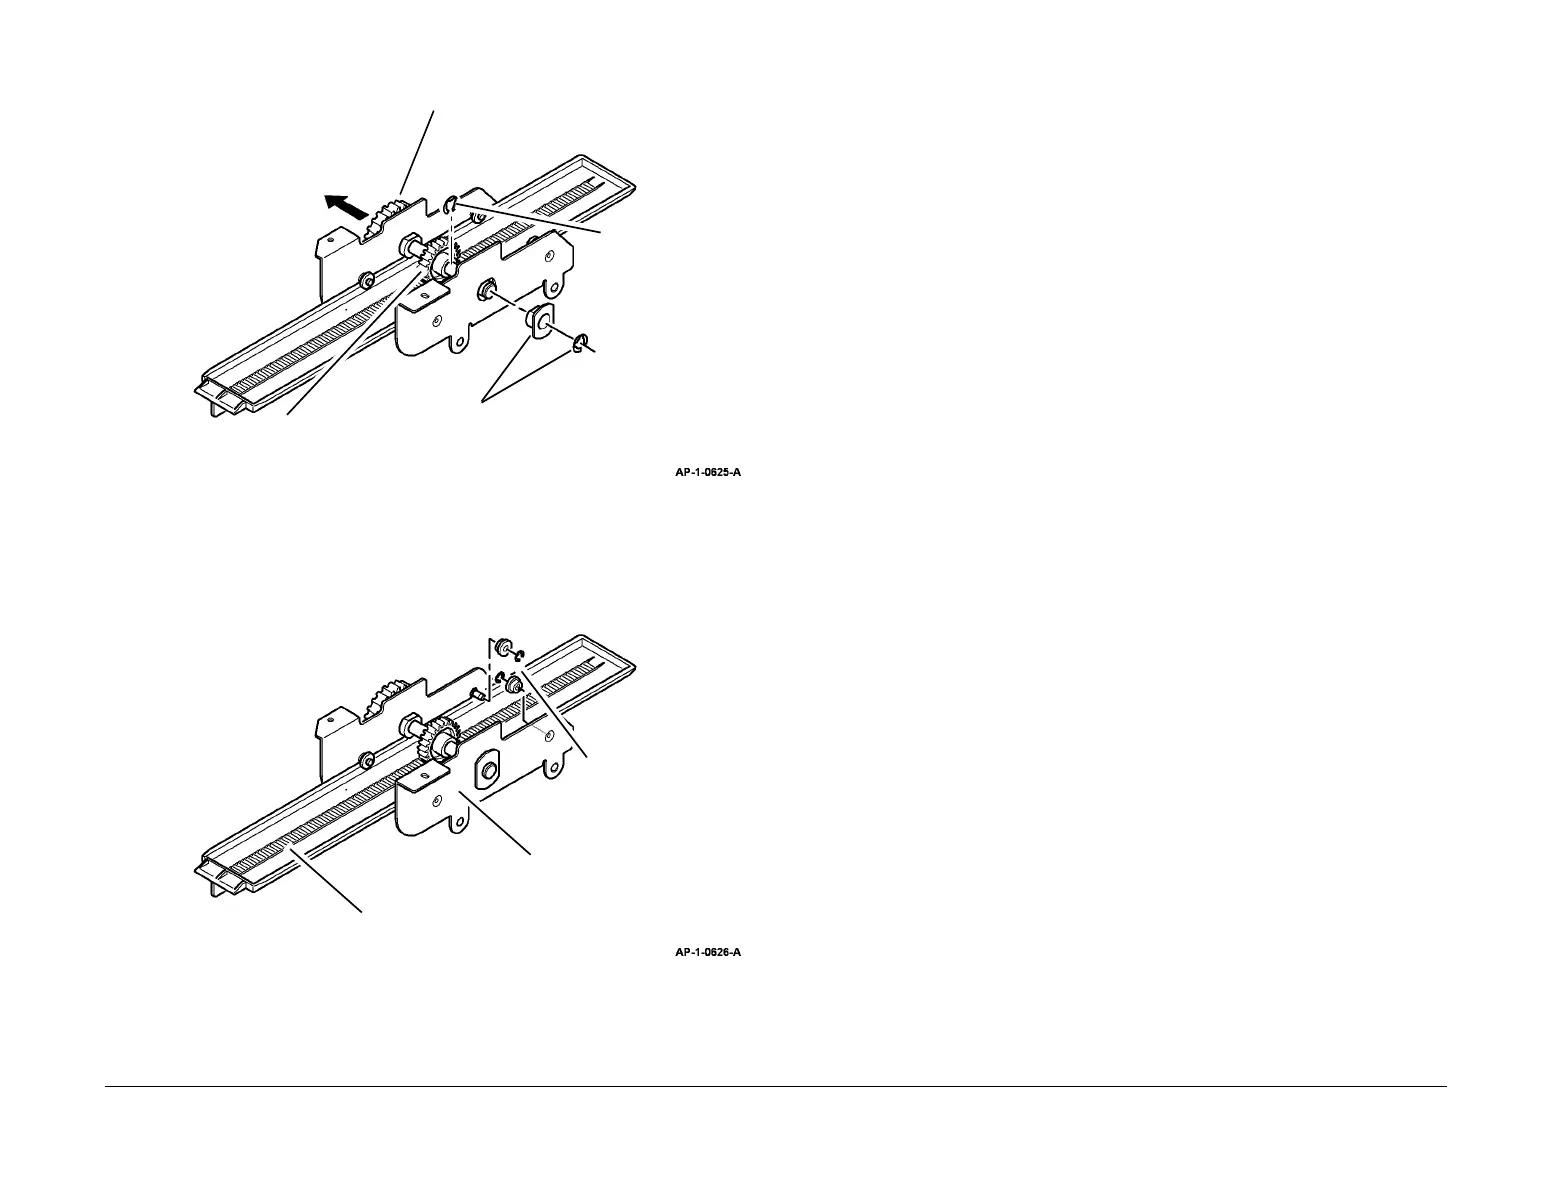
3. Prepare to remove the Support Finger (Figure 2).
Figure 2 Preparing to Remove the Support Finger
4. Remove the Support Finger (Figure 3).
Figure 3 Removing the Support finger
Replacement
Replacement is the reverse of the removal procedure. Ensure that the front Support Finger and
rear Support Finger are aligned correctly.
1
Remove the E-clip,
then the bearing.
2
Remove the E-clip.
3
Remove the gear, shaft and pin.
4
Remove the gear.
1
Remove 2 E-clips,
then the 2 rollers.
2
Remove the Support Finger from the
bracket.
Bracket.

 Loading...


