WorkCentre Pro 423/428 8-26 CHAPTER 8 ACCESSORIES
03/02 8.10 FAX Unit
11. Return the machine to its original state.
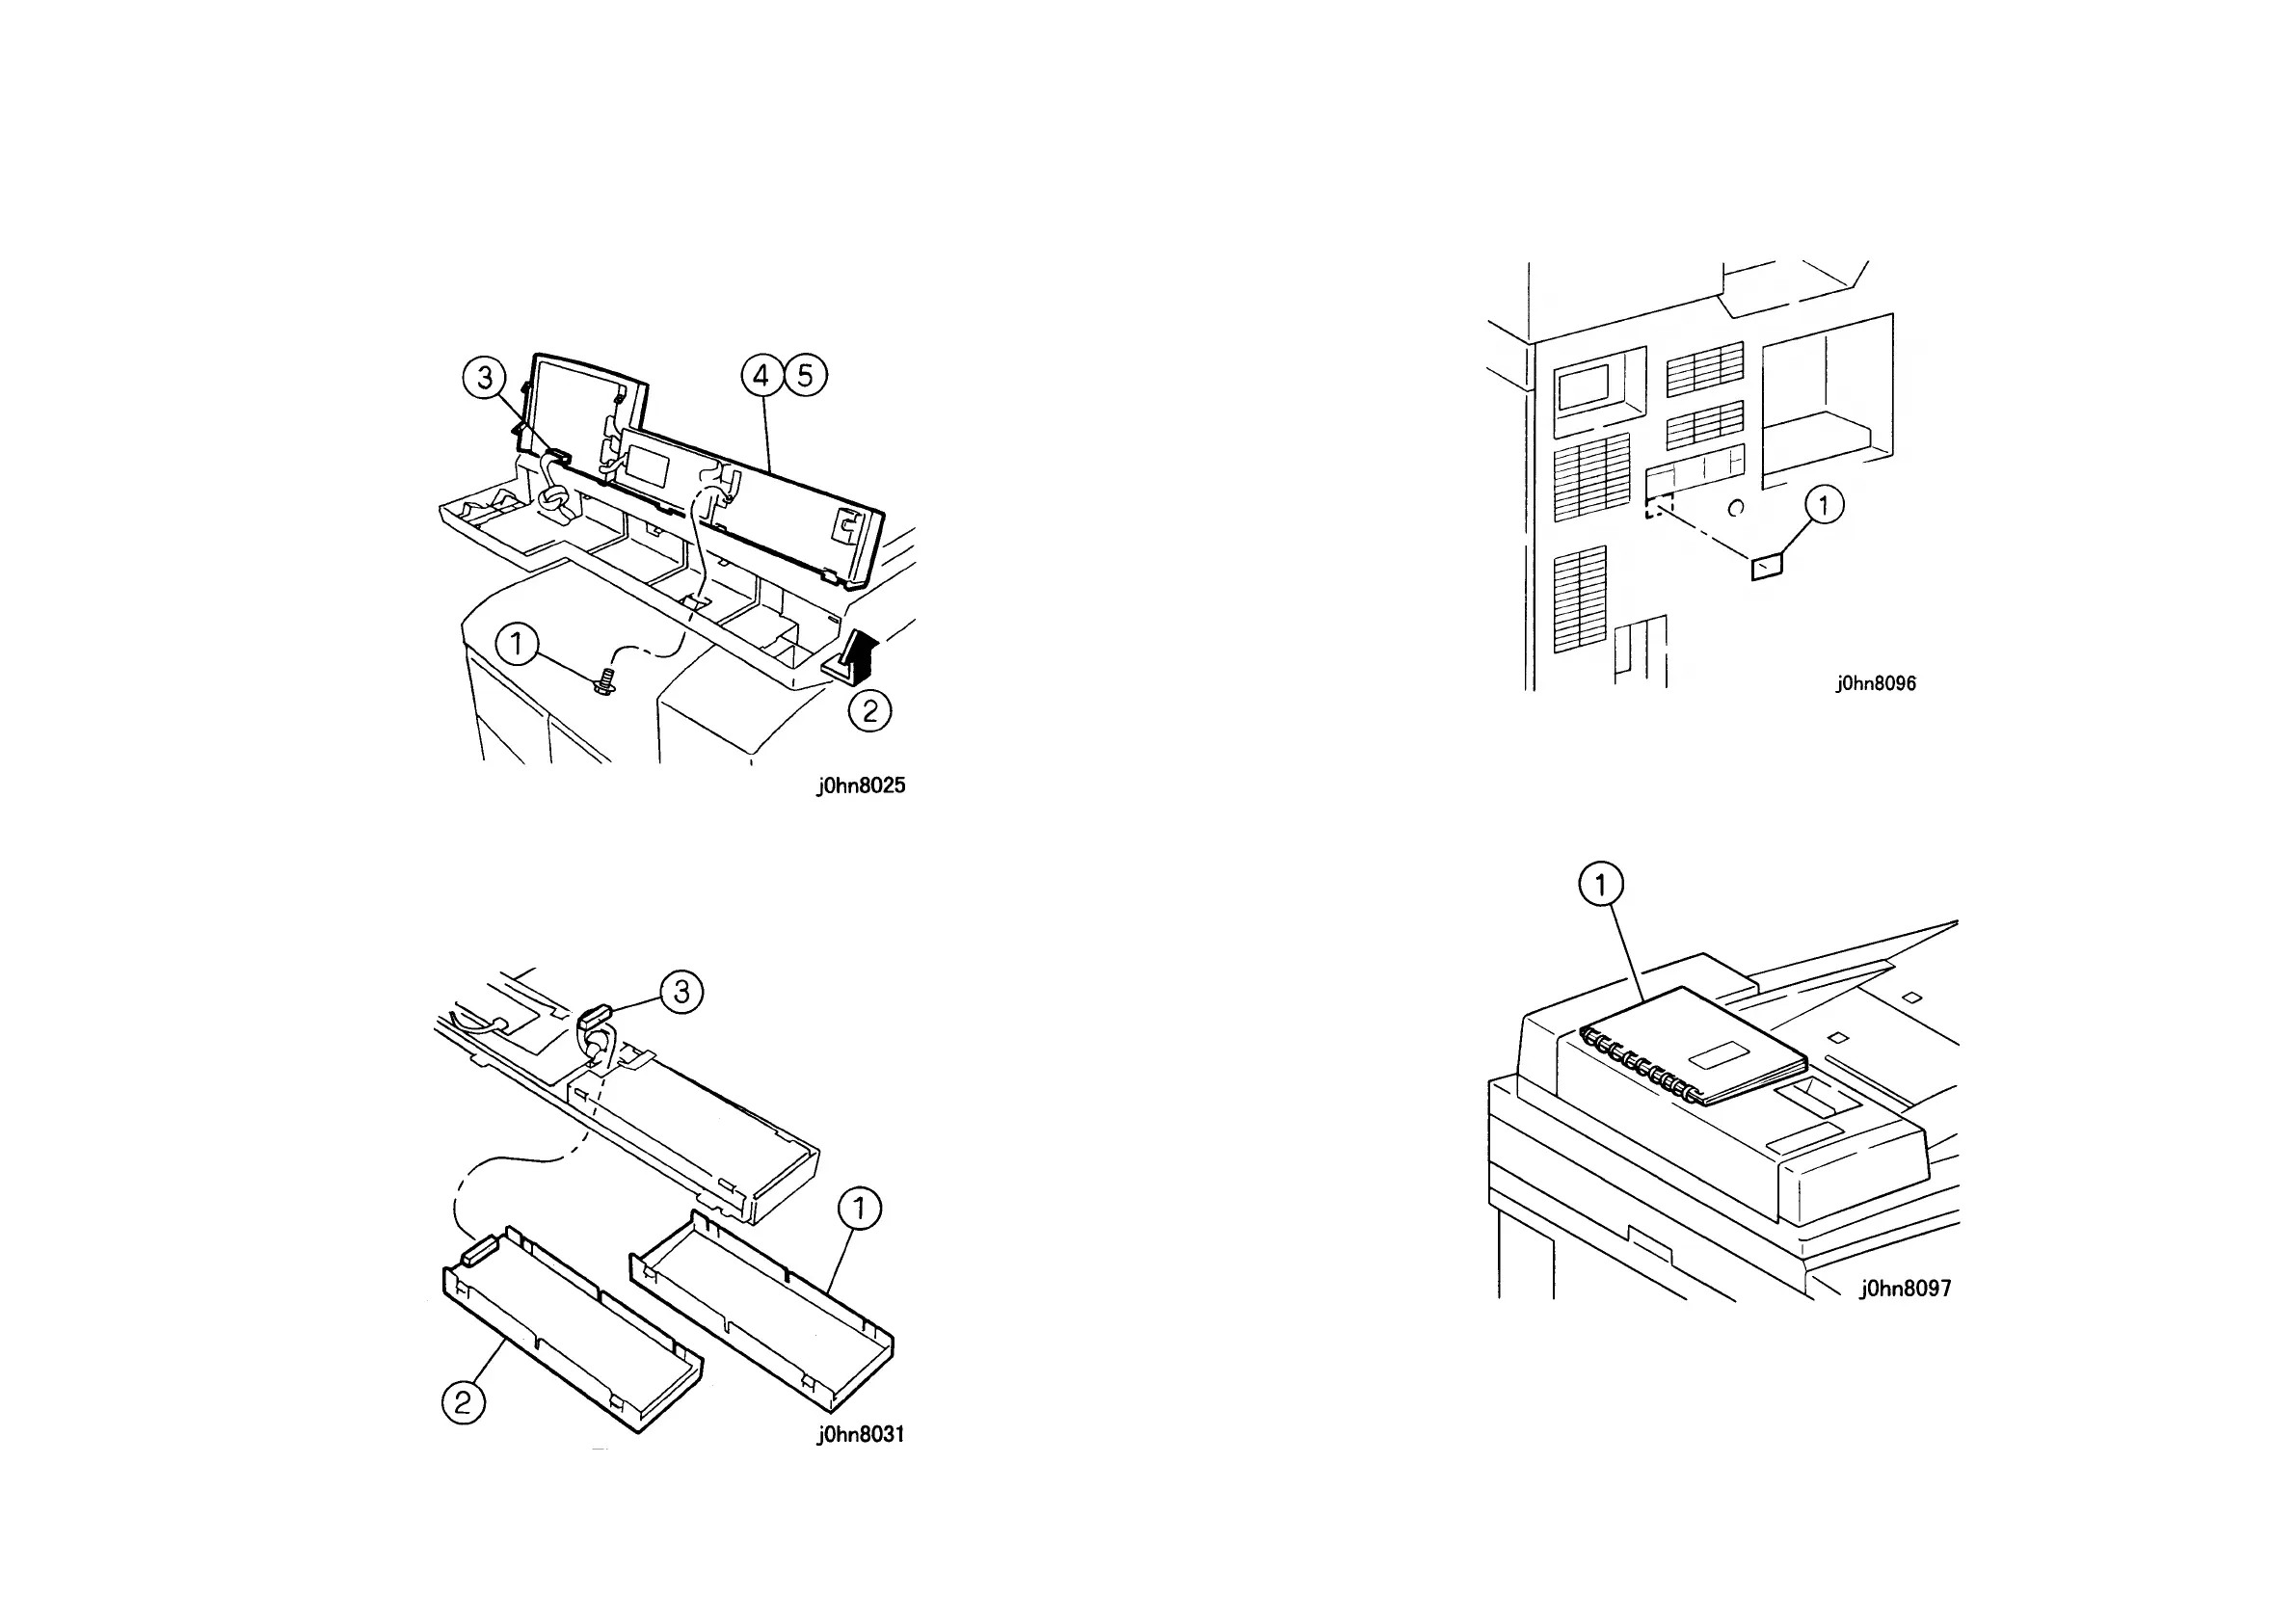
12. Remove the IIT Control Panel. (Figure-8)
1) Remove the screws (4).
2) Move to the right a little and lift up to release the Panel Hook from the IIT Frame.
3) Disconnect the connector.
4) Remove the Control Panel.
(Figure-8) j0hn8025
13. Install the One Touch Panel. (Figure-9)
1) Remove the Panel.
2) Install the One Touch Panel.
3) Connect the Connector.
(Figure-9) j0hn8031
14. Return the IIT Control Panel to its original position.
15. Connect the phone line to the “LINE1” on the Rear Cover.
16. Install the Label (JATE). (Figure-10)
1) Install the Label.
(Figure-10) j0hn8096
17. [FX Only] For the machine with DADF, put the Quick Reference Book on the DADF
Top Cover. (Figure-11).
(Figure-11) j0hn8097
18. Store the removed panel.
19. Connect the power cord and turn on the power.

 Loading...


