JOHNSON CONTROLS
34
FORM 102.20-N1
ISSUE DATE: 7/06/2016
SECTION 3 - HANDLING, STORAGE, AND INSTALLATION
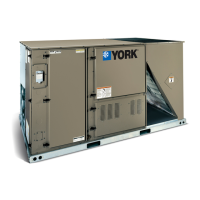
INSTALLING OUTDOOR AHU
Before installing the outdoor AHU, identify the loose
parts, such as the gaskets shown in Figure 22 on page
30 through Figure 37 on page 33.
Do not damage the factory installed pipe
chase, electrical cabinet, hoods, pipe
stubs, door handles or roof overhang
when installing the AHU.
Verify that the actual outside dimensions
of the assembled curb top are less than
the inside dimensions of the bottom of
the AHU.
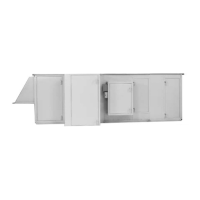
Single Piece Outdoor AHU
Use the following instructions to install a single piece
outdoor AHU.
1. Make sure the curb gasket, which is shipped with
the curb package, is installed before the AHU is
lowered onto the curb.
2. Lift the AHU from the ground onto the curb or
support framework. Do not move the AHU onto
a roof surface.
3. Remove the wood shipping material from the bot-
tom of the AHU.
4. When setting the AHU onto the curb,
make sure the installer positions a sealing
gasket between the AHU and curb
to provide a continuous airtight and watertight
connection.
When installing the AHU on a steel
frame or concrete slab, do not install a
seal unless specied.
5. Install the AHU according to the International
Building Code (IBC), NEC, state, and local codes.
Multi-Piece Outdoor Solution XT AHU
Before placing the AHU on the curb, do the following:
1. If applicable, remove the metal bracket attached
to the cross channel, and wood shipping blocks
before assembling the shipping splits.
2. If the AHU is provided with shipping splits as
shown in Figures 41 and 42 on page 35, or the
splits were not assembled before placing the AHU
on the curb, complete the following steps:
1. Use the construction grade caulk (not pro-
vided) in place of the curb top gasket and the
following instructions to apply it.
2. Apply the caulk on top of curb before each
section is placed on the curb.
3. Apply the caulk with a 1/2 in. diameter bead
to make sure the seal is sealed after sections
are pulled together.
3. If the AHU sections are going to be assembed be-
fore placing them on a curb, be sure the they are
lyingonaatsurfaceduringassembly.
4. Makesurethetopofcurbisat,andshimswere
added,ifneeded,toensurethecurbremainsat.
5. Verify the correct sections, and orientation of each
one.
6. Remove the cross brace(s) (shipping supports)
from each section’s shipping split.
7. Remove the plastic shipping covers and supports.
8. Remove the screws from the curb rest to release
the wood shipping blocks. Do not remove the
shipping blocks from under AHU until the as-
sembled AHU is ready to be lifted and placed on a
curb. Be sure that no debris clings to the bottom of
each section when lifted and placed onto a curb.