JOHNSON CONTROLS
58
FORM 102.20-N1
ISSUE DATE: 7/06/2016
SECTION 3 - HANDLING, STORAGE, AND INSTALLATION
2. Gasket to the top of the curb (provided by curb
vendor),
3. Vertical neoprene gasket (P/N 028-11880-010) to
the pipe chase,
4. Horizontal neoprene gasket with the outside edg-
es of the housing. Horizontal gaskets must com-
pletely overlap vertical gaskets in all four corners
as shown in Figure 86 on page 58.
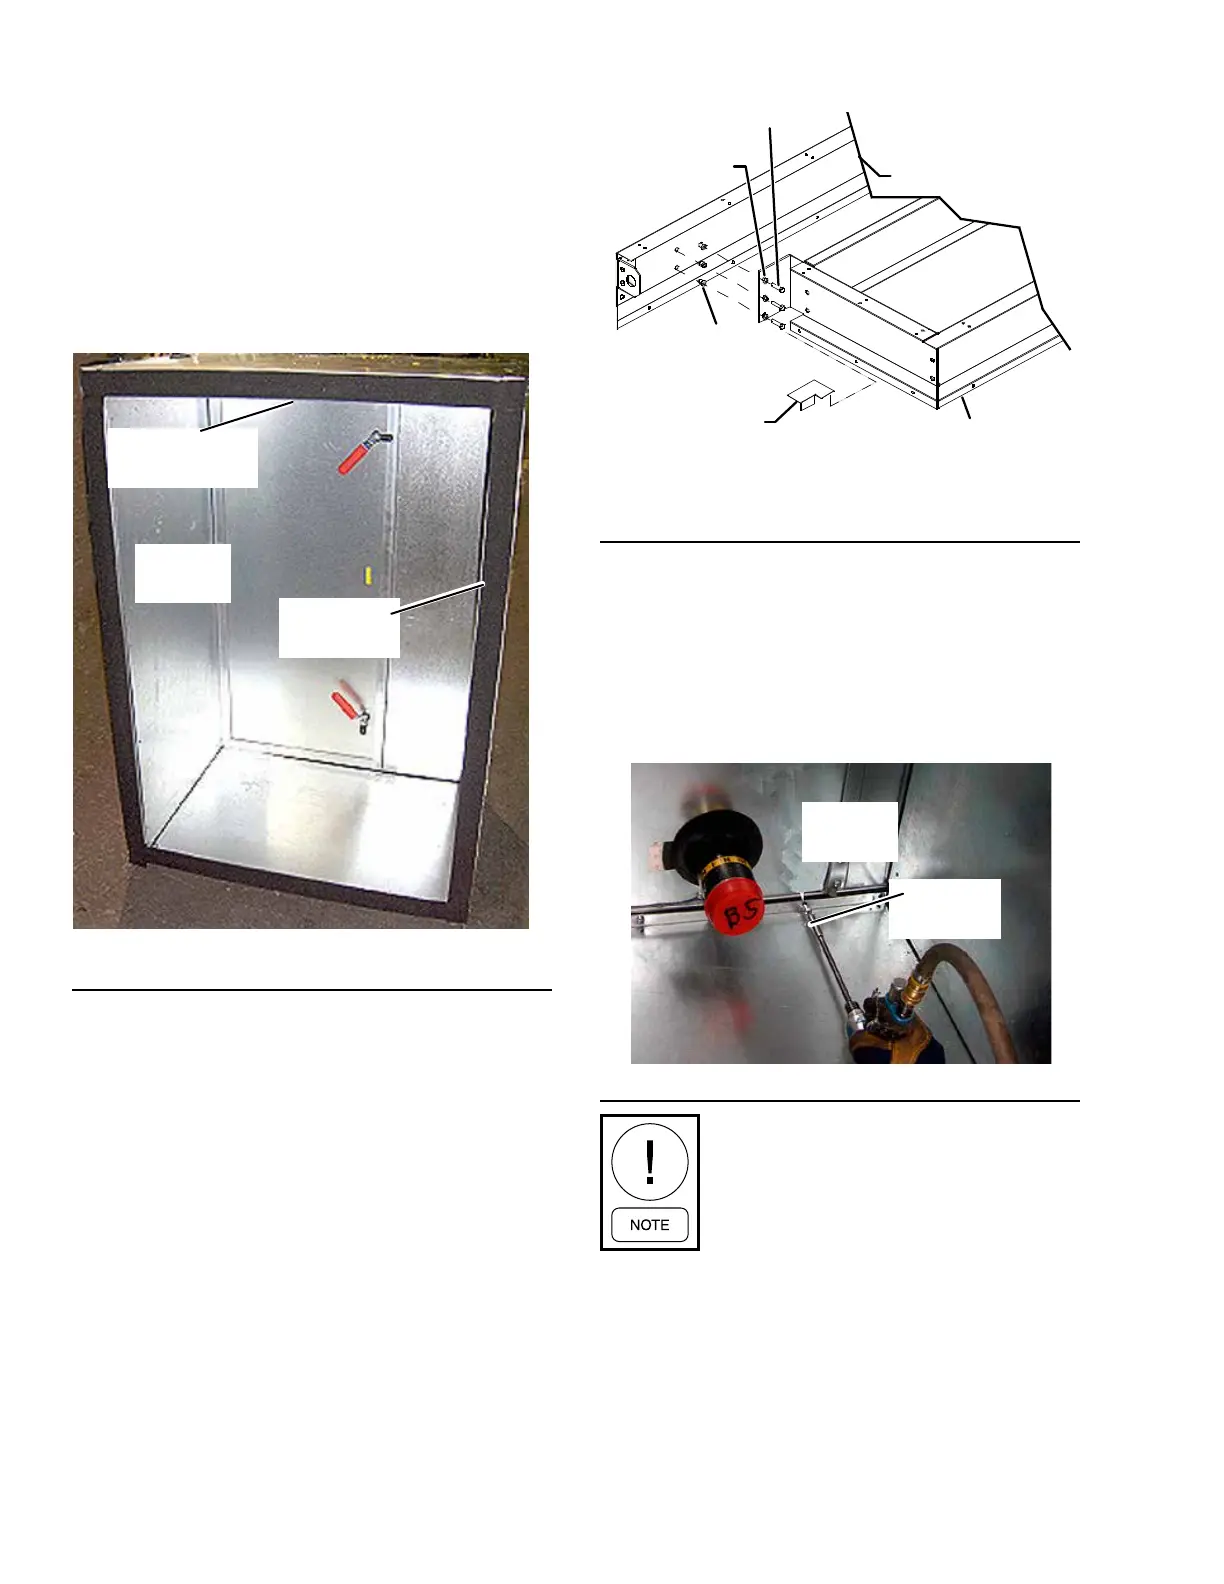
VERTICAL
GASKET
FIGURE 86 - APPLY GASKET TO PIPE CHASE
LD12560a
HORIZONTAL
GASKET
PIPE
CHASE
Attach Pipe Chase
1. Set the pipe chase on the pipe chase curb 3 in.
away from the AHU.
2. Tilt the top of the pipe chase toward the AHU.
Work it under the roof overhang. Be careful not to
damage the neoprene gaskets. Lift the pipe chase
slightly to clear the curb gasket, and swing the
bottom into the AHU.
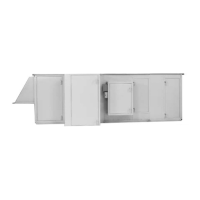
3. If equipped, attach the pipe chase base rail to the
AHU base rail. Place the 3/8 in. bolts and lock
washers (provided) through the pipe chase brack-
ets into the threaded holes in the AHU as shown in
Figure 87 on page 58.
FIGURE 87 - INSTALL PIPE CHASE BASE RAIL TO
AHU BASE RAIL
LD12034c
BOLT
LOCK
WASHER
RIVET NUT
BASE RAIL
COVER
PIPE CHASE
BASERAIL
UNIT BASERAIL
4. Make sure the pipe chase is square and the door(s)
close and open without rubbing or binding.
5. Secure the pipe chase to the top and bottom race-
ways (heavy gage metal) of the AHU through the
pre-punched holes of the inside top and bottom
angeswiththeself-drillingscrewsasshownin
Figure 88 on page 58.
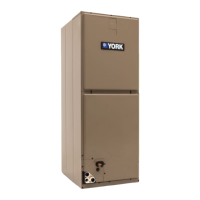
FIGURE 88 - INSTALL FLANGES
LD12561a
Do not overtighten or strip the self-
drilling screws. The screws in the top and
bottom anges should be used in heavier
gauge metal than screws in cover angles.
6. Make sure the door closes and latches properly. If
not, loosen the screws, realign the pipe chase and
retighten the screws. Occasionally, the curb under
the pipe chase may be uneven, depending on the
installation.
INSTALL
SCREWS
PIPE
CHASE