CHAPTER 8 RS-232 INTERFACE
Introduction
This chapter describes how to set up the scanner with an RS-232 host. The scanner uses the RS-232 interface to
connect to point-of-sale devices, host computers, or other devices with an available RS-232 port (e.g., com port).
The scanner ships with the settings shown in Table 8-1 on page 8-3 (also see Appendix A, Standard Default
Parameters for all defaults). If the default values suit requirements, programming is not necessary.
If your host does not appear in Table 8-2, refer to the documentation for the host device to set communication
parameters to match the host.
Setting Parameters
To set feature values, scan a single bar code or a short bar code sequence. The settings are stored in non-volatile
memory and are preserved even when the scanner powers down.
To return all features to default values, scan Set Factory Defaults on page 4-5. Throughout the programming bar
code menus, asterisks (
*) indicate default values.
NOTE The scanner uses TTL RS-232 signal levels, which interface with most system architectures. For system
architectures requiring RS-232C signal levels, Zebra offers different cables providing TTL-to-RS-232C
conversion. Contact the Zebra Support & Downloads website for more information.
NOTE Most computer monitors allow scanning bar codes directly on the screen. When scanning from the screen,
be sure to set the document magnification to a level where you can see the bar code clearly, and bars
and/or spaces do not merge.
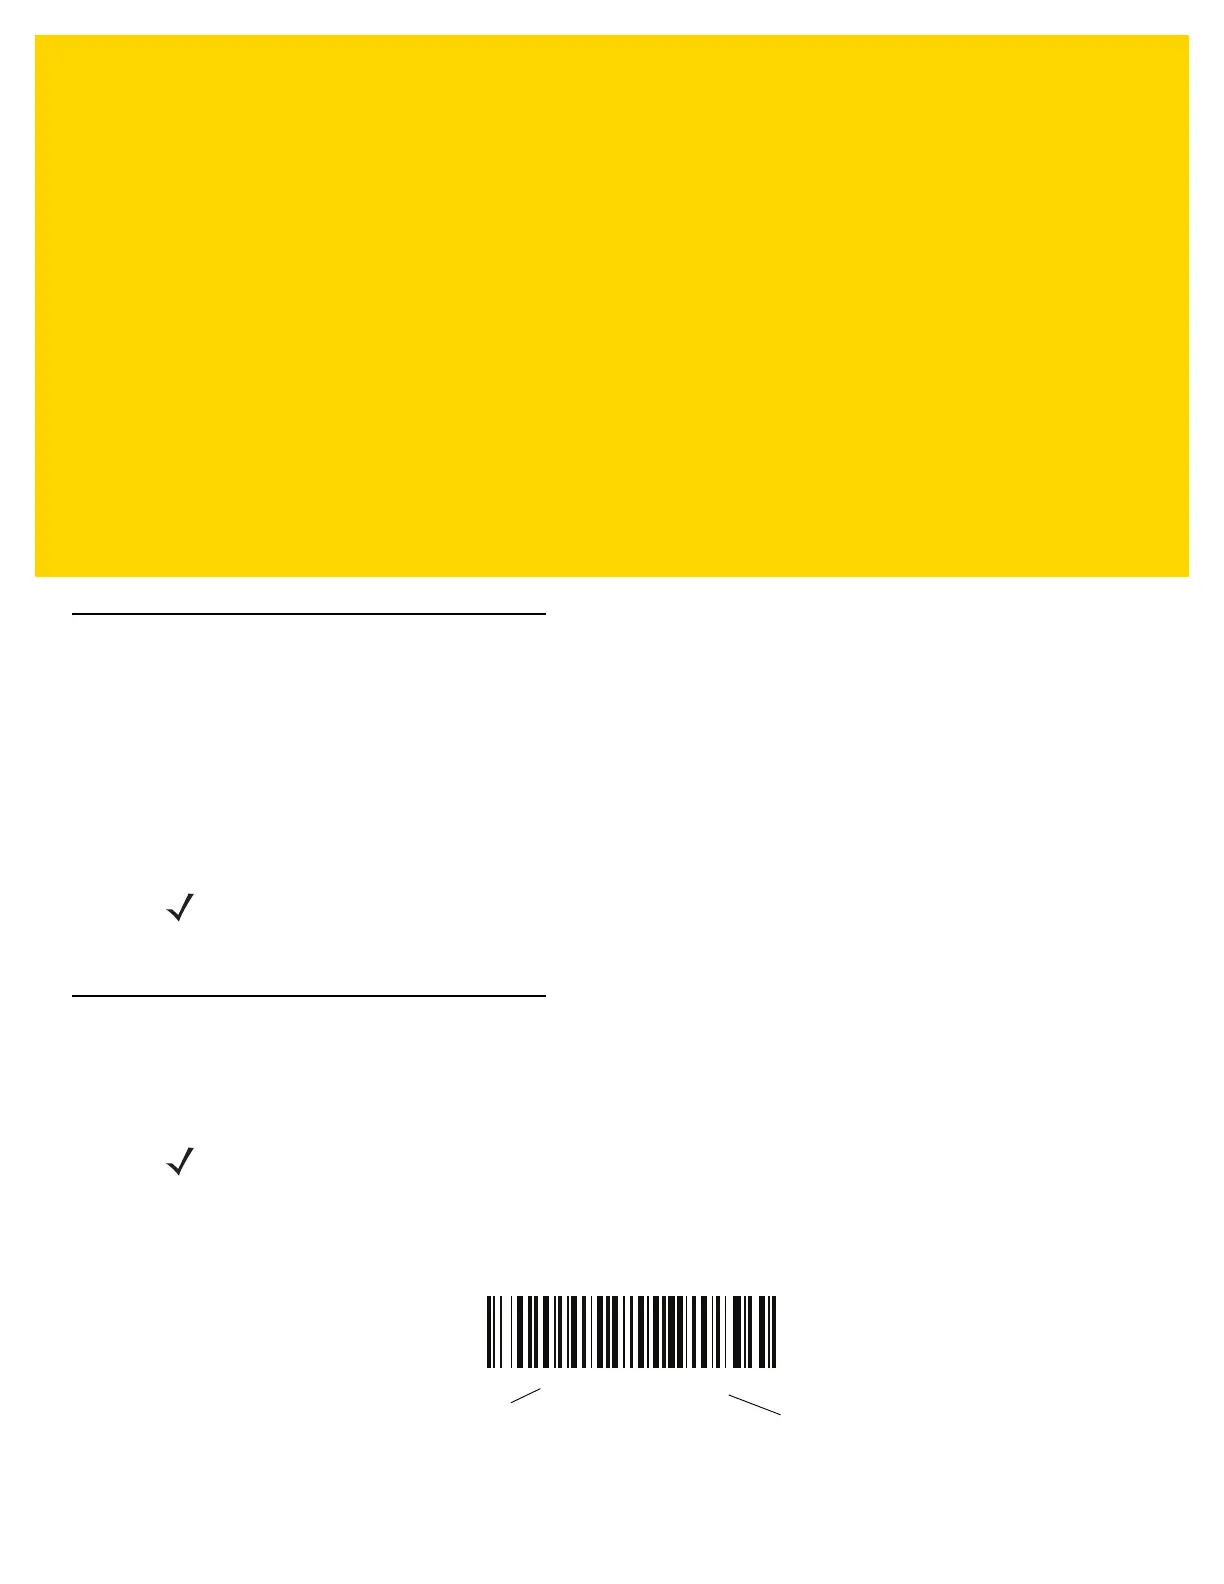
*Enable Parameter
Feature/option
* Indicates default
 Loading...