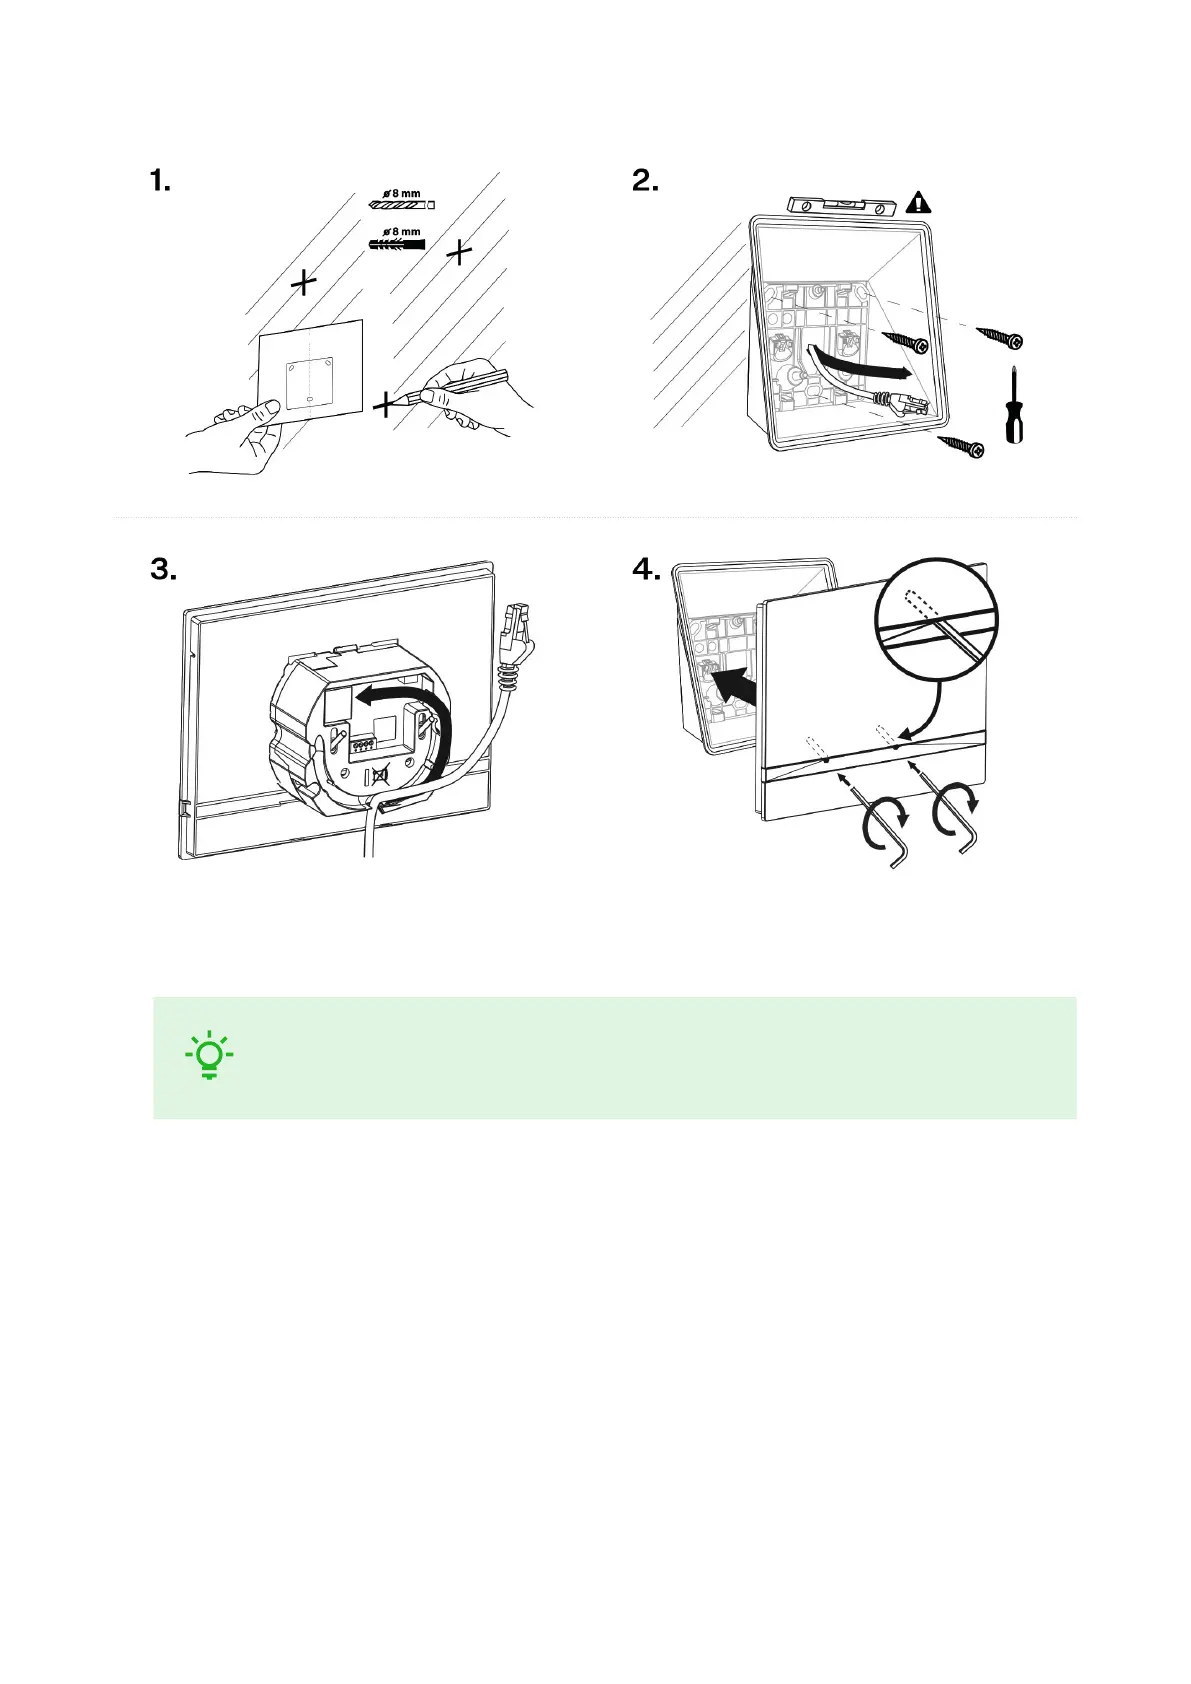
1. Drill holes of the diameter of 8 mm for the dowels and screws (included in the package). It is assumed
that all the necessary cables of the maximum length of 25 cm will lead to the place.
TIP
Download the Drilling template from 2N.com.
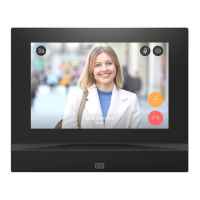
2. Fit the wall mounting box into the predrilled holes. Pull the available cables through the box opening.
Use a water level for a more precise levelling.
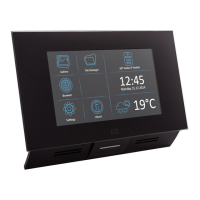
3. Install the cables carefully into the pre-prepared groove on the device back side so that they cannot get
in the way and prevent free movement in the final installation stage.
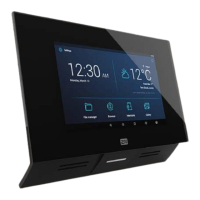
4. Fit the device screws into the nuts in the box with the hexagon key wrench provided.
Now the device is ready for basic operation. It is necessary to perform software configuration (p. 25) to
achieve a full functionality of the device.
Stand Installation
Within installation preparations, take out the pre-prepared cabling, UTP cable, doorbell (twin) cable and
power supply. Shorten the cables as required. Crimp the RJ-45 connector onto the UTP cable. Connect the
doorbell twin cable or power supply into the connector.
Mechanical Installation
13