593D SYSTEMS, INC.
7. Start the Plate loading cycle on the control panel (see "Step 3 : Plate loading" on page 37).
The following steps are displayed on the corresponding cycle.
8. The following automatic cycles are performed:
• the sintering piston rises at top position,
• the airlock rotates to OPEN position.
9. Unlock the front doors of the printer and open them (see "Introduction" on page 56).
10. Open the airlock door (see "Introduction" on page 56).
11. Put the build platform on the airlock.
12. Close the airlock door.
13. Only for powders oxidizable materials, purge the airlock for 5 minutes by using the screen control panel.
14. Rotate the airlock to CLOSE position (see "Introduction" on page 56).
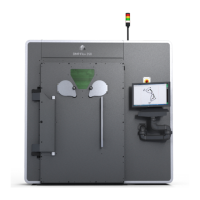
15. Put on gloves (4) and open glove doors (5).
16. Remove the build platform from its protection from the airlock.
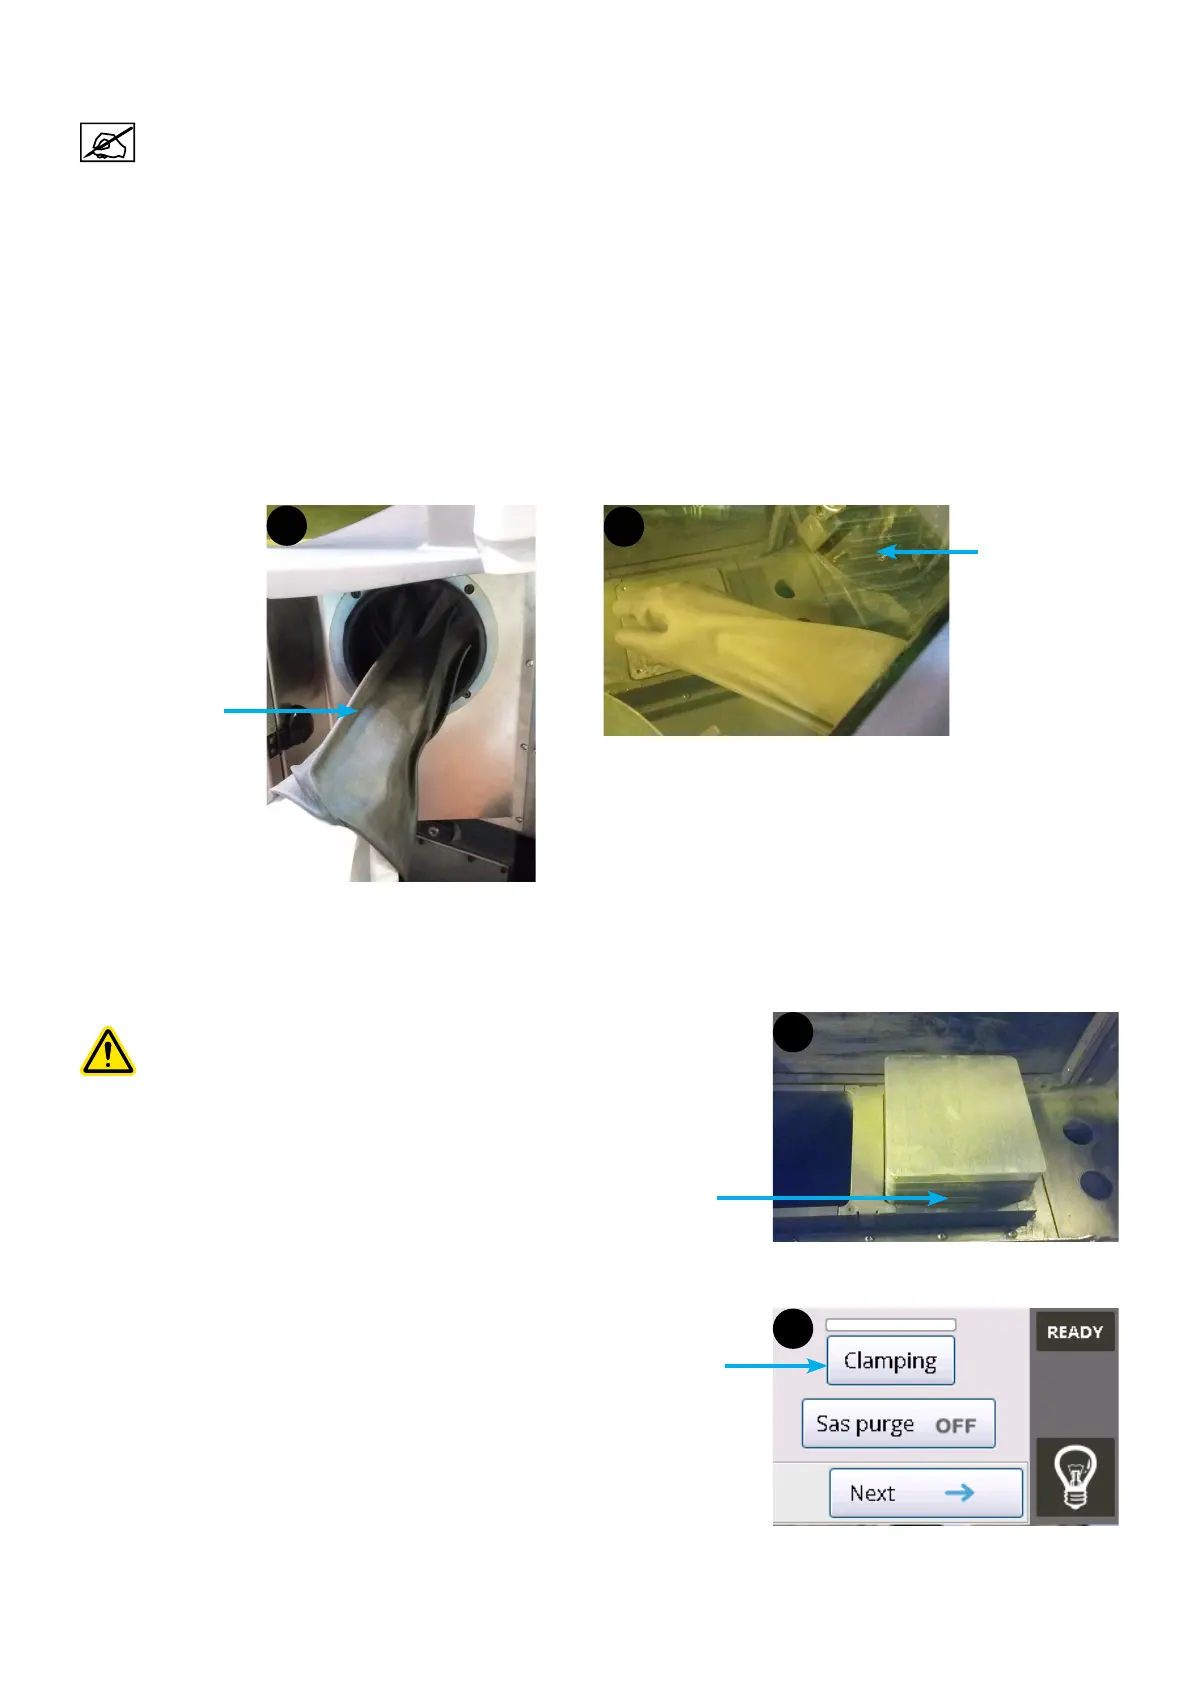
17. Place the build platform on the sintering piston (6).
Make sure to position the plate support so that the "FRONT"
marked is front of the operator. The grinding lines must be on
the same direction than the operator.
18. Close the glove doors.
19. Close the front doors.
20. Clamp the plate by using the screen control panel (7).
5
Glove door open
4
Glove
"FRONT" mark
6
7
Clamping function