Pannoramic SCAN II 2.2.0 User’s Guide 5.1.2 Microscope Control Panel
• Crop : Crop the area of the selected area.
• Place Circle : You can select the area to be scanned with the different tools on the
Preview toolbar.
• Rectangle tool : Draw rectangle shaped area.
• Ellipse tool : Draw ellipse selection.
• Polygon tool : Area selection by defining a polygon shape. Finish area selection by
double-clicking with the mouse at or near the starting point.
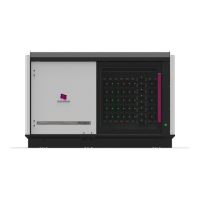
• TMA tool : TMA tool is used for selecting TMA spots on TMA slides. You can set the
selection settings on the following four tabs:
• TMA Grid Setting : This function is enabled only if a TMA grid has already been placed
on the preview image. Set grid parameters (row and column numbers) and spot shape (round
or rectangle).
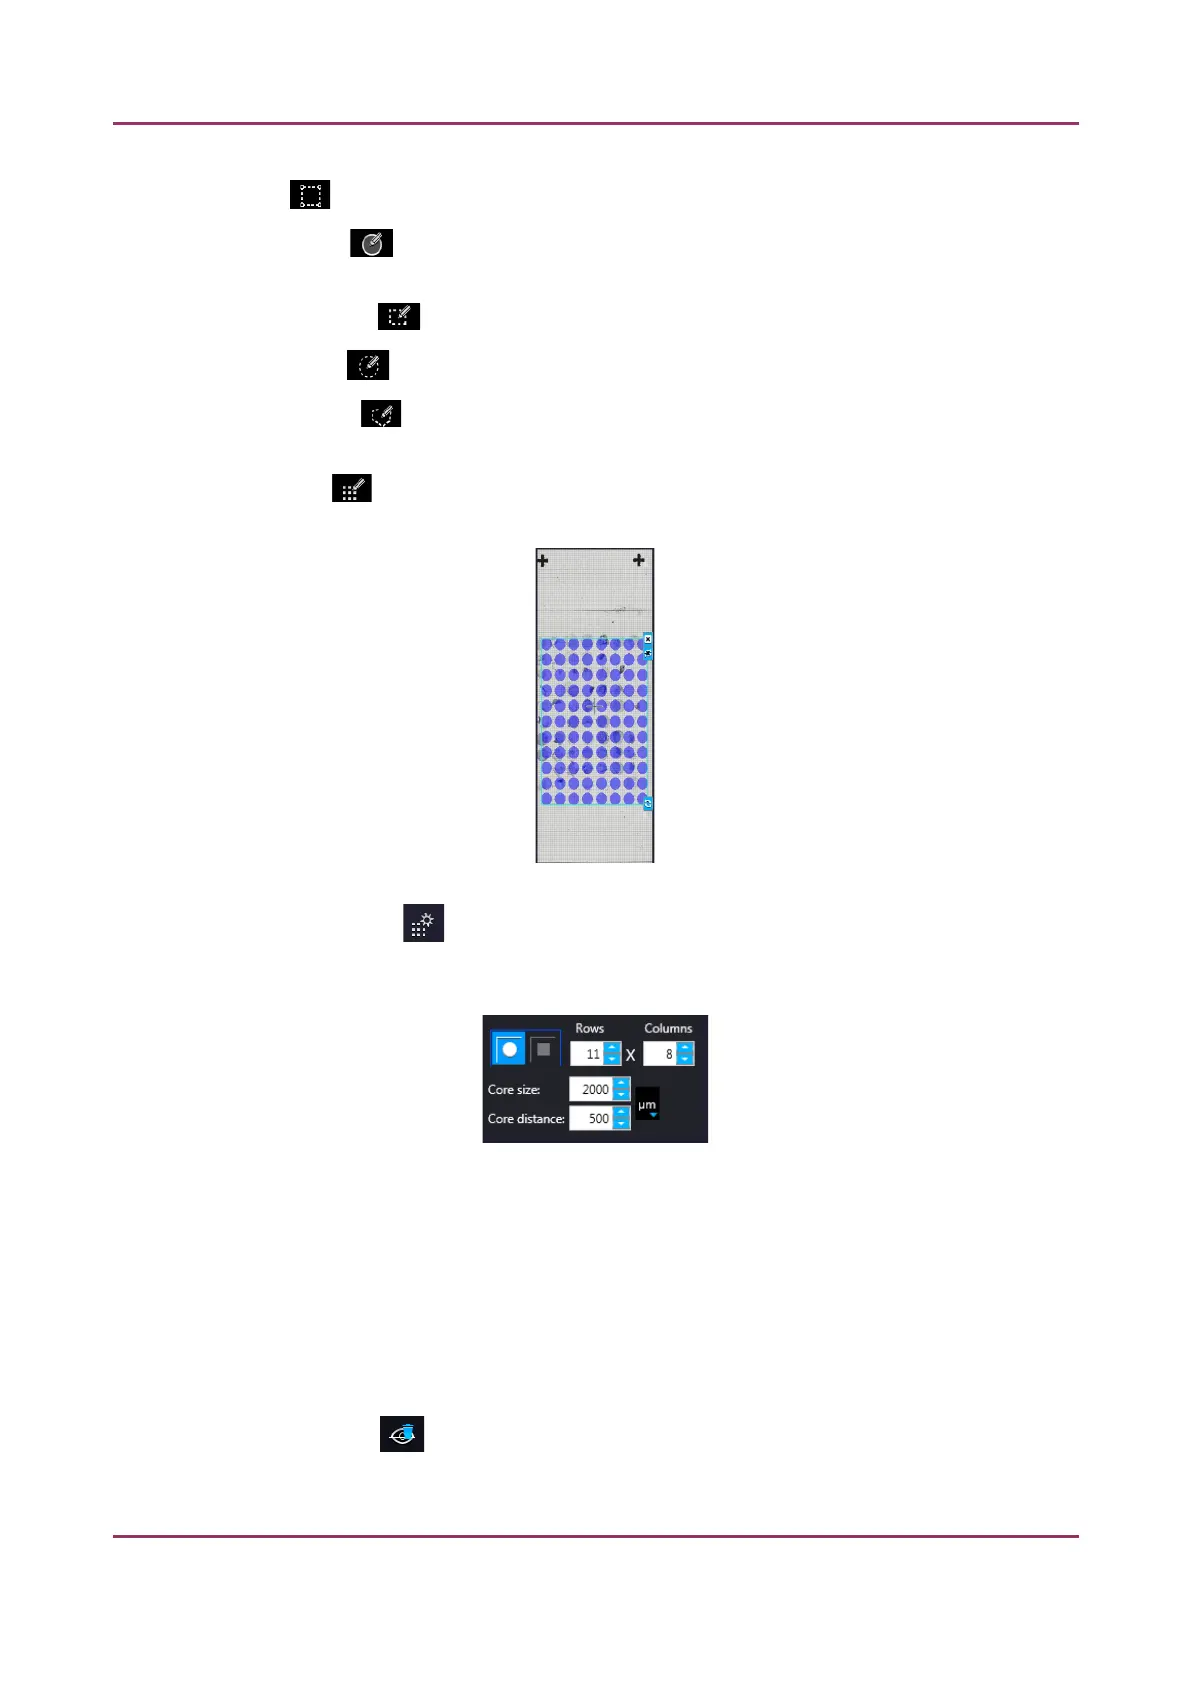
Figure 29 – TMA tool: Grid selector
Delete TMA grid by clicking the X at the top right corner, and rotate grid by clicking the icon
at the bottom right corner. Enter the number of rows and columns in the Rows and Columns
fields or select the appropriate values with the arrows.
Enter the distance between two spots on the X and the Y axis in µm in the Core distance
fields or select the appropriate values with the arrows. Enter the average diameter of the
spots in the Core size field or select the appropriate value with the arrows.
• Clear scanmap : The entire scanmap area will be cleared and reset to default.
January 24, 2020 - Rev. 2 3DHISTECH Ltd. 67(156)
 Loading...