Reference: Use this instruction with replace-
ment part 3LH230R.
Tools Needed: Phillips screwdriver, flat-
bladed screwdriver, Allen
wrench, probe alignment tool
and instructions.
CAUTION: Improper connections may
cause damage to the instrument.
Instruction:
1. Turn off the power and unplug the instru-
ment.
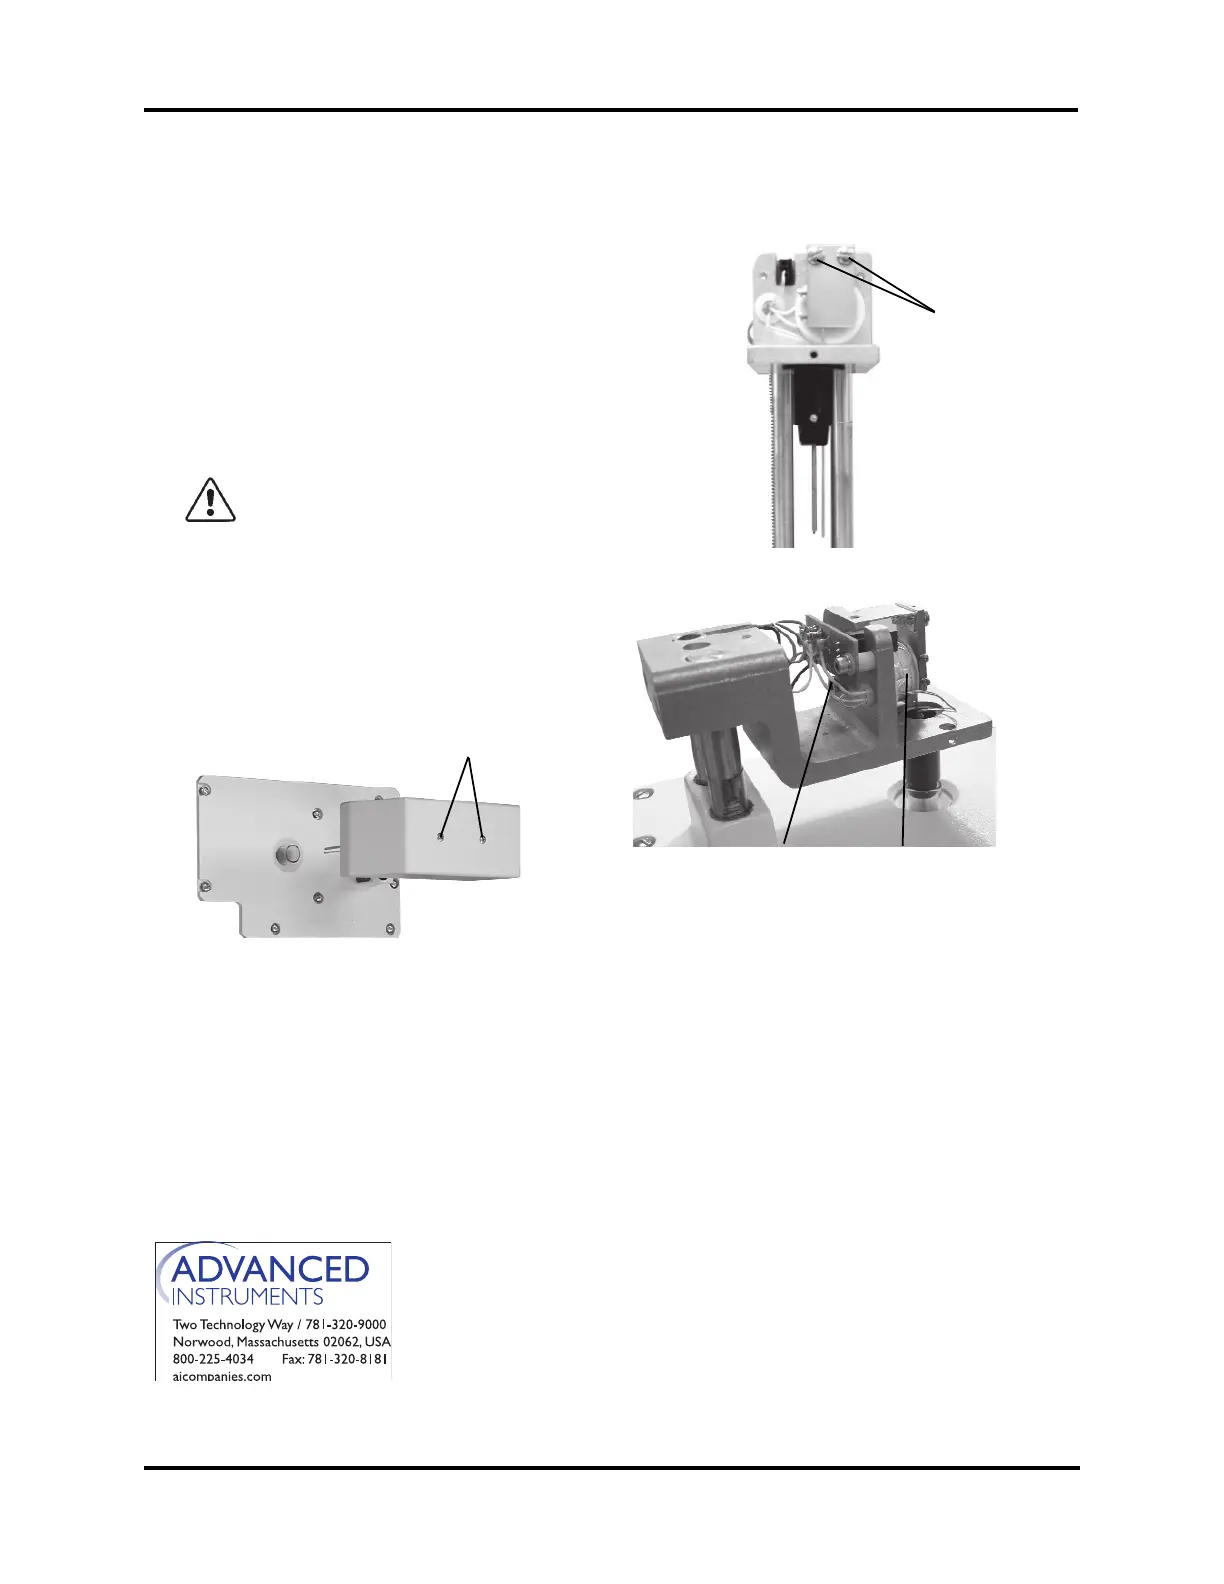
2. Remove the two screws from the head
cover (A) and lift off the head cover.
3. Remove the two screws (B) that attach
the clapper to the yoke and lift the clapper
to remove it.
4. Remove the Allen screw (C) that attaches
the yoke to the assembly and remove the
coil (D).
5. Replace the old yoke with the new one,
making sure the yoke is 90º and flush
against the back wall of the head.
6. Reassemble by reversing steps 2-4.
Note: Make sure the yoke level doesn’t inter-
fere with the head cover.
7. Use the probe alignment tool and instruc-
tions to properly position the stir/freeze
wire.
Yoke Replacement
3LH230R
For additional information or technical assistance,
please contact Advanced Instruments Hot-Line
®
Service Center (U.S. 1-800-225-4034, outside
North America +US 1-781-320-9000).
3LHP230 Rev2
(4D35/3255 Service Manual)
Page 1 of 1
A
C
B
D