Display Board Replacement
74051R/702041R
Reference: Use this instruction with replace-
ment part 74051R or 702041R.
The 74051R replacement display board
should be used only on Serial Suffix A - C.
The 702041R replacement display board
should be used only on Serial Suffix D or
higher.
Tools Needed: Phillips screwdriver, flat-bladed
screwdriver, adjustable wrench,
static grounding (earthing) wrist
strap (included).
Warning-Hazardous Voltage
Warning-Internal components may
be damaged by static electricity.
CAUTIONS:
• Power cord must be disconnected
to prevent electric shock.
• Never unpack, touch or handle any
integrated circuit without wearing
a grounding (earthing) strap to
minimize your static charge.
Instruction:
1. Turn off the power and unplug the instru-
ment.
2. Remove the screws securing the head
cover, and remove the cover.
3. Remove the screws securing the instru-
ment cover, and remove the cover.
4. Pull the keypad panel down.
5. Attach the static grounding strap to your
wrist and stick the adhesive end to a suit-
able bare-metal ground, such as the rear
panel.
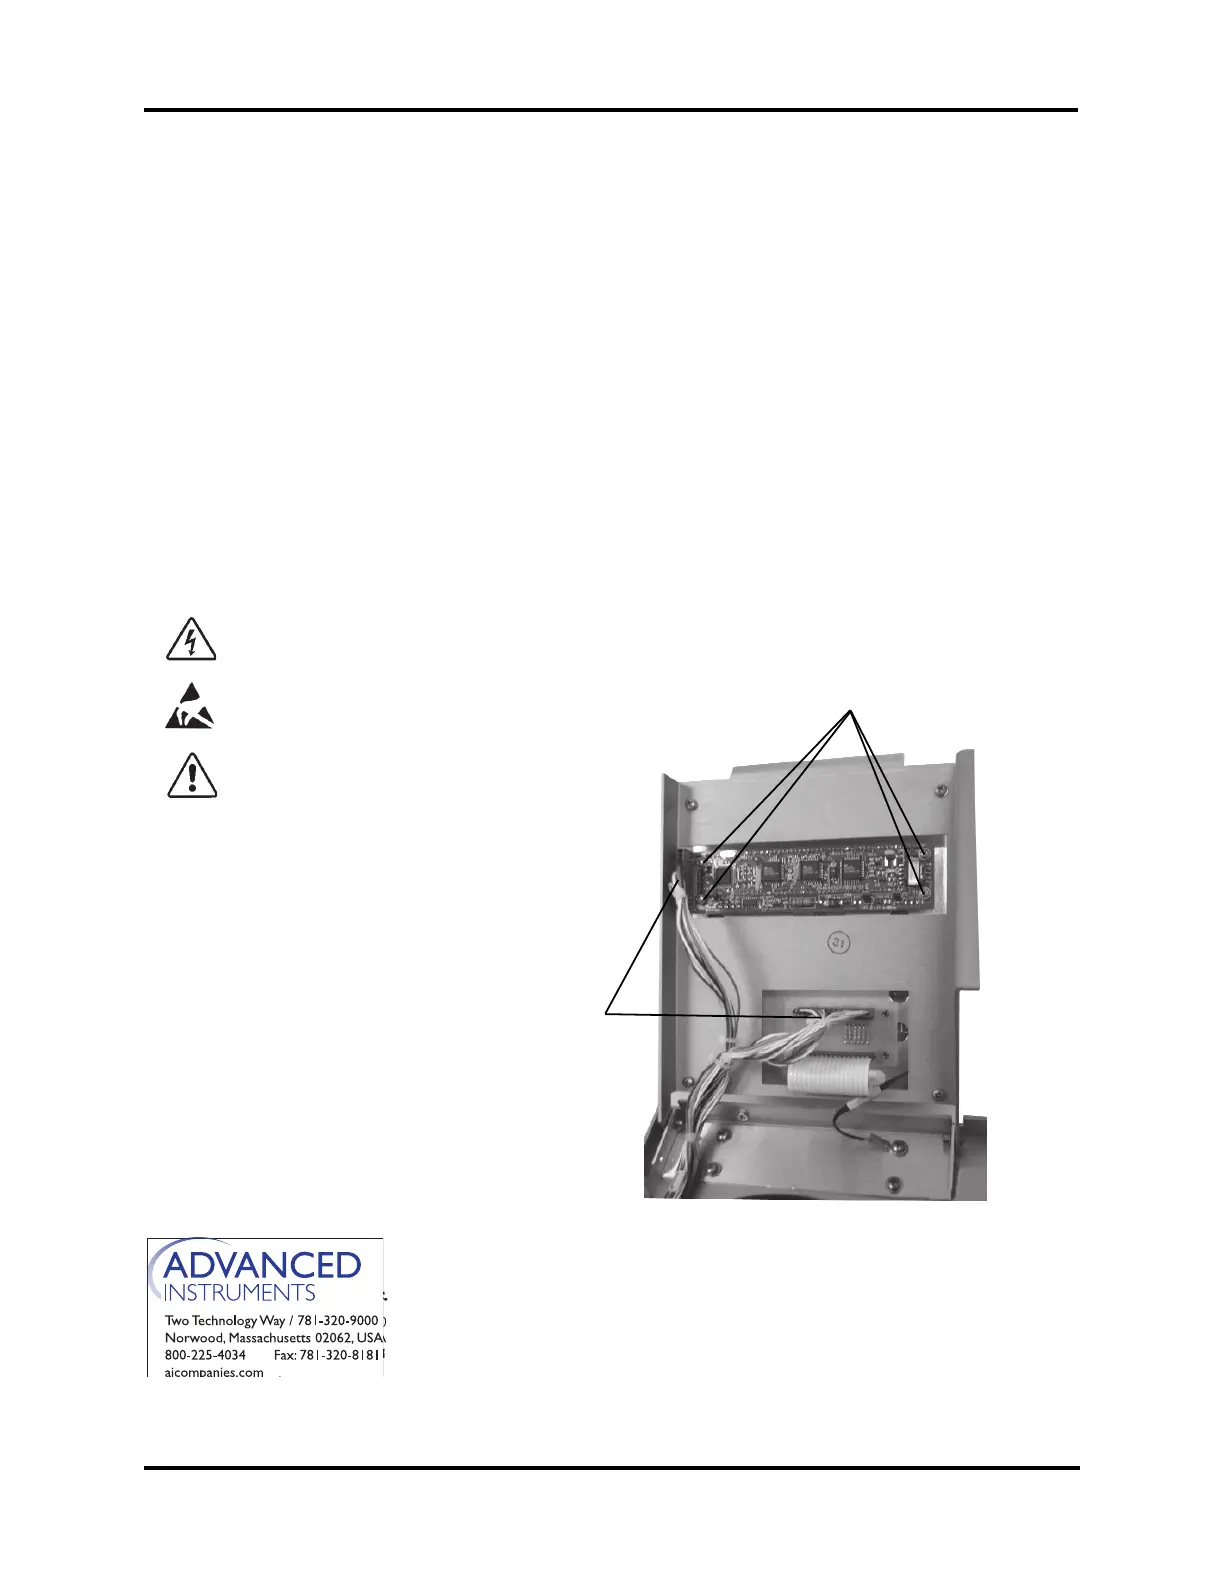
6. Disconnect the keypad and display con-
nectors (A) from the main harness.
7. Remove the four screws (B) that attach
the display to the keypad, and remove the
display.
8. Replace the old display board with the
new one and reassemble by reversing
steps 1-7.
For additional information or technical assistance,
please contact Advanced Instruments Hot-Line
®
Service Center (U.S. 1-800-225-4034, outside
North America +US 1-781-320-9000).
325P051 Rev1
(3255 Service Manual)
Page 1 of 1
B
A