Control Board Set Replacement
325605R/425605R
Application Board (Only) Replacement
PCB605R
Processor Board (Only) Replacement
325621R/425621R
For additional information or technical assistance,
please contact Advanced Instruments Hot-Line
®
Service Center (U.S. 1-800-225-4034, outside
North America +US 1-781-320-9000).
325P620 Rev7
(3255 Service Manual)
Page 1 of 4
Reference: Use this instruction with replace-
ment part 325605R, PCB605R,
325621R, 425605R, 425621R.
Tools Needed: Phillips screwdriver, flat-
bladed screwdriver, static
grounding (earthing) wrist
strap (included).
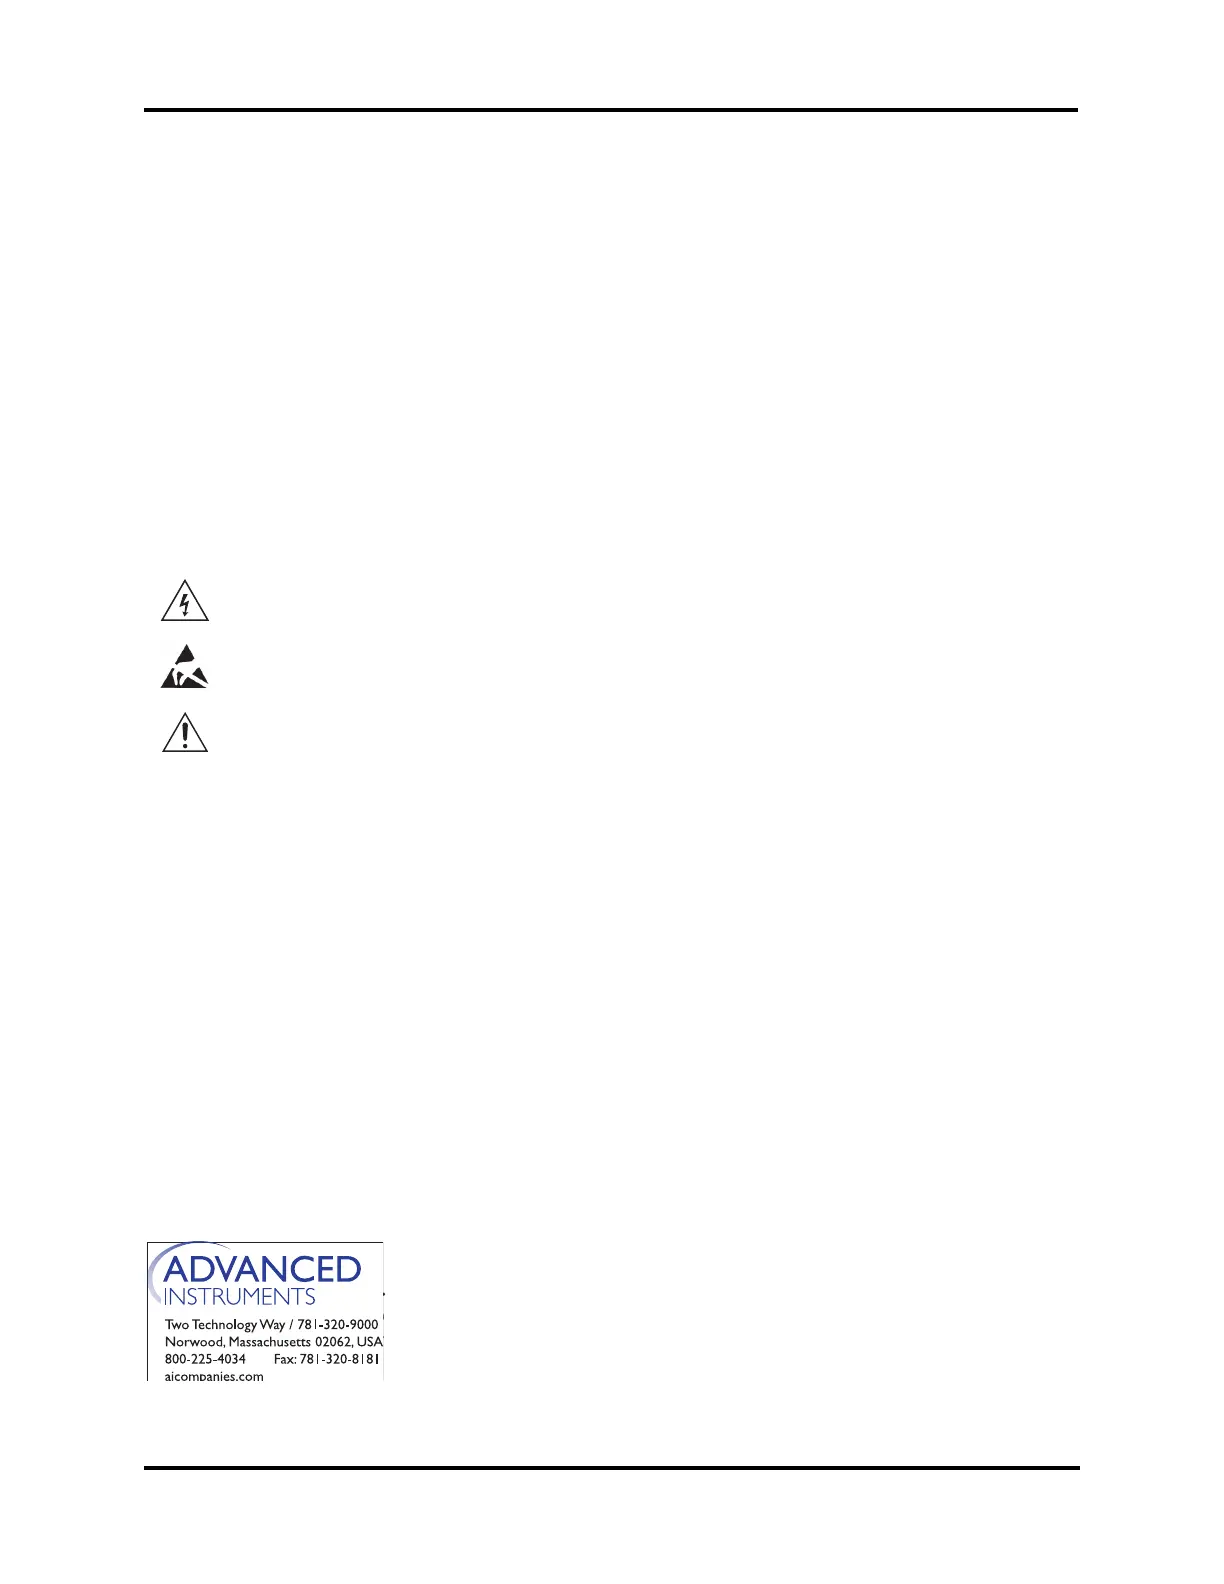
Warning-Hazardous Voltage
Warning-Internal components may
be damaged by static electricity.
CAUTIONS:
• Power cord must be disconnected
to prevent electric shock.
• Never unpack, touch or handle any
integrated circuit without wearing
a grounding (earthing) strap to
minimize your static charge.
• Instrument calibration and all cus-
tomized settings will be lost when
the main control board set or
processor board is replaced.
Therefore, make sure the current
sample and block probe bin num-
bers and the sample stir amplitude
are recorded in the service log so
that you can reset these vital num-
bers into the replacement board.
• Refer to Option Switch
Configuration section for proper
model selection.
The following instructions have been prepared
to cover several different replacement scenar-
ios. Please read carefully and select the appro-
priate set of instructions for your situation.
GENERAL INSTRUCTIONS:
1. Record current sample and block probe
bin numbers, sample stir amplitude, and
any other customized settings that may
need to be reset after this procedure.
2. Turn off the power and unplug the instru-
ment.
3. Remove the screws securing the instru-
ment cover, and remove the cover.
4. Attach the static grounding strap to your
wrist and stick the adhesive end to a suit-
able bare-metal ground, such as the rear
panel.
Board Set Replacement:
1. Remove the wiring connectors from the
application board (larger of two).
2. Gently pry the board set off the four
snap-on standoffs.
Note: Some instruments may require two
screws be removed prior to removing
the board set.