26
Osmometer/Cryoscope Well Cleaning Advanced
™
Osmometer 3250/Cryoscope 4250 Service Manual
Osmometer/Cryoscope Well Cleaning
Use this procedure to clean the well and tubing of any foreign matter (e.g., broken glass) that
may have fallen into the well.
Tools needed:
• Flat-bladed screwdriver • Phillips screwdriver • Snap ring pliers
• Thin, stiff wire • 4” cable tie • Small wire cutters
Osmometer Well Cleaning
1. Turn off the power and unplug the instrument.
2. Remove the head cover and instrument cover (see Removing the Head Cover and the
Instrument Cover).
3. Drain the cooling system (see Draining the System).
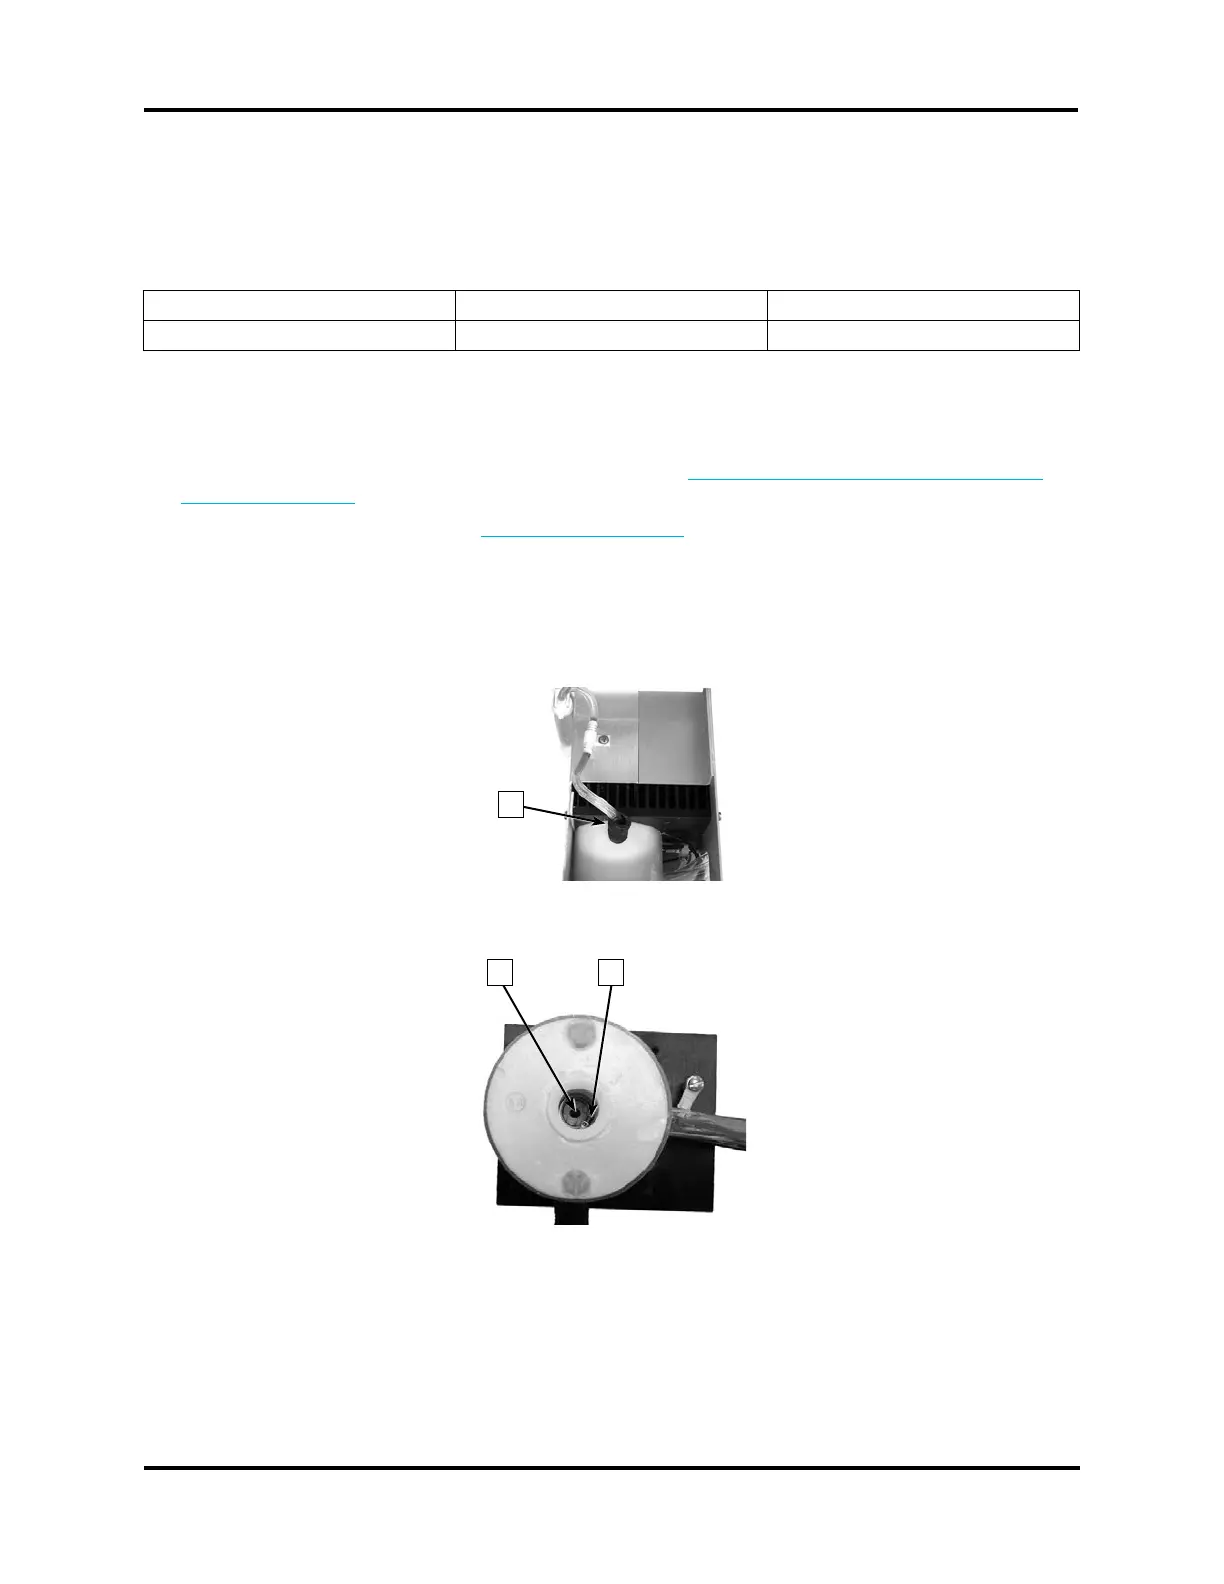
4. Disconnect the fluid pump from the cooling well, as follows:
a. Unwrap refrigeration tape [A]. Save for reuse during reassembly.
b. Cut and remove the cable tie.
c. Pull the tubing off of the cooling well inlet port.
A
5. Using a pair of pliers, remove the retainer snap ring [B] from inside the well. (Save the
retainer ring for replacement when cleaning is complete.)
B C
6. Remove the white Delrin elevator and spring [C]. (Save for replacement when cleaning is
complete.)
7. Inspect the bottom of the well and remove any visible debris. Be sure to clean out the
small hole at the bottom of the well.
8. Using a thin stiff wire, insert it into the well inlet port.