325P401 Rev2
(3255 Service Manual)
Page 2 of 2
7. Remove the old printer and reassemble
the new one to the printer base using the
screws and washers from step 6.
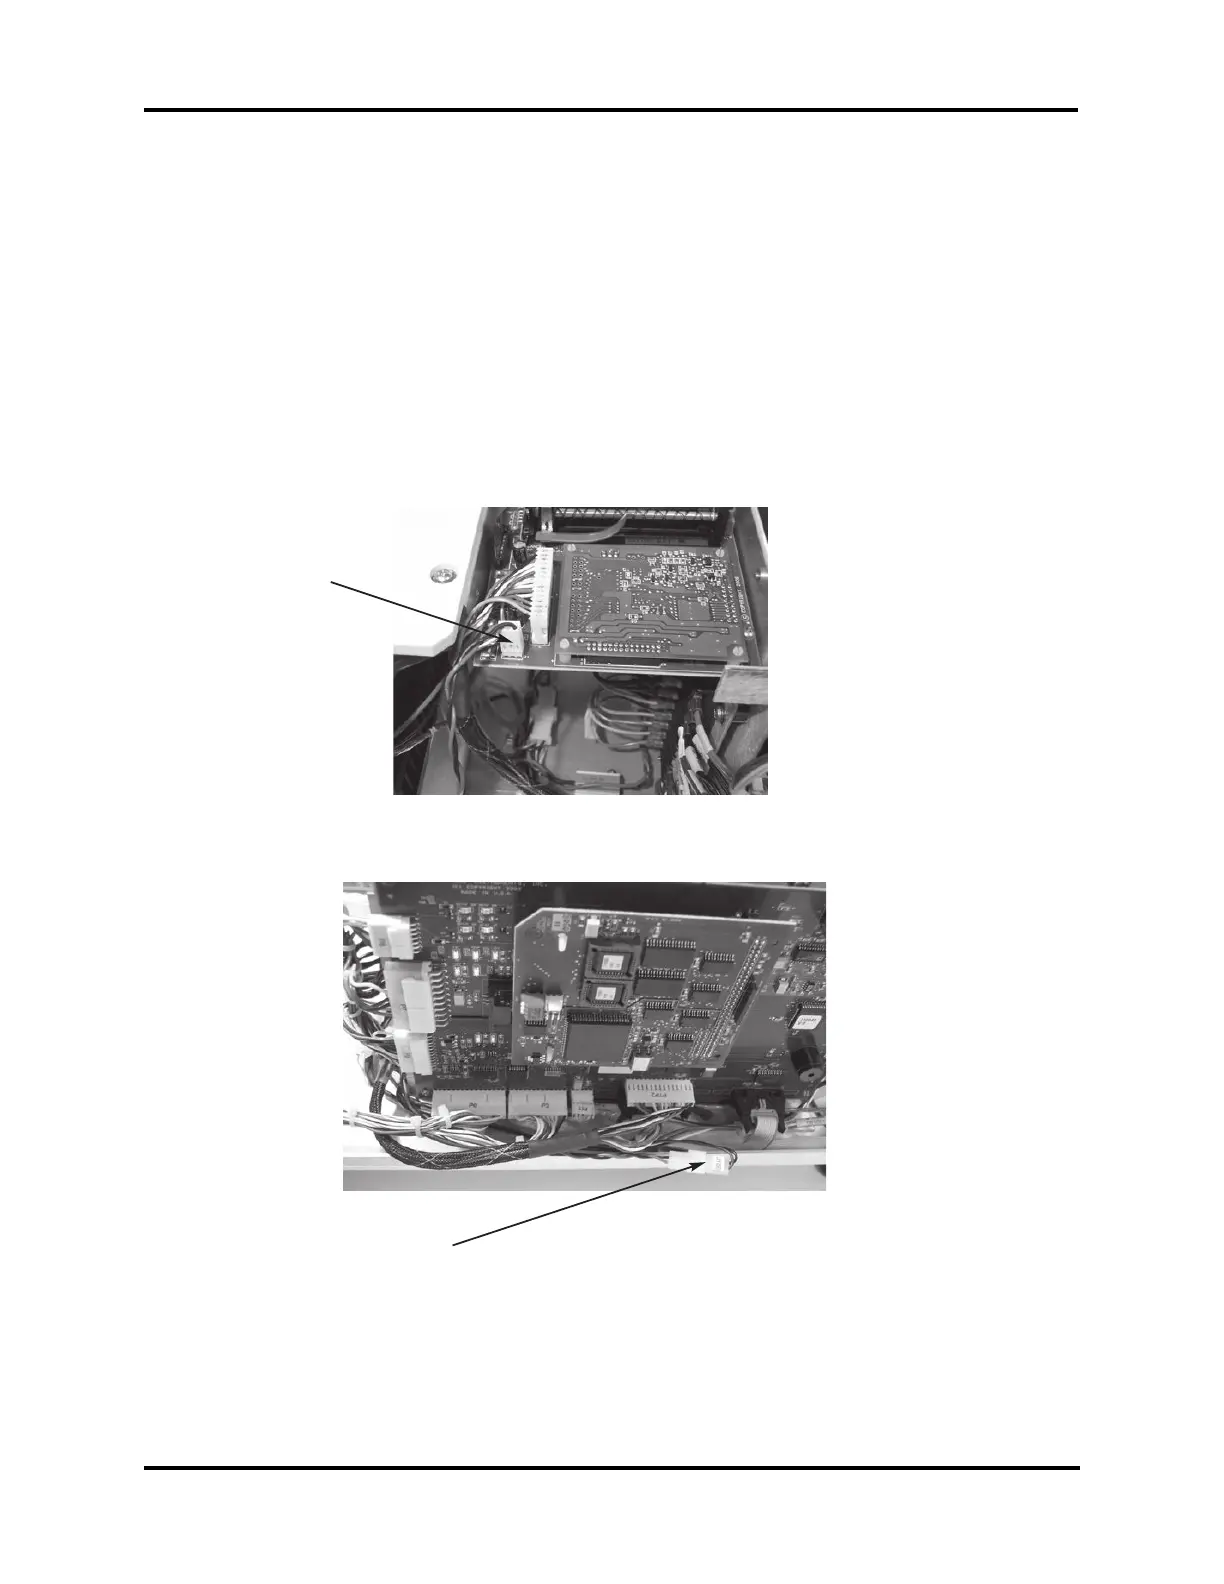
8. Locate cable 325410 (it contains two
wires -- one black and one violet). If your
instrument already has one of these, you
may discard the one that came with this
kit and skip steps 9-10.
9. If you did not previously have this cable
installed, then connect the end marked
“P1” to the printer at connection “J1”
(D).
10. Route the other end of the cable marked
“P10” along the base, past the main cir-
cuit board, and connect it to “J10B” (E).
11. Reconnect the main harness.
12. Reassemble the instrument by replacing
the printer paper holder and printer paper,
and then the instrument and head covers.
D
E