6-44
Calibrating for Increased Measurement Accuracy
Calibrating for Noninsertable Devices
8. Turn the knob to select the file that contains the port 1 calibration data (where adapter A3 was on port 2).
9. Press .
10. Turn the knob to select the file that contains the port 1 calibration data (where adapter A3 was on port 1).
11. Press .
12. Press . Enter the delay value of the adapter from step 2f. Select the appropriate
type: or .
13. Press to complete the technique for calculating the new coeffiecients and
overwrite the current active calibration set in use.
This process uses up an internal memory register. The calibration in this register is not the calibration
created by adapter removal, rather it is a "scratch" calibration. You may wish to delete the register, or
re-save the new calibration in this register (step 14).
14. Press and
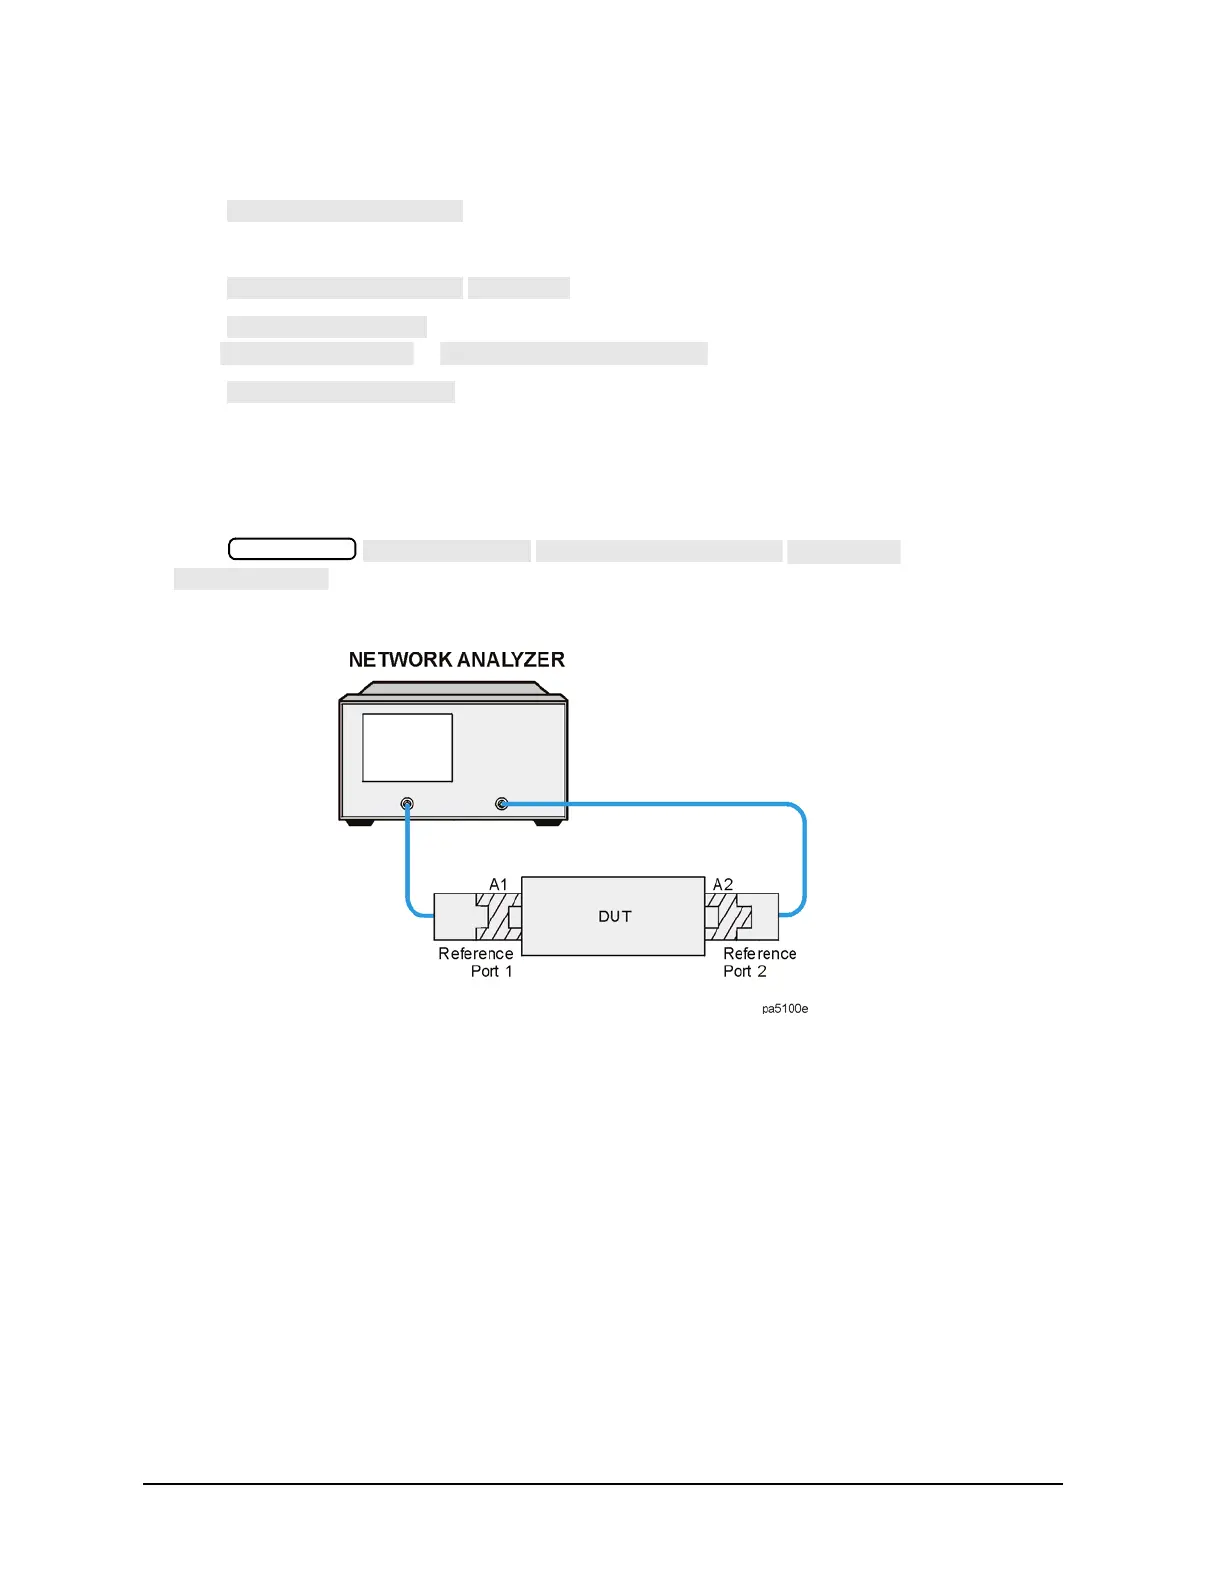
. You can now remove the adapter from the test setup and insert the DUT.
Figure 6-17 Calibrated Measurement

 Loading...


