122
REPLACEMENT OF MAIN COMPONENTS
9. Perform the following work while vacuuming (operat-
ing the vacuum pump for 1 hour or longer after the
pressure drops to -14.65 psi (-101 kPa, -755 mmHg)
or lower).
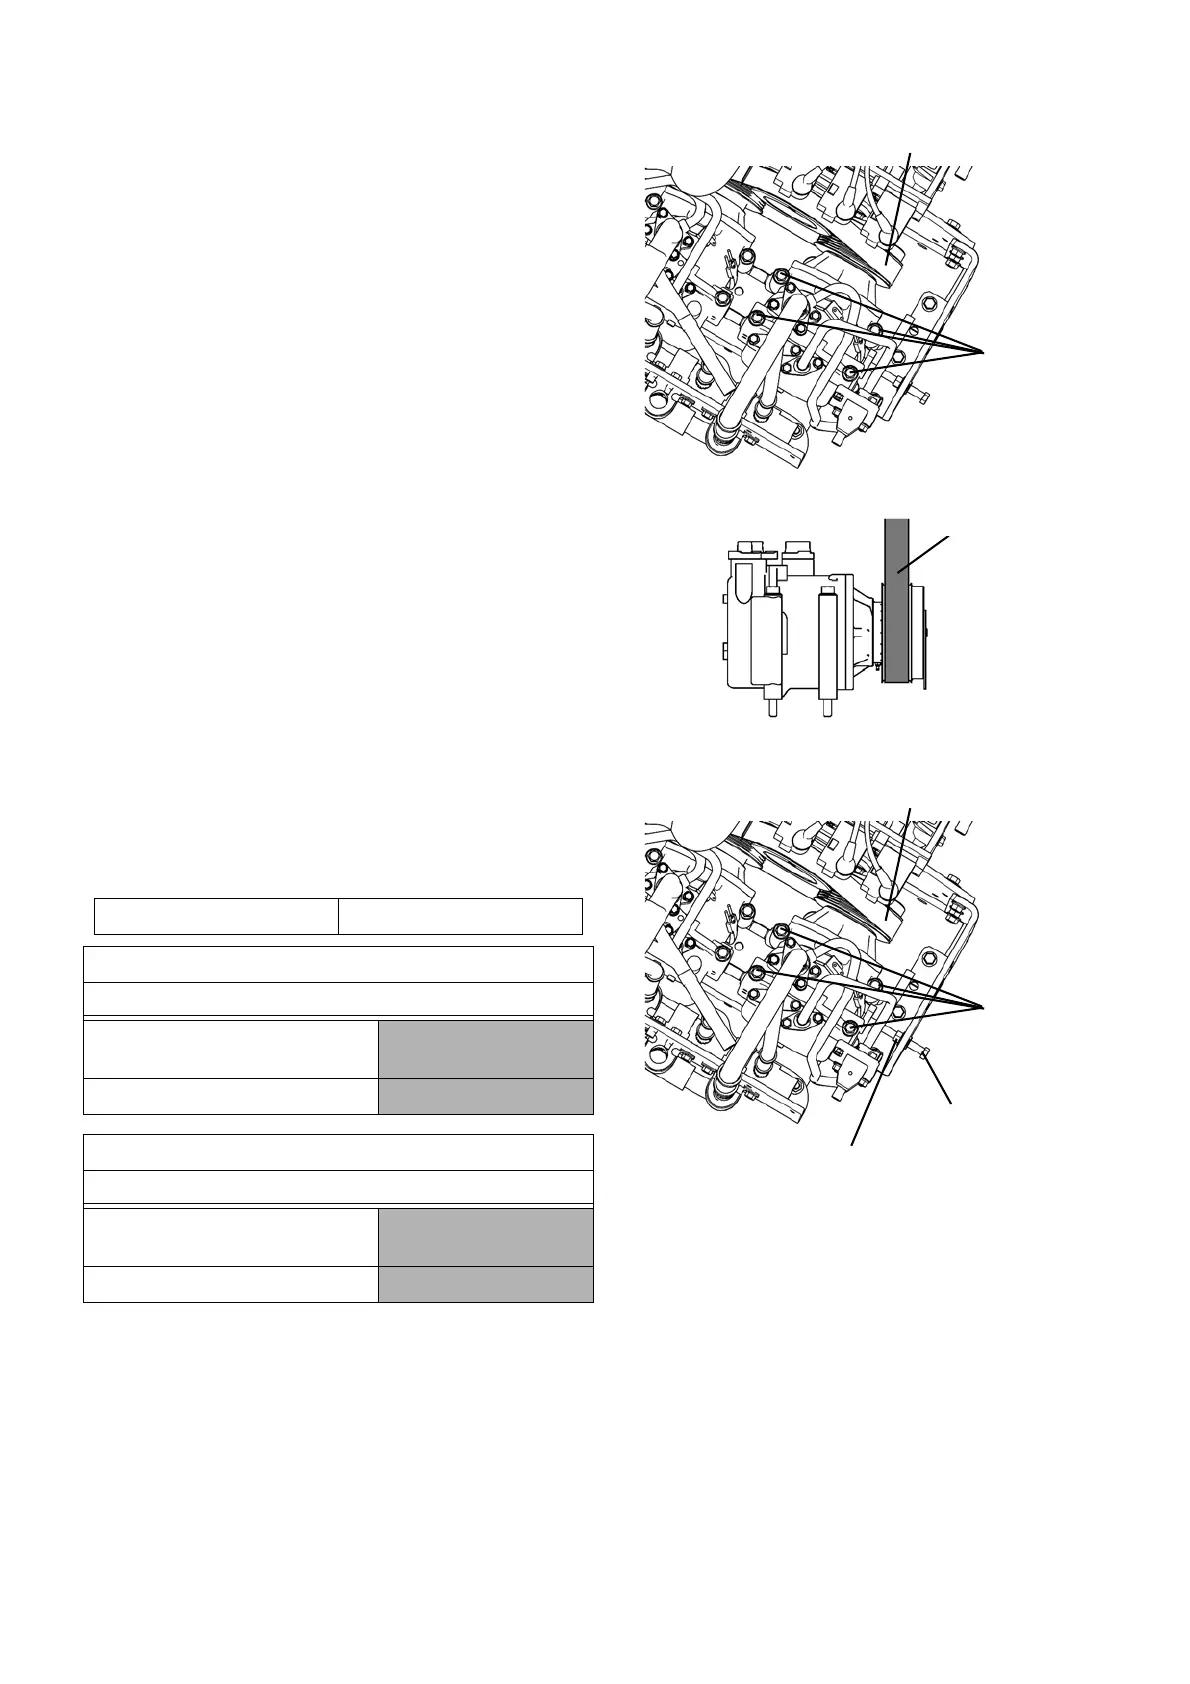
1) Move the No. 1 compressor until the compressor
belt is tight, and tighten 4 bolts lightly.
NOTE) After mounting the compressor, tighten bolts
lightly before giving the tension to the com-
pressor belt, and check that the compressor is
in the correct position.
2) Slide the No. 1 compressor by turning the adjust-
ment bolt to give tension to the compressor belt.
Adjust the belt tension to the standard value, and
tighten 4 bolts firmly.
※ Measure the belt tension with a sonic belt tension gauge. Tension values for a mechanical belt tension gauge
on the chart are reference values.
Compressor belt
Bolts
Compressor belt
Compressor belt
Bolts
Locknut
Adjustment bolt
Tightening torque 31.0 lb·ft (42 N·m)
Belt tension※
Belt tension adjustment standard (Replacement)
Sonic
Mechanical
(Reference value)
225 ~ 270 lbf (1,000 ~ 1,200 N)
155 lbf (690 N)
Belt tension※
Belt tension adjustment standard (Inspection)
Sonic
Mechanical
(Reference value)
180 ~ 216 lbf (800 ~ 960 N)
124 lbf (550 N)
 Loading...