126
REPLACEMENT OF MAIN COMPONENTS
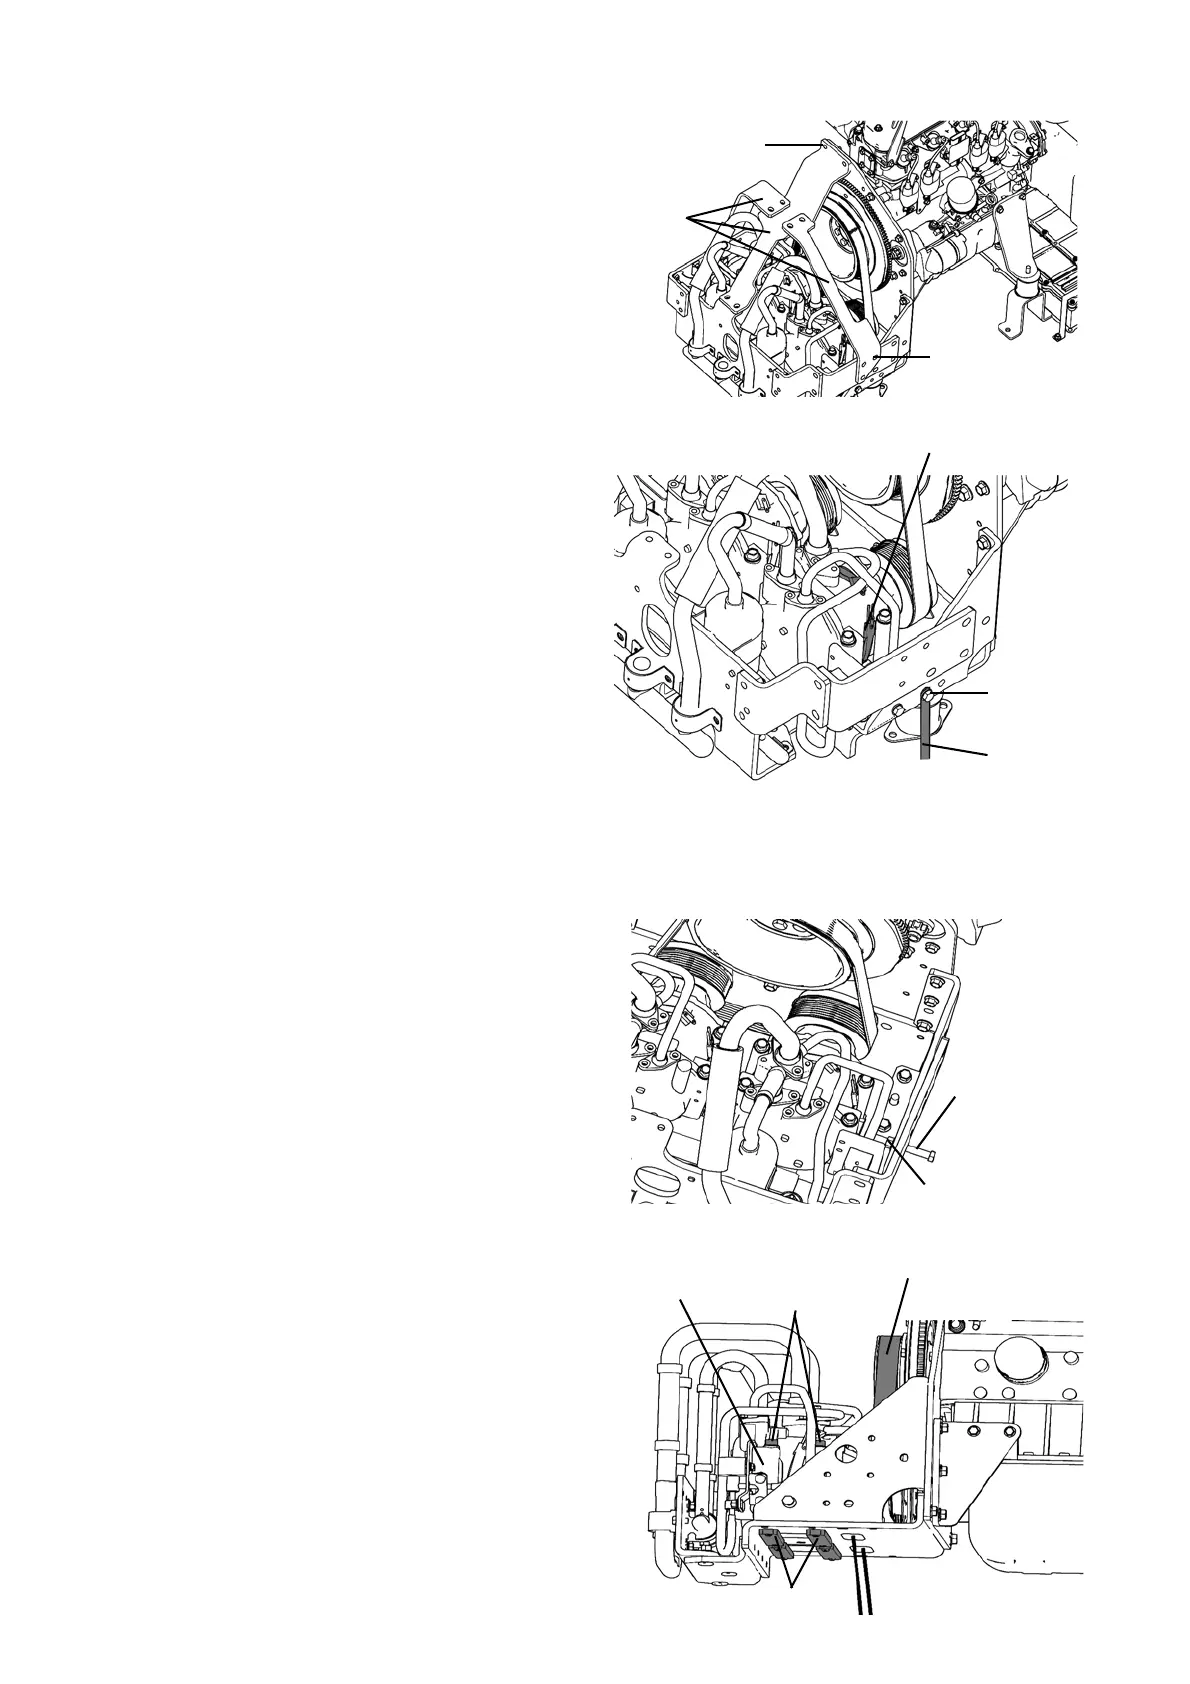
2. Perform the following work while recovering the
refrigerant.
1) Unscrew 15 bolts to remove the 3 stays.
NOTE) Unscrew bolts holding the stays with your
hand to prevent the stays from falling.
2) Cut off the bundling bands fixing the compressor
heater, compressor clutch (for only No.2 compres-
sor), and electromagnetic compressor capacity
valve wire harness.
NOTE) Take care not to damage or cut the wire har-
nesses when cutting the bundling bands.
NOTE) Confirm the current condition of the wire har-
nesses so that you can put the wire harnesses
back to the original condition with the bundling
bands when mounting the compressor.
3) Disconnect the connectors of compressor heater,
the clutch (No.2 compressor only) and the electro-
magnetic compressor capacity valve.
(Do not remove the heater at this time.)
4) Unscrew a bolt and remove the grounding wire.
5) Loosen a locknut and an adjustment bolt adequate-
ly.
6) Take out 4 bolts.
NOTE) When removing the mounting bolts, catch the
2 stays (plate-shaped) with your hand so that
they do not fall on the bottom plate.
7) Move No. 1 compressor inward, and remove the
compressor belt.
Bolts
Stays
Bolts
Compressor heater
Bolt
Grounding wire
Adjustment
bolt
Locknut
Stays
Bolts (4 pieces)
Compressor belt
No.1
 Loading...