71
REPLACEMENT OF MAIN COMPONENTS
6) Double-check if the hoses or wire harnesses
are disconnected from the engine. If connected,
disconnect the hoses or wire harnesses.
7) Unscrew 6 bolts (both sides) to remove the engine
brackets (both sides). Dismount the engine.
NOTE) When placing the engine on the floor, place
wooden blocks, rag or other appropriate
material on the floor and put the engine on
it carefully so that the pipes on the bottom
of the oil pan will not be damaged.
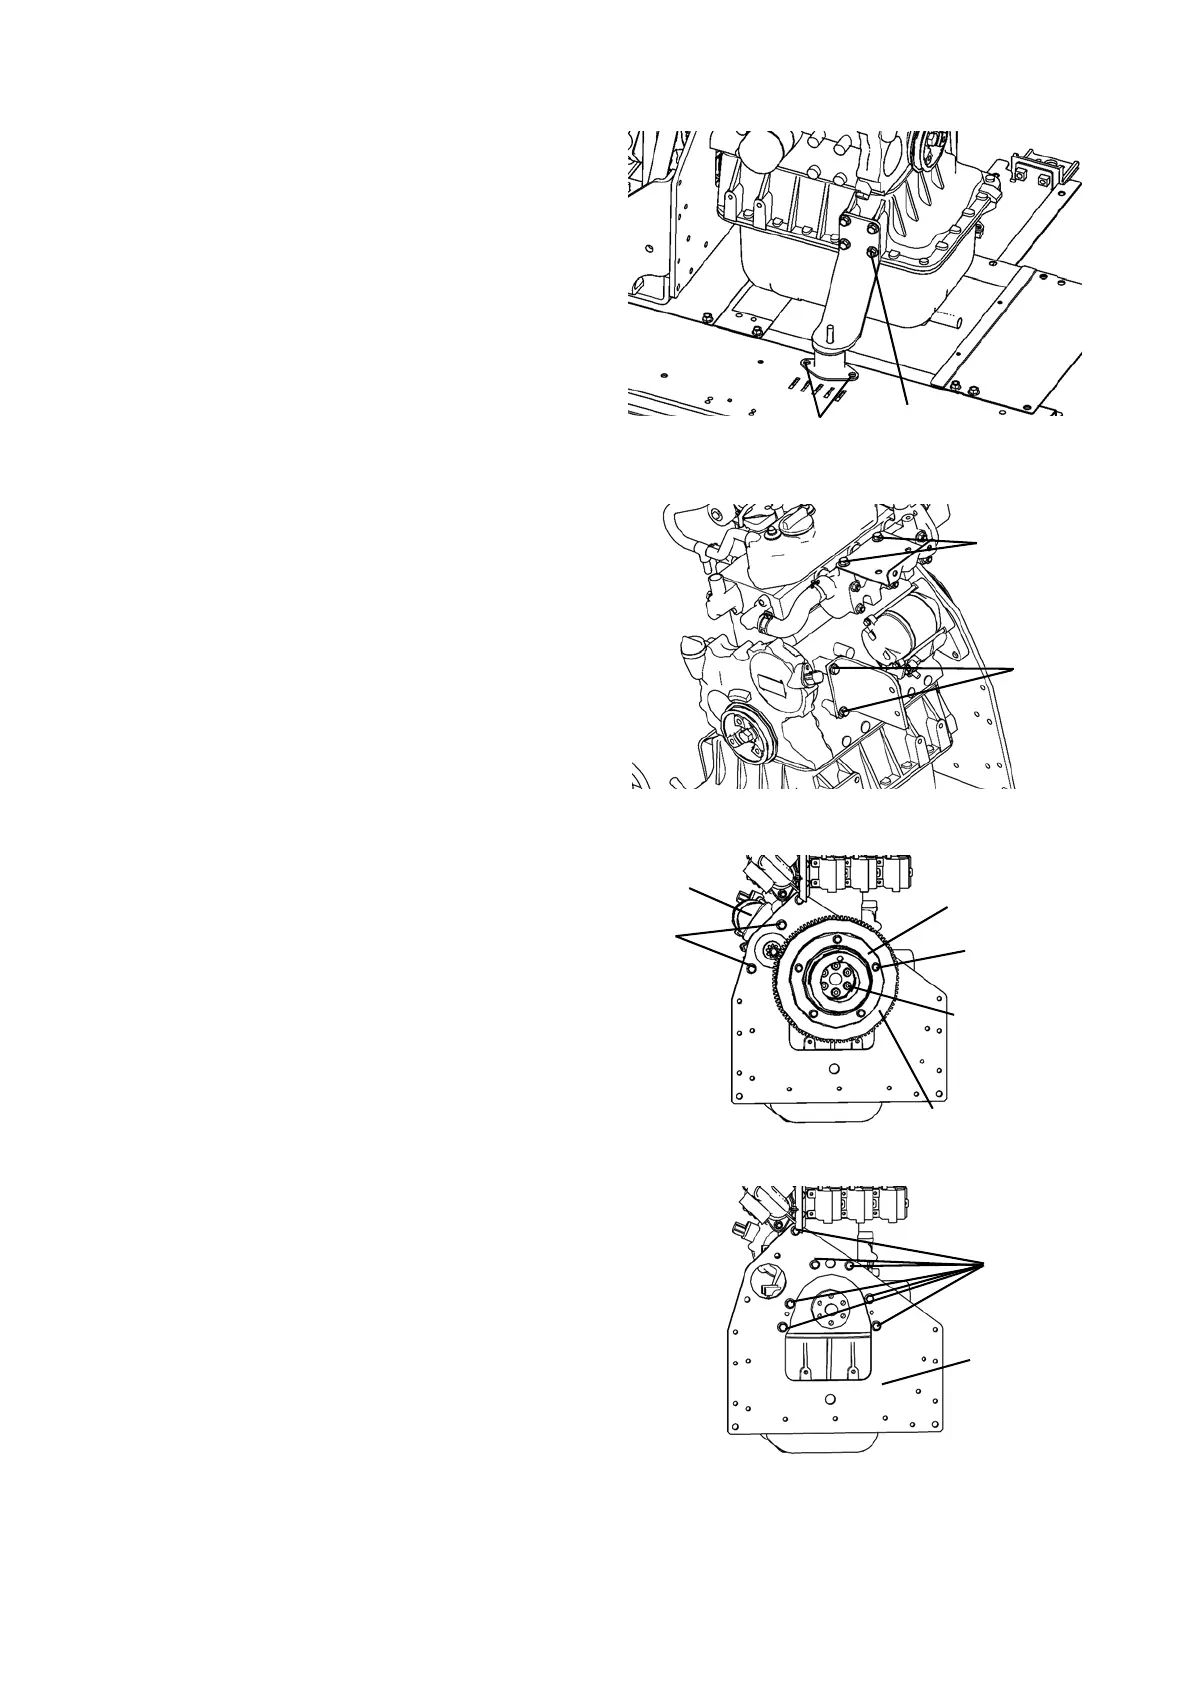
15. Remove the surrounding parts of engine.
1) Unscrew 2 bolts (2 places) to remove the stays
(2 places).
2) Unscrew 5 bolts to remove the crank pulley.
3) Unscrew 6 bolts to remove the flywheel.
4) Unscrew 2 bolts to remove the starter.
5) Unscrew 7 bolts to remove the bracket.
Bolts (4 pieces)
Bolts
Bolts
Bolts
Flywheel
Pulley
Starter
Bolts
Bolts
Bolts
(6 pieces)
(5 pieces)
Bolts
Bracket
 Loading...