222
Important:
When working in Sample Edit Mode and using Chop Mode to divide a sample into slices for your pads,
you can convert a slice using Non-Destructive Slice or Pad Parameters.
A Non-Destructive Slice will let its pad to refer to that slice when you press it; the original sample
remains intact and each slice marker is like a “bookmark” for a pad. In Program Edit Mode, you’ll see that
the pad/layer to which it’s assigned has its Slice drop-down menu set to the corresponding slice number
in the original sample. Playing that pad will cause it to refer to that slice marker like a “bookmark” instead
of creating an entirely new sample of that slice. This means that you no longer have to clutter your project
with a new sample for every slice (though you can still use this earlier method, if you prefer).
A slice converted using Pad Parameters is very similar to a non-destructive slice described above. The
difference is that in Program Edit Mode, the pads/layers they’re assigned to have their Slice drop-down
menus set to Pad (instead of the slice number), and the Pad Start and Pad End points will correspond
to the slice markers in the original sample.
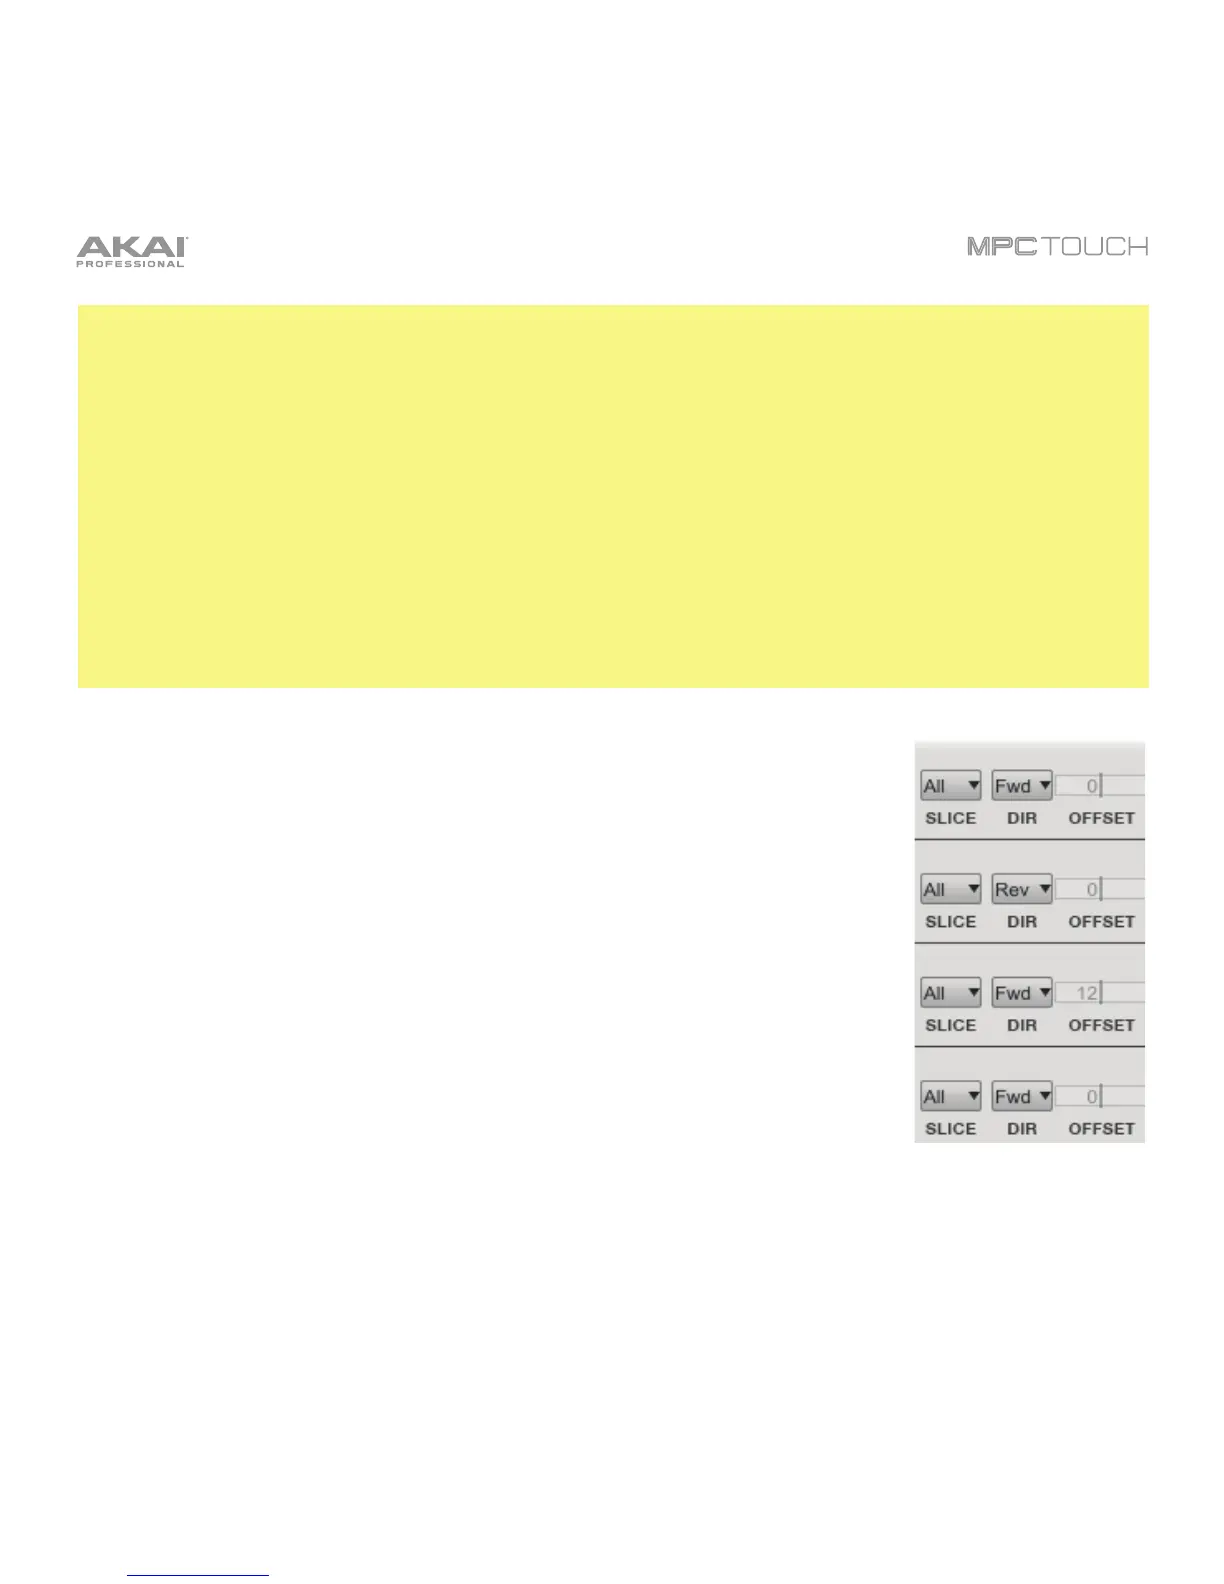
Use the Slice drop-down menu to select what part(s) of the sample will play:
• All: The entire sample will play.
• Pad: The sample will play from the Pad Start position to the Pad End
position, described below. This also lets you activate Pad Loop.
• Slice 1, 2, 3, etc.: If you have sliced the sample in Chop Mode, you can
select which slice will play when you trigger the pad.
Use the Dir drop-down menu to select in which direction the sample will play:
• Fwd: The sample will play in the normal forward direction.
• Rev: The sample will play in reverse.
Use the Offset field to determine a time offset for the sample’s playback.
Alternatively, double-click the field and type in a number.
• Positive values (right of center): When the pad is played, playback will start
immediately but at a later point in the sample specified by the offset value.
• Negative values (left of center): When the pad is played, playback will be delayed by the amount
specified by the offset value.