POS MV V4 User Guide
Installation
Copyright © Applanix Corporation, 2009
2-18
Note: If the analog interface hardware option is in use, ensure that the PCS
and the multi-beam sonar are grounded at the same point.
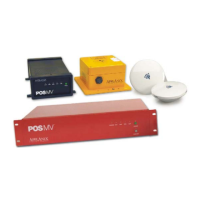
POS Computer System - POS MV V4-1
The PCS is the heart of POS MV V4-1 system and is based on an Intel
Pentium processor. The PCS footprint is shown in
Appendix E.
Install the PCS
The M4 x 0.7 (8-32 UNC) screws used to secure the mounting
brackets to the PCS cannot be longer than 6.35 mm (¼ in).
Longer screws will cause internal PCS damage.
Applanix recommends mounting the PCS in a right side up orientation.
Maintain a minimum of six inches (15 cm) of clearance (top and rear only) for
cables and ventilation. Two brackets, each with two mounting holes, are
attached to the bottom surface of the PCS and are used to mount the PCS to
a flat surface. The two brackets are attached to the bottom of the PCS using
6.35 mm, M4 x 0.7 (0.25 in, 8-32 UNC) screws.
The POS Computer System (PCS) is designed for mounting in a rack or
mount that provides isolation from both shock and vibration. Do not expose
the PCS to excessive humidity, dust or heat. It has a rear mounted exhaust
fan and requires approximately six inches (15 centimetres) of clearance
behind the rear panel to accommodate proper cooling and cable clearance.
Do not restrict the airflow intake or exhaust located on the top and rear of the
chassis.
Rear Panel Electrical Connections
The rear panel of the PCS provides connections for power and
communications with sensors and other devices, see
Figure 7. Connector
interface requirements are described on page
2-20, Interfaces.