Installation and Setup 11
Confirming EUCON
To confirm installation and communication:
1 Make sure you have enabled EUCON.
2 Open a session if one is not already open.
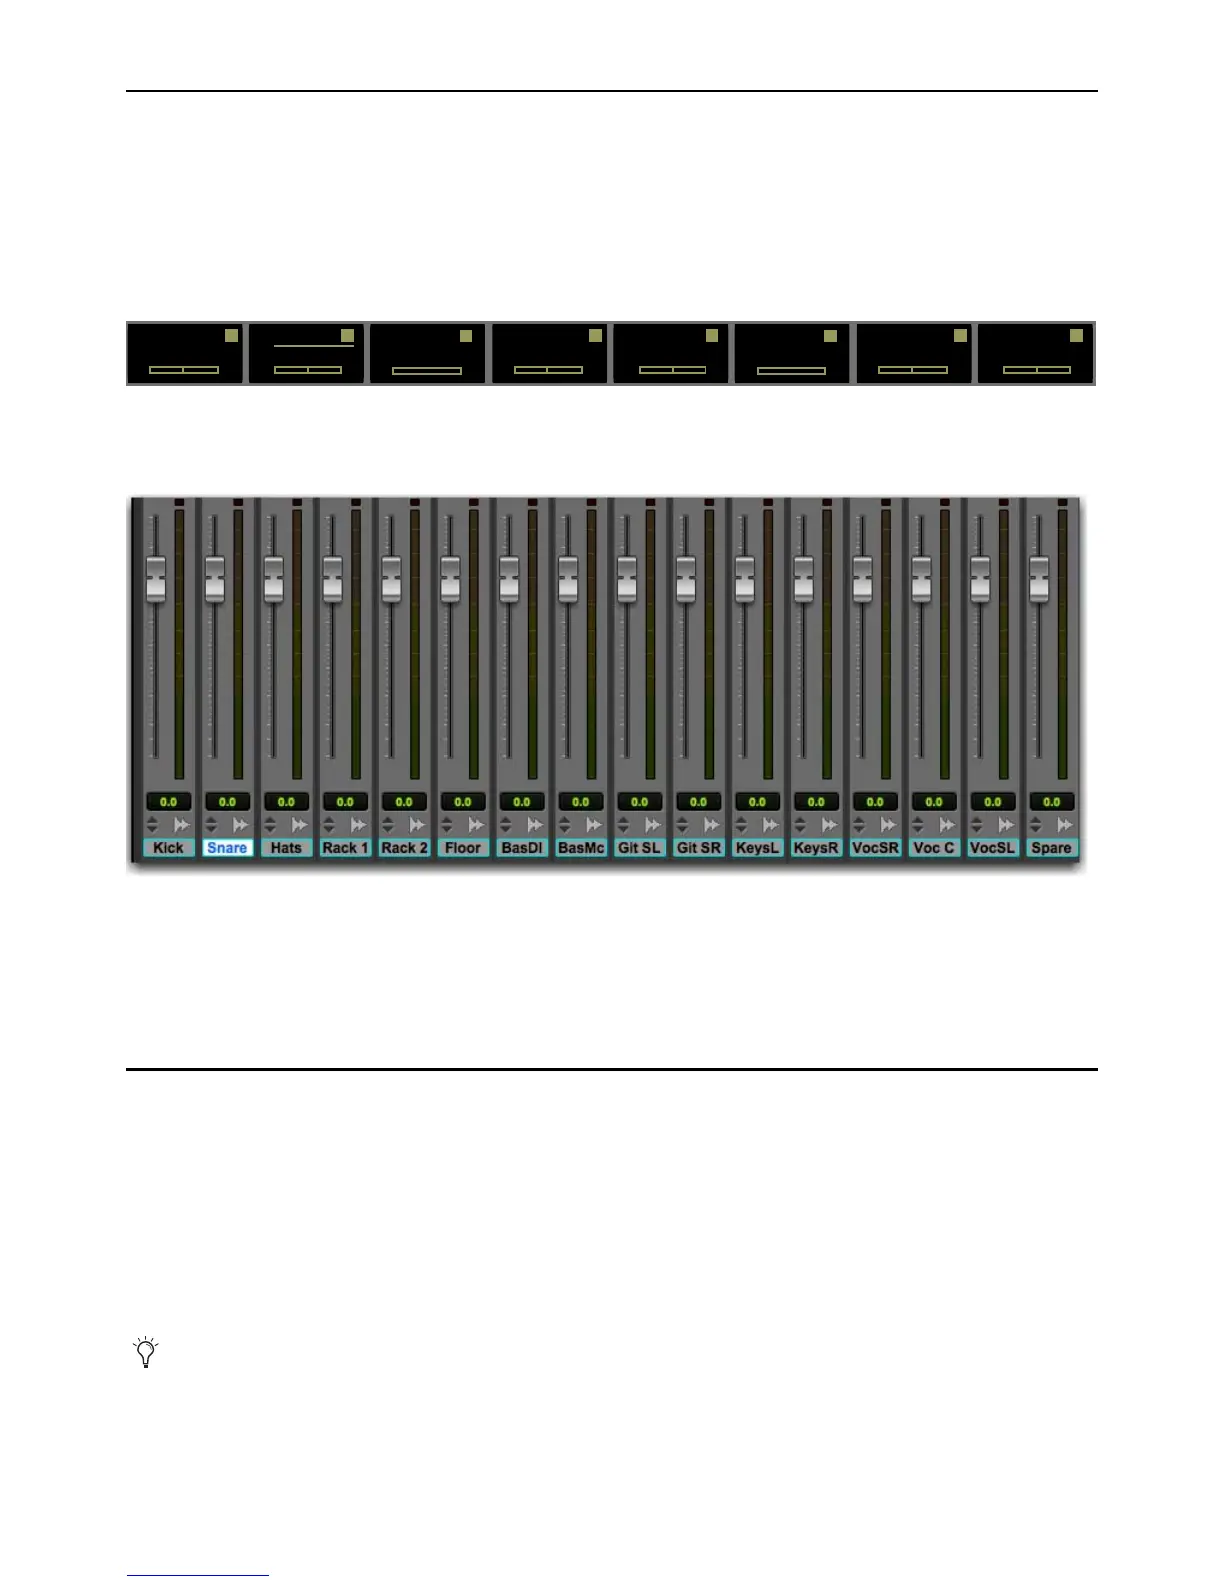
3 Verify that the channel strip displays above the bottom row of 16 encoders (the Channel Encoders) on the S3 show the track
names for the first 16 tracks in the Pro Tools session.
4 In the Pro Tools Mix window, verify that the names of the tracks currently banked to the channel strips on S3 are highlighted
with blue-green borders.
5 Proceed to any of the following:
• For instructions on using your S3 after initial installation, see
Powering-On Your System After Initial Setup.
• To connect a second workstation computer, go to
Connecting a Second Workstation.
• To connect a footswitch, go to
Connecting a Footswitch.
Powering-On Your System After Initial Setup
After the initial installation and setup, your system must be powered on in a specific order, as follows:
1 If connecting to a router, connect S3 to the router, connect the router to the workstation computer, and power on the router.
2 If connecting directly, connect S3 to the workstation computer.
3 Power on the S3.
4 Confirm that S3 is in Studio Mode. Enable Studio Mode if Studio Mode is not enabled (see Toggling Studio and Live Modes).
5 Once S3 is finished initializing, power on the workstation computer.
Channel Encoder displays showing track names (first eight tracks shown)
Pro Tools Mix window showing tracks currently banked to the S3 channel strips
If the S3 is not recognized by EuControl on your workstation computer (for example, because you powered S3 on after pow-
ering on the workstation computer), click the unlit EuControl icon in the menu bar (Mac) or System tray (Win) and choose
Restart EUCON Applications...to relaunch EuControl and re-initiate the connection.
Kick
Pan
1
Snare
Pan
2
rw
Hats
Pan
3
Rack 1
Pan
4
Rack 2
Pan
5
rw
Floor
Pan
6
Bass DI
Pan
7
Bass Mic
Pan
8
rw