R5906788-03 Thor series 53
Image 6-12
6.6 Connecting the external safety interlocks
The terminal for the external safety interlocks is located inside the mains compartment. This
procedure assumes that the cover of the mains compartment is already removed. See chapter
“Accessing the mains compartment”, page 51.
Required tools
Flat screwdriver (small)
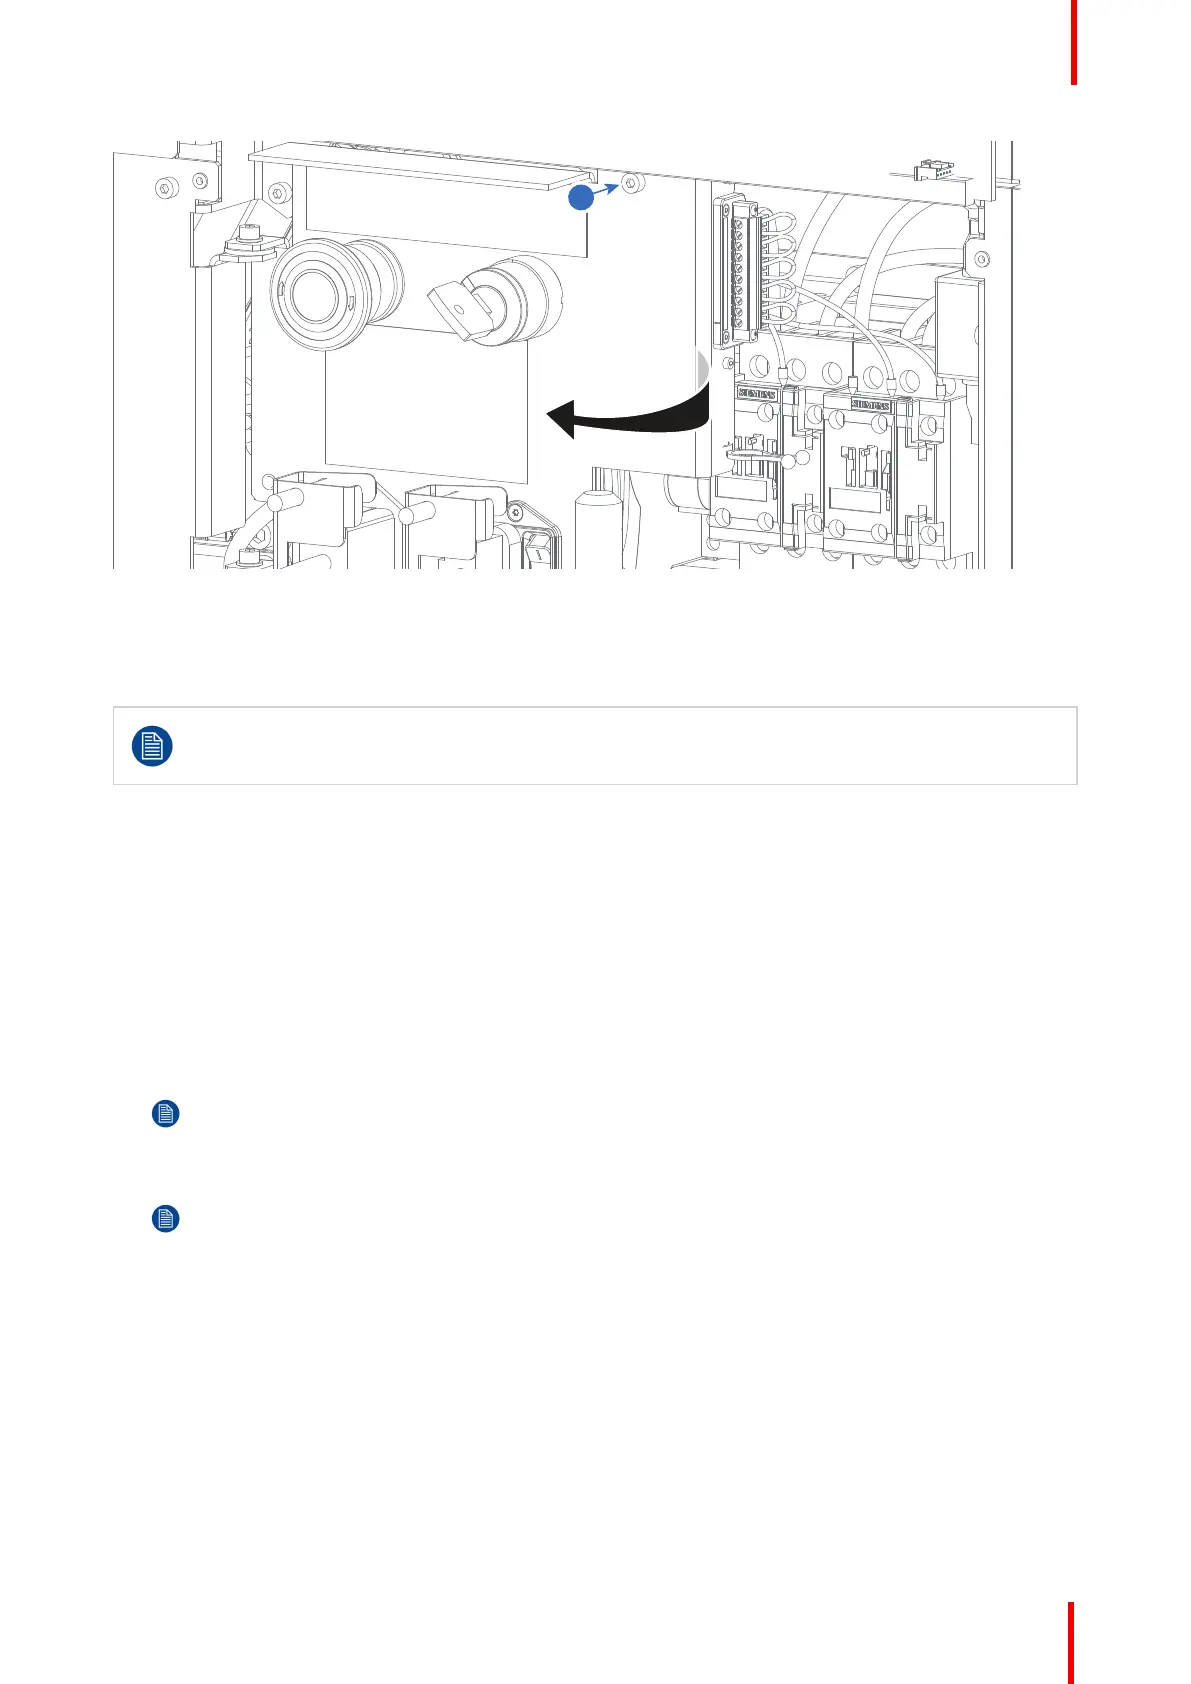
How to connect the external safety interlocks with the projector?
1. Remove the 10 pole terminal block from its socket (reference 3 Image 6-13). Use a small screw driver.
2. Guide the cable(s) coming from the external interlock device(s) through the cable gland(s) located at the base
of the mains compartment (reference 4 Image 6-13).
3. Remove the shunt wire(s) from the 10 pole terminal block and connect the cable(s) according the schematic in
Image 6-13.
Note: Only remove the shunt wires from these pins which have to be connected with an external
safety interlock device. All other shunt wires must remain in place.
Note: Maximum two external safety interlock devices can be connected. These interlock devices must
have double pole normal open contacts. So, for normal operation of the projector the normal open
contacts are pushed into the closed state to close the circuit and thus enabling the activation of the
PSU of the lasers.
The internal master key can be extended with a single pole external master key (MK).
4. Insert the 10 pole terminal block back in its socket. Use a small screw driver to fixate the terminal block.
5. Insert the cable(s) in the cable tie located below the terminal block (reference 5 Image 6-13).
Physical installation
 Loading...


