R5906788-03 Thor series 63
The lens calculator allows you to have an overview of which lenses are suitable for your specific projector
setup. Just make your selection of parameters and all possible configurations are displayed.
Image 7-1: Digital cinema lens calculator
Take into account that when the projector is tilted the Screen Width you have to fill in should be
larger than the physical screen width due to the keystone distortion of the projected image. How
much larger depends on the amount of tilt.
Due to production tolerances the real distances can differ by 2% from the calculated values.
For critical situations (fixed installs that use the lens at one of its extreme zoom positions) this
should be taken into account.
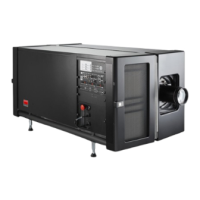
7.3 Lens installation
If no lens is installed the lasers of the Thor series series projector can not be powered. The Standby
button en Light button will light up red. The Projector Toolset will also show the error message that
there is no lens installed.
How to install a lens into the Lens Holder?
1. Remove the plastic cover in the opening of the Lens Holder if not removed yet. Place the Lens Holder in the
“unlocked” position by moving the lens lock handle (reference 1 Image 7-2) to the right. Then, take away the
plastic cover.
Lenses & Lens selection
 Loading...


