Installation and connection
22
MK2430_D00129_02_M_XXEN/09.2019
4.2 Installing the device
4.2.1 Overview of enclosure variants
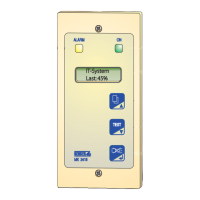
– The MK2430 is installed in a flush-mounting enclosure. With a special mount-
ing kit it is also suitable for installation in a panel or cavity wall.
– MK2430A in surface-mounting enclosure
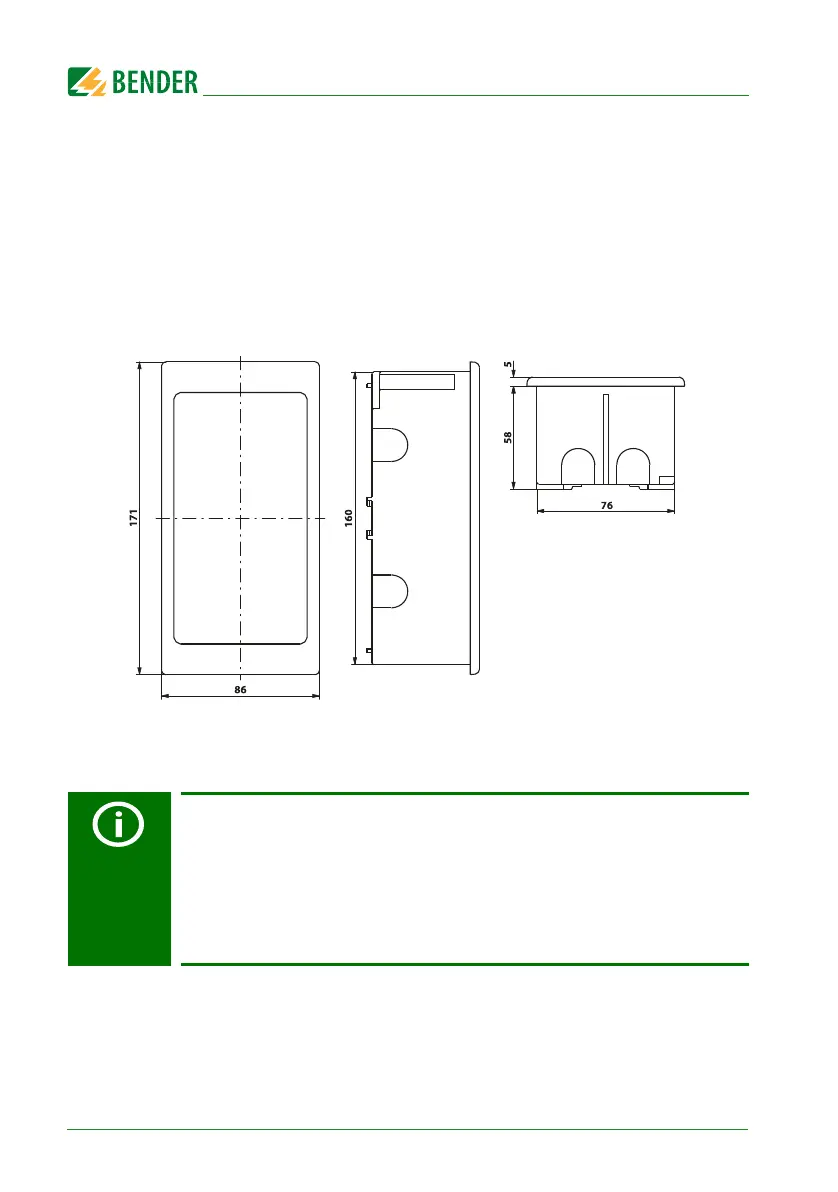
4.2.2 Dimension diagram flush-mounting enclosure
Fig. 4.1: MK2430 in flush-mounting enclosure
Front panel cutout: 161 x 77 mm
The MK2430 is fixed in its enclosure with brackets. In addition, the MK2430
can be secured in its enclosure with screws. For this purpose, markings for
the drilling holes are prepared at the back of the front plate (drilling hole:
3 mm ∅, lowering from the outside: 6 mm ∅). The versions MK2430S-11,
MK2430S-12 and MK2430H-12 are mounted with 2 screws in the in-wall
casing.
When screw mounting, make sure that the front panel does not bend!