44
Re-recording only a mistake—Punch-in/out
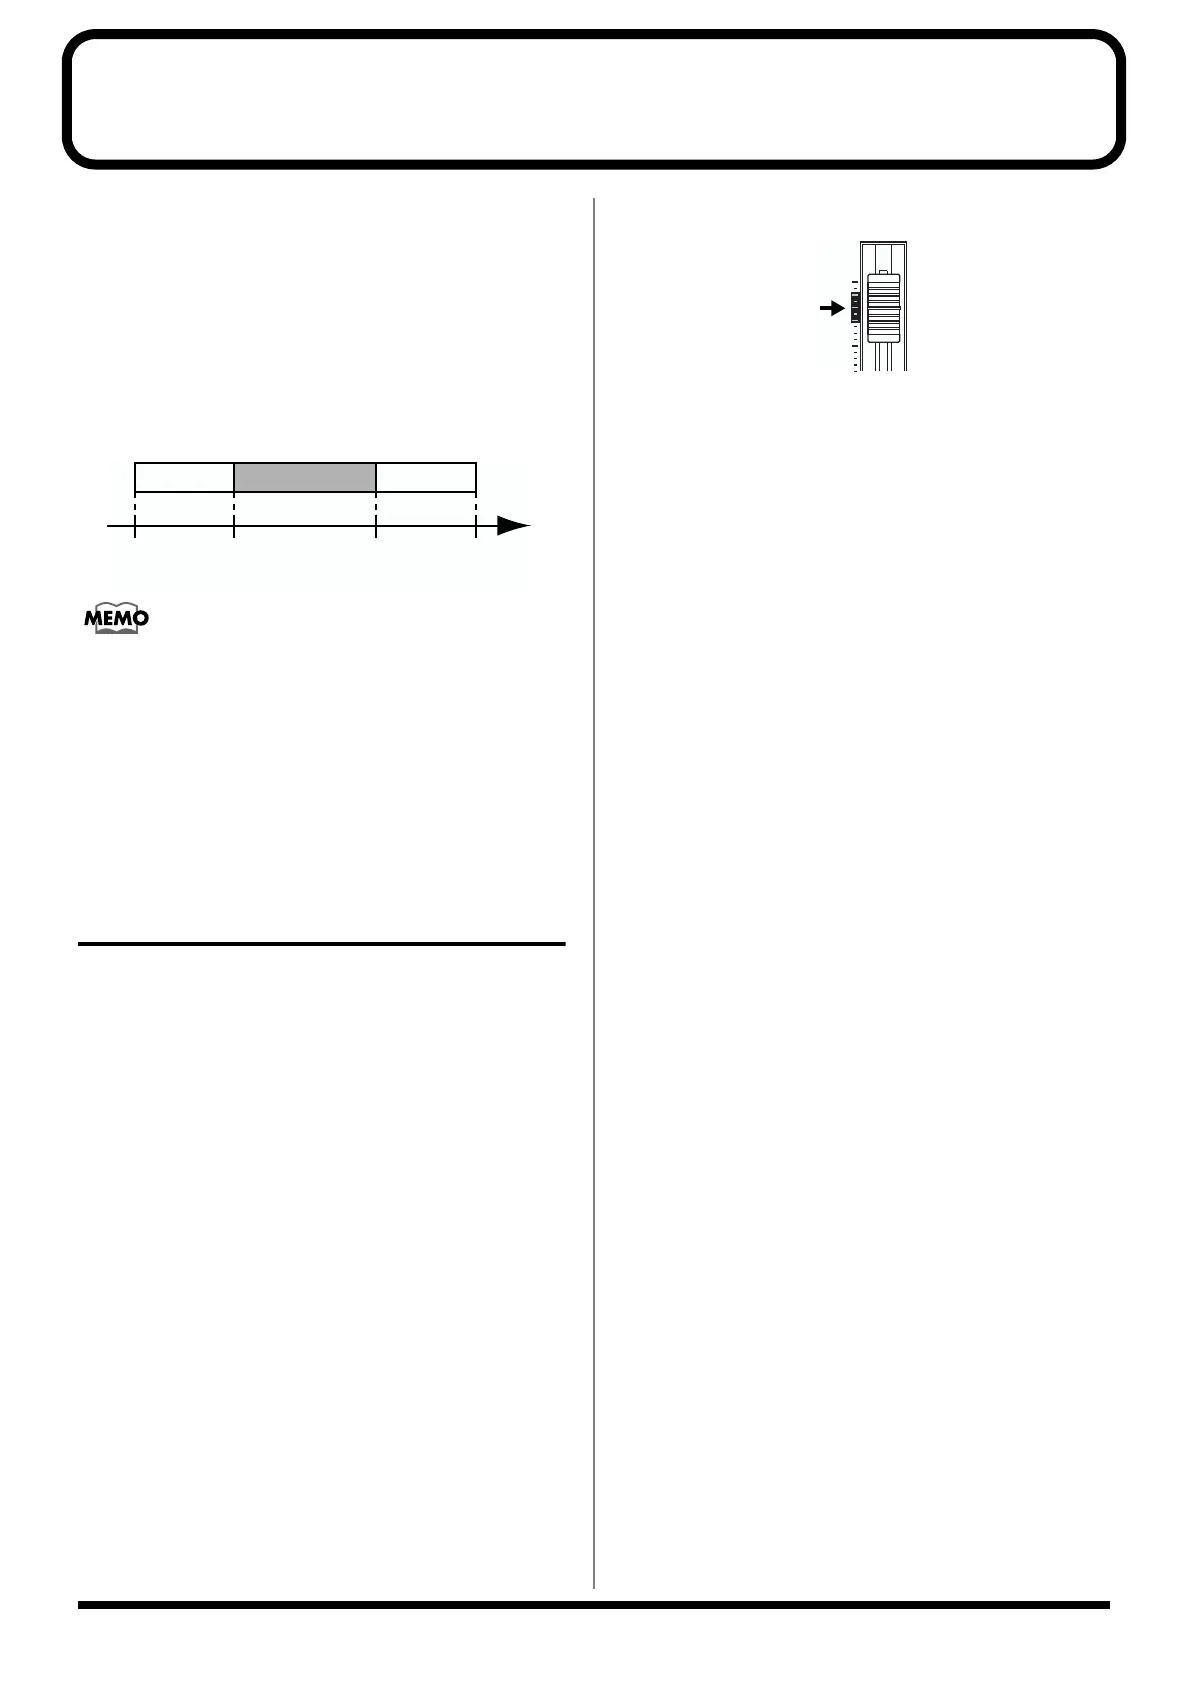
You may occasionally make a mistake while recording, or the
performance may not turn out as you expect. In this case, you
can punch in/out to re-record only the portion that is
mistaken. Changing to recording during the playback of a
song is referred to as punching in, and changing from
recording to playback is referred to as punching out.
Therefore, punch in at the location where you want to begin
the re-recording, and punch out at the location where you
want the re-recording to end.
fig.R01-01
Even after punching in or out, the data as it was before
the punch in/out remains on the hard disk. If you do not
need this data, use the Disk Optimize function (p. 78) to
delete such unneeded data from the hard disk, so you
can more effectively make use of all the recording space
the disk can offer.
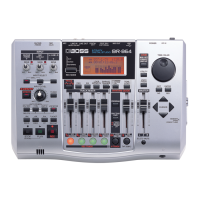
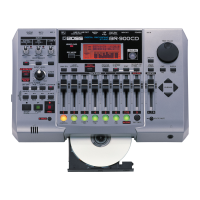
With your BR-1180/1180CD, you can choose from
manual or automatic punching in/out.
Manually punching in/out
You can use the button on the BR-1180/1180CD or a foot
switch to punch in or out.
When you are playing an instrument and performing the
recording by yourself, it may be difficult to punch in or out
using the button on the BR-1180/1180CD. In such cases, it is
convenient to use a separately sold foot switch (Roland DP-2,
BOSS FS-5U, or equivalent) to punch-in and punch-out.
Manually punching in and out
using [REC]
Here’s how to manually punch-in/out on part of previously
recorded track 1.
* You can use the Undo function (p. 75) to revert to the
condition before re-recording.
1. Press REC TRACK [1].
REC TRACK [1] lights alternately in orange and green.
2. Place the fader for track 1 at the location shown below.
fig.R01-02
3. Make sure that the AUTO PUNCH IN/OUT [ON/OFF]
indicator is dark.
If it is lit, press [ON/OFF] to make the indicator go out.
4. Start playback and adjust the volume of the input
source using the INPUT LEVEL knob.
While the song is playing, you can hold down [TRACK
MUTE] and press REC TRACK [1] to mute track 1.
Repeat this to cancel muting.
Listen to the track you will be re-recording and the input
source and adjust the volume of the input source using
the INPUT LEVEL knob so that it is the same level as the
track.
5. After you have adjusted the volume of the input
source, make sure that muting of track 1 is cancelled.
6. Move to a position before where you want to start re-
recording and press [PLAY] to start playback.
7. Press [REC] to punch in at the location where you want
to start recording. The BR-1180/1180CD starts
recording.
To punch-out, press [REC] (or [PLAY]) once again. Each
time you press [REC], you punch in and punch out, so if
there is another location that you want to redo, then you
can punch in again at that location using the same
procedure.
8. When you finish recording, press [STOP].
9. Listen to the re-recorded result.
Return the song to a point earlier than you re-recorded,
and play it back.
Adjust the volume of track 1 using the TRACK fader.
Time
Punch-In
Stop
Start
[PLAY] [REC] [REC] [STOP]
Punch-Out
Playback PlaybackRecording


 To Next Page