66 Brocade MLX Series and NetIron XMR Hardware Installation Guide
53-1003821-01
Installing a Brocade MLX-8 router
2
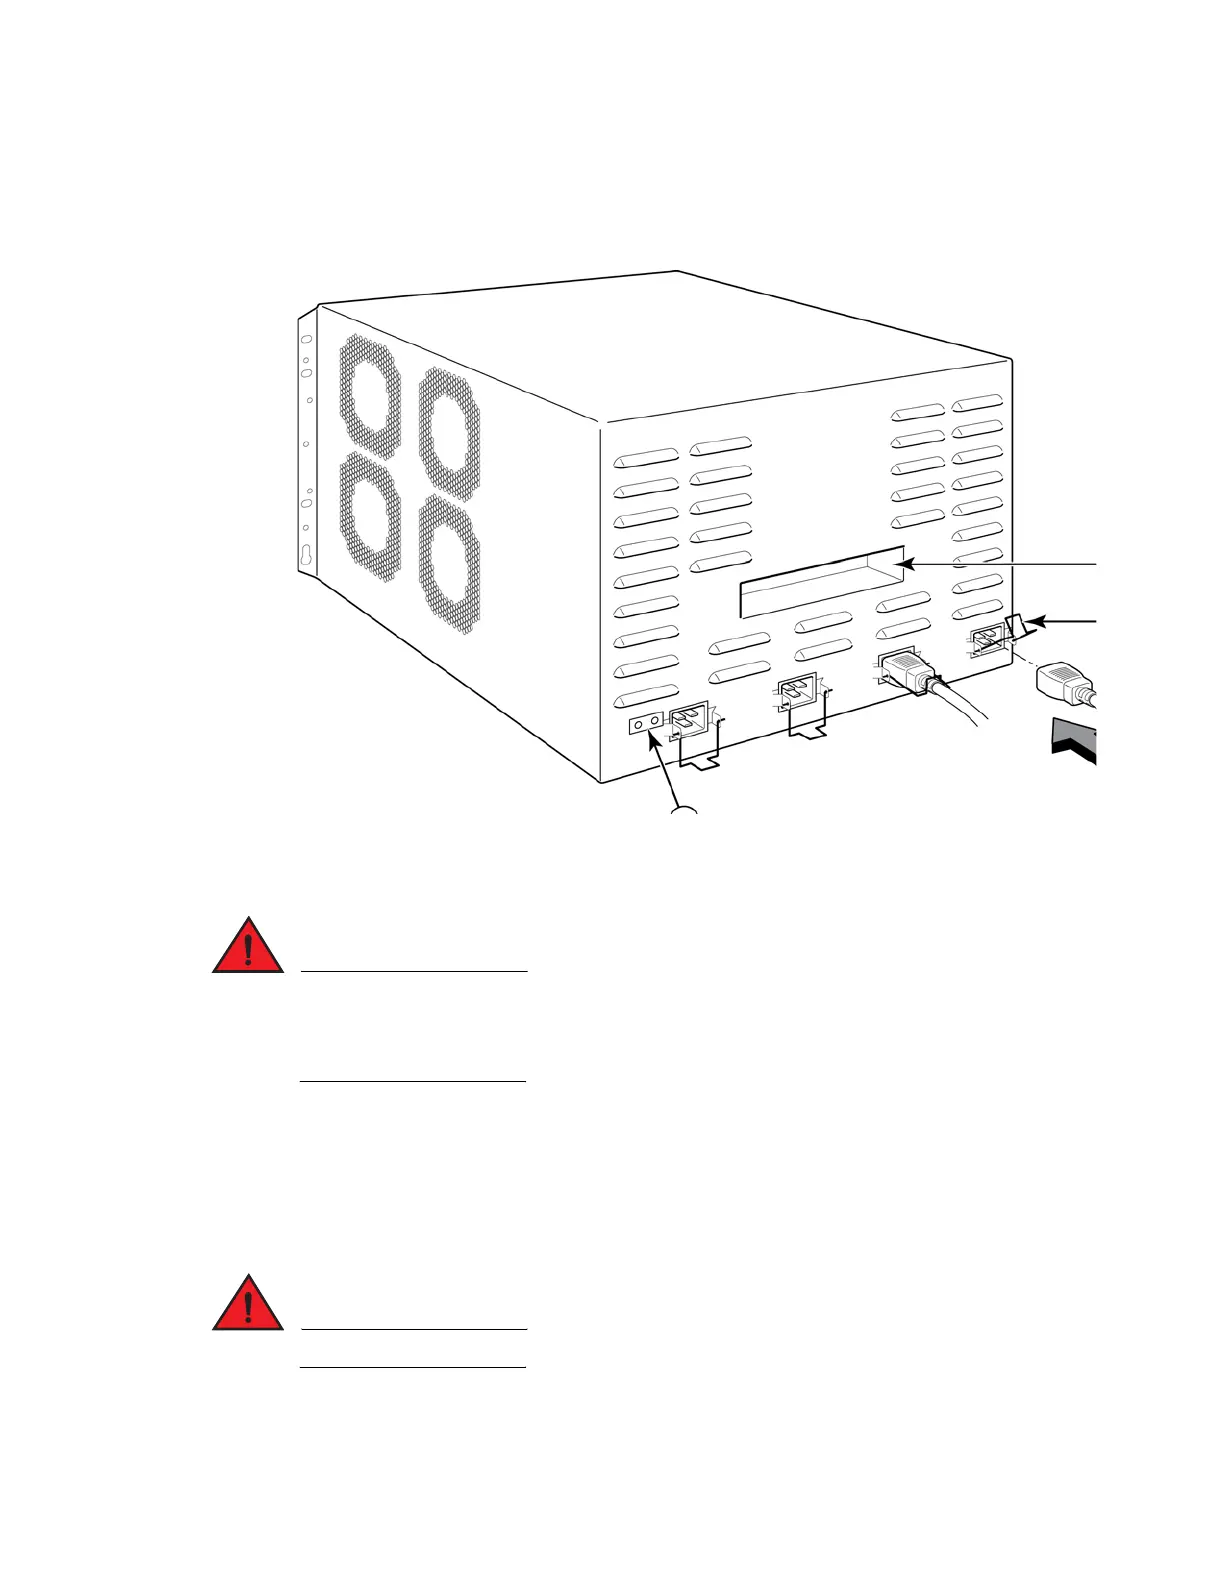
3. Snap the cord-retainer over the power plug to hold it in place.
FIGURE 48 Connecting a power cord to the power supply in a Brocade MLX-8 router
If the installation requires a different power cord than the one supplied with the device, make
sure you use a power cord displaying the mark of the safety agency that defines the regulations
for power cords in your country. The mark is your assurance that the power cord can be used
safely with the router.
For information about powering on the system, refer to “Activating the power source” on page 123.
Connecting DC power
You can provide DC power for the Brocade MLX-8 router by installing a DC-to-DC power supply. The
DC-to-DC supply converts 48V-DC input from a power source to 12V-DC for your router.
The procedure in this section is for qualified service personnel.
1 Lift handle 3 Power cord
2 Cord retainer 4 Ground point
 Loading...
