166 Brocade MLX Series and NetIron XMR Hardware Installation Guide
53-1003821-01
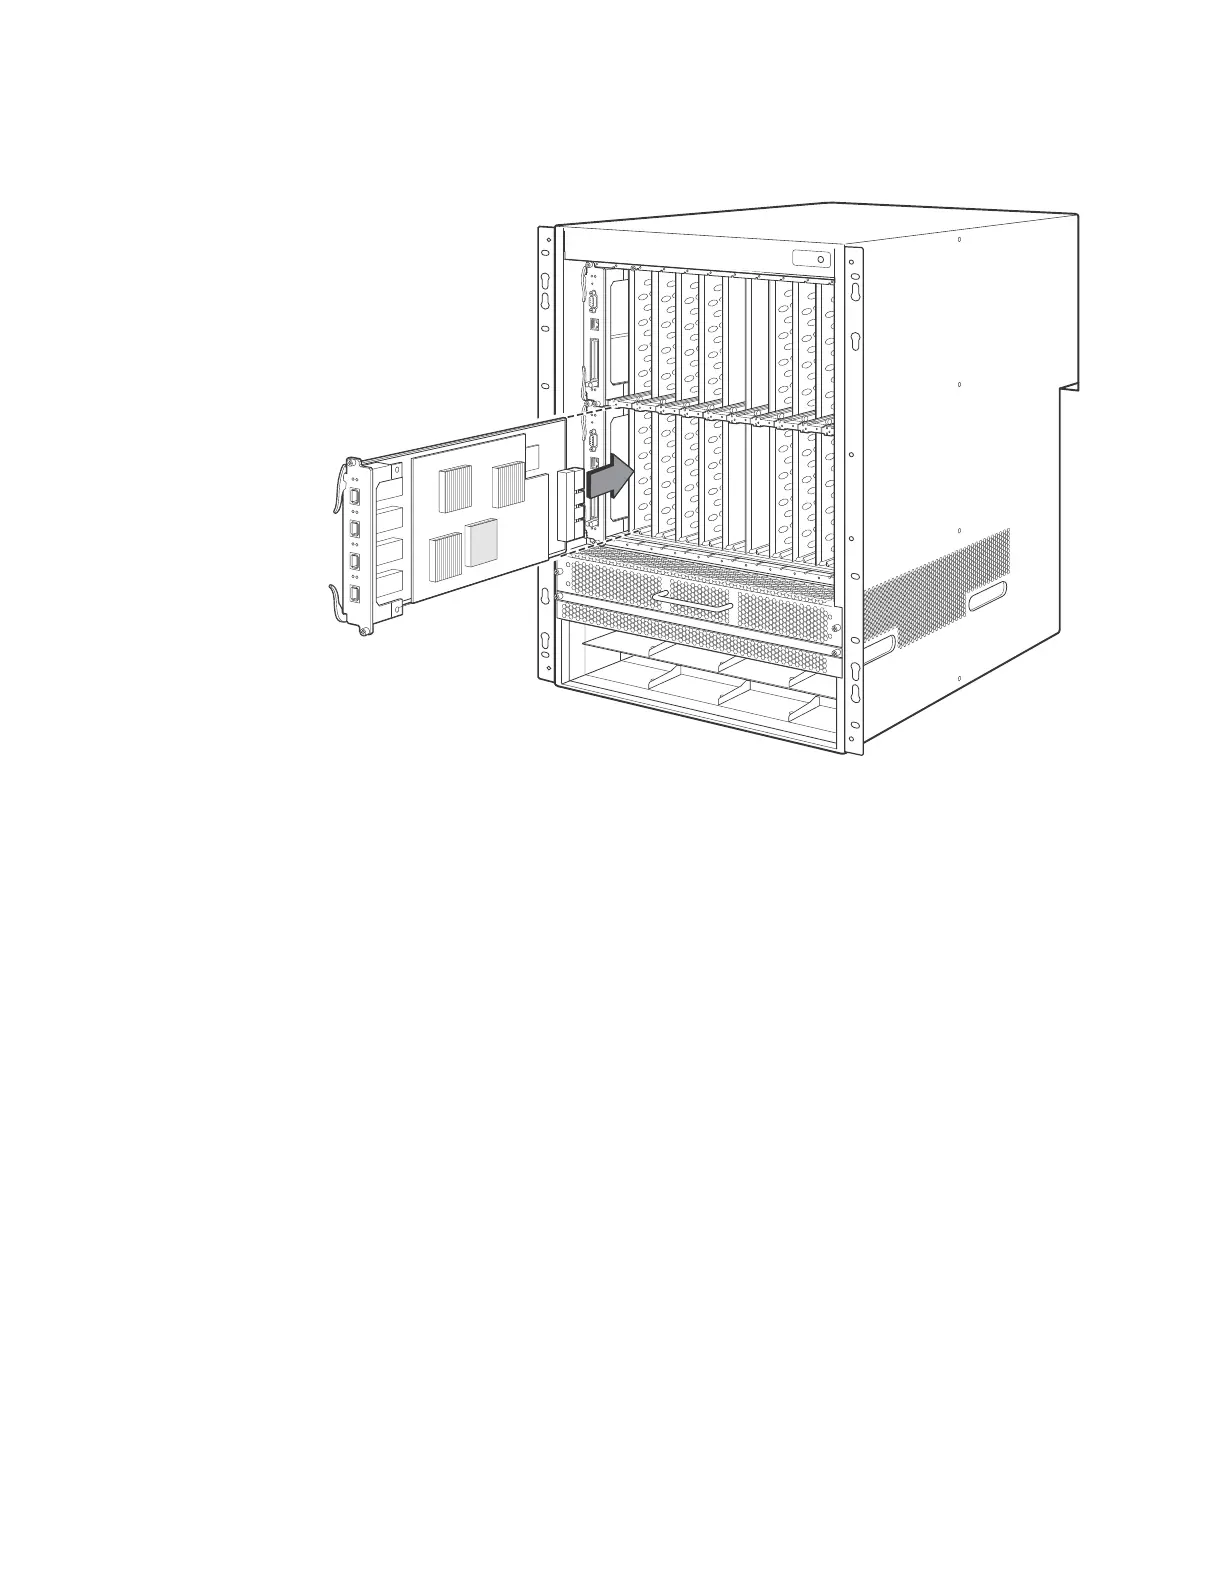
Installing a NetIron XMR 16000 router
3
5. Tighten the screws at each end of the module faceplate by pushing them in and turning them
clockwise. Complete the tightening process using the flat-blade screwdriver.
Installing power supplies in a NetIron XMR 16000 router
This section describes how to install power supplies in the NetIron XMR 16000 router.
Follow these steps to install a power supply in a NetIron XMR 16000 router.
1. Remove the power supply slot blank.
2. Remove the power supply from the packaging.
3. Insert the power supply into the slot, using the guides on each side of the slot. Refer to
Table 112.
FIGURE 112 Installing a power supply in a NetIron XMR 16000 router
1Interface module
 Loading...
