Brocade MLX Series and NetIron XMR Hardware Installation Guide 167
53-1003821-01
Installing a NetIron XMR 16000 router
3
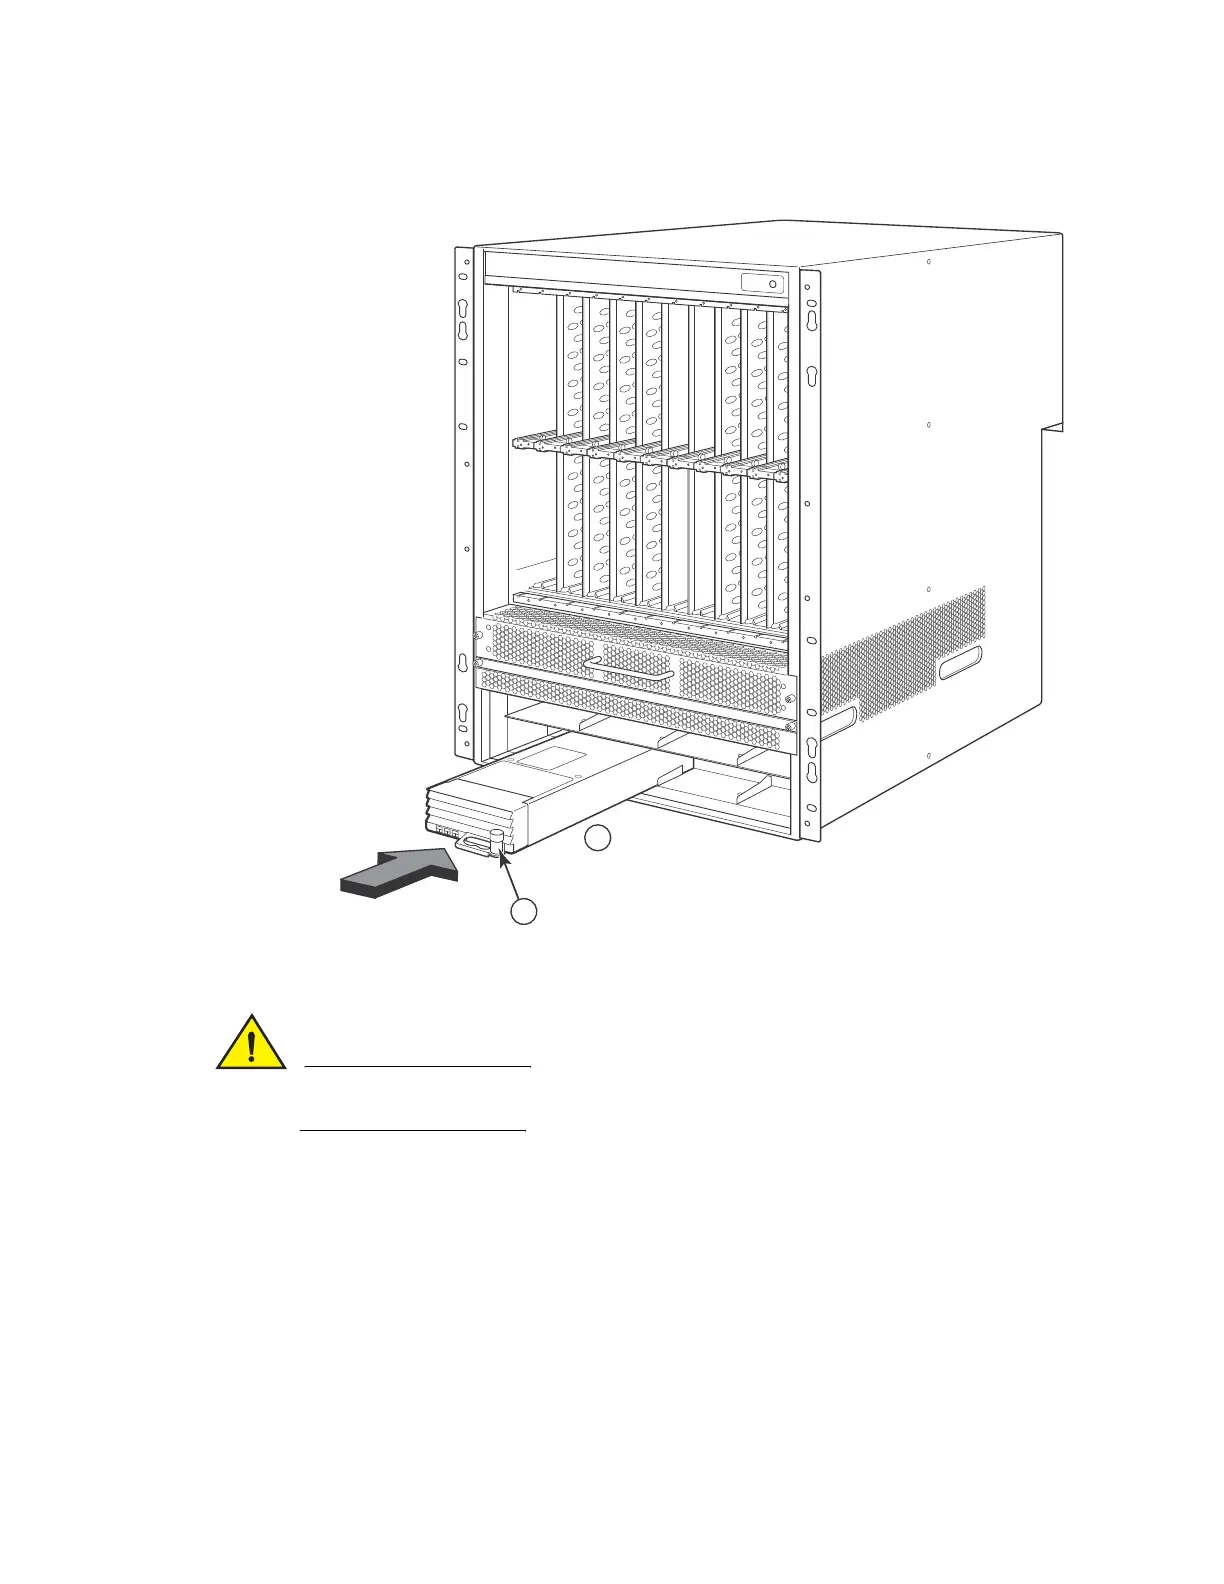
Carefully follow the mechanical guides on each side of the power supply slot and make sure the
power supply is properly inserted. Never insert the power supply upside down.
4. Push the power supply faceplate toward the back of the router until the power supply
connector engages the backplane connector and the latch pin clicks into place.
For information about connecting power to the router, refer to “Connecting AC power”below. For
information about powering on the system, refer to “Activating the power source” on page 194.
Connecting AC power
AC power is supplied through a power cord connected to the power supply installed in the NetIron
XMR 16000 router.
Follow these steps to connect the AC power source.
1 Power supply 2 Release latch
 Loading...
